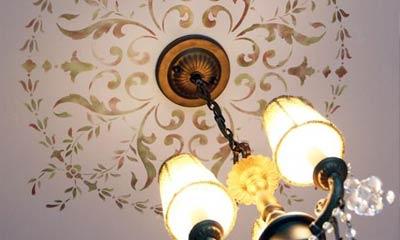
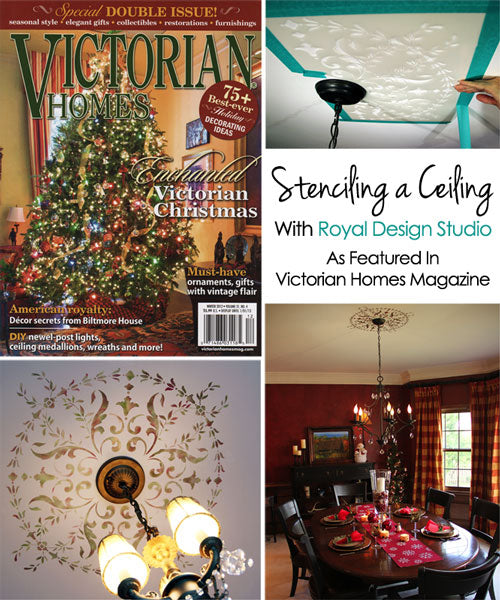
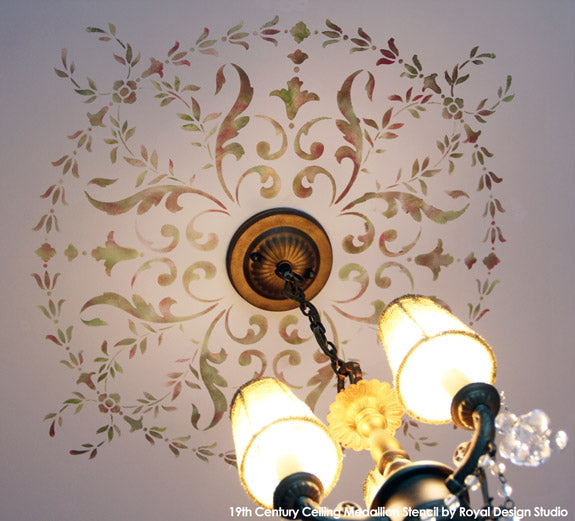
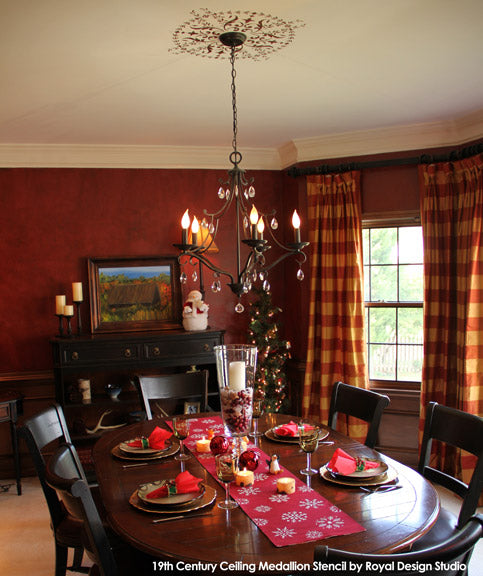
An often overlooked area in a space is the ceiling, affectionately called the "Fifth Wall". All-white ceilings can be so stark, don't you agree? Decorative painter Patricia Presto of On the Surface recently wrote a fantastic article for the Holiday Issue of Victorian Homes magazine on stenciling an attractive ceiling treatment and she used our 19th Century Ceiling Medallion Stencil for her project! The stencil is just one of the options available in our Ceiling Stencils Collection and it is also available as a complete stencil set with corners, borders and centerpieces. Stenciling a ceiling medallion is a great option to enhance and accent the design of a beautiful light fixture by calling more attention to it.
We think that stenciling a ceiling is a fantastic way for adding color and pattern to complete a room's design-as in-the "crowning touch!". Patricia provided fantastic stencil tips in her article, including:
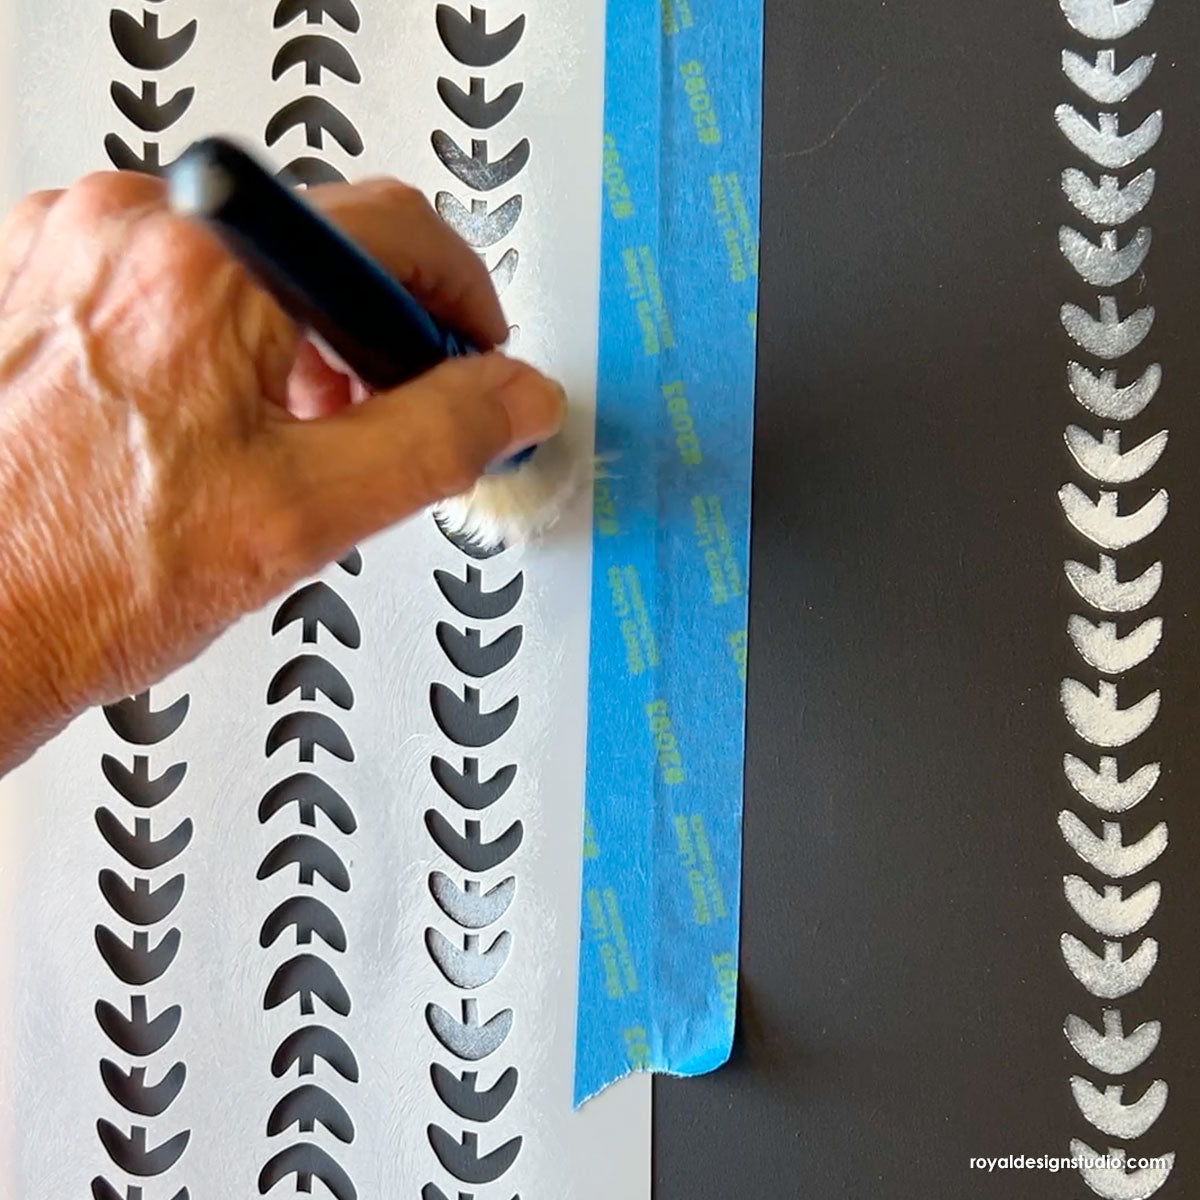
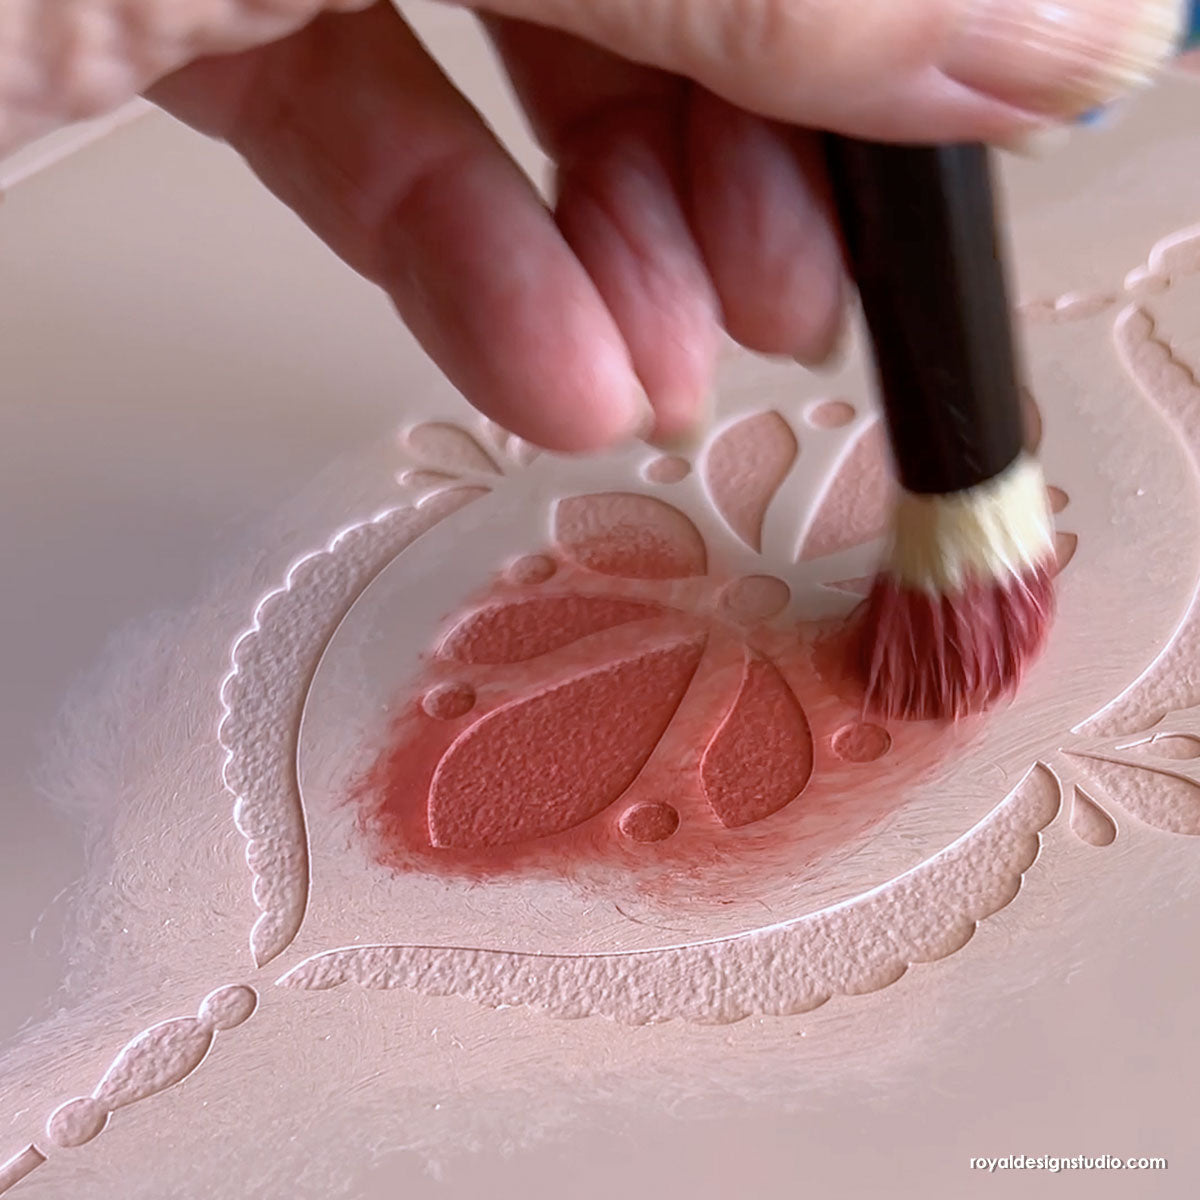
- Secure the sides of the stencil tightly with tape. Use low-tack adhesive tape to minimize surface damage, repel paint and prevent bleed-through.
- Remove excess stencil paint onto a paper towel. Your stencil brush should be lightly coated to ensure clean, crisp lines.
- LIft the stencil carefully from the ceiling after you have completely covered the open areas of the stencil and they are dry. If you need another layer of paint or want to add more colors, repeat the process.
- The medallion stencil will be one-half of the finished design. Once you have completed one side, move to the other side and repeat the process.
Patricia also advises to pick a stencil that will work year-round and not just for specific holidays. You can find additional tips in our Stenciling on Ceilings resource site on our How to Stencil page.
Several metallic stencil paint colors were used to fill in the design! Patricia shares that using metallic colors prove an elegant option because they will reflect the chandelier's light and give the space a beautiful, warm glow. You can use the different colors at the same time for good blending or use them individually in specific areas of your stencil pattern.
All images courtesy of photographer Tom Gorman of Back Light Pictures
Stenciling can be done throughout an entire ceiling, the perimeter of the room or simply to surround a light fixture as Patricia did. She created a nice, classic space for her clients that incorporated their wonderful design elements and their guests a wonderful reason to look up! Many thanks to Patricia Presto and Victorian Homes magazine for the exciting stencil feature! We hope this inspires YOU to add a little pattern and drama to your ceiling!
Let's take a look at other great solutions for your ceiling dilemmas!
- Wood Ceilings are PERF for stenciling - check out this Moroccan-inspired room!
- Our Fabric Damask Stencil makes a textured bath ceiling by I Heart Naptime look amazing!
- See more vintage 19th Century stencil ceiling designs with Celebrate Creativity's tutorial!
- Stenciling a ceiling with our Royal Stencil Cremes gives you an edge with super easy blending & drying, great colors and opaque coverage!
- Prepping your space for ceiling success? Read our Surface Preparation for Decorative Finishes tips first!
- Ceiling Extravaganza! See beautiful and inspired stenciled ceilings in our Stenciled & Painted Ceilings board on Pinterest!
Be sure to follow Royal Design Studio on Facebook, Twitter and Instagram for more spectacular Stencil Ideas!


