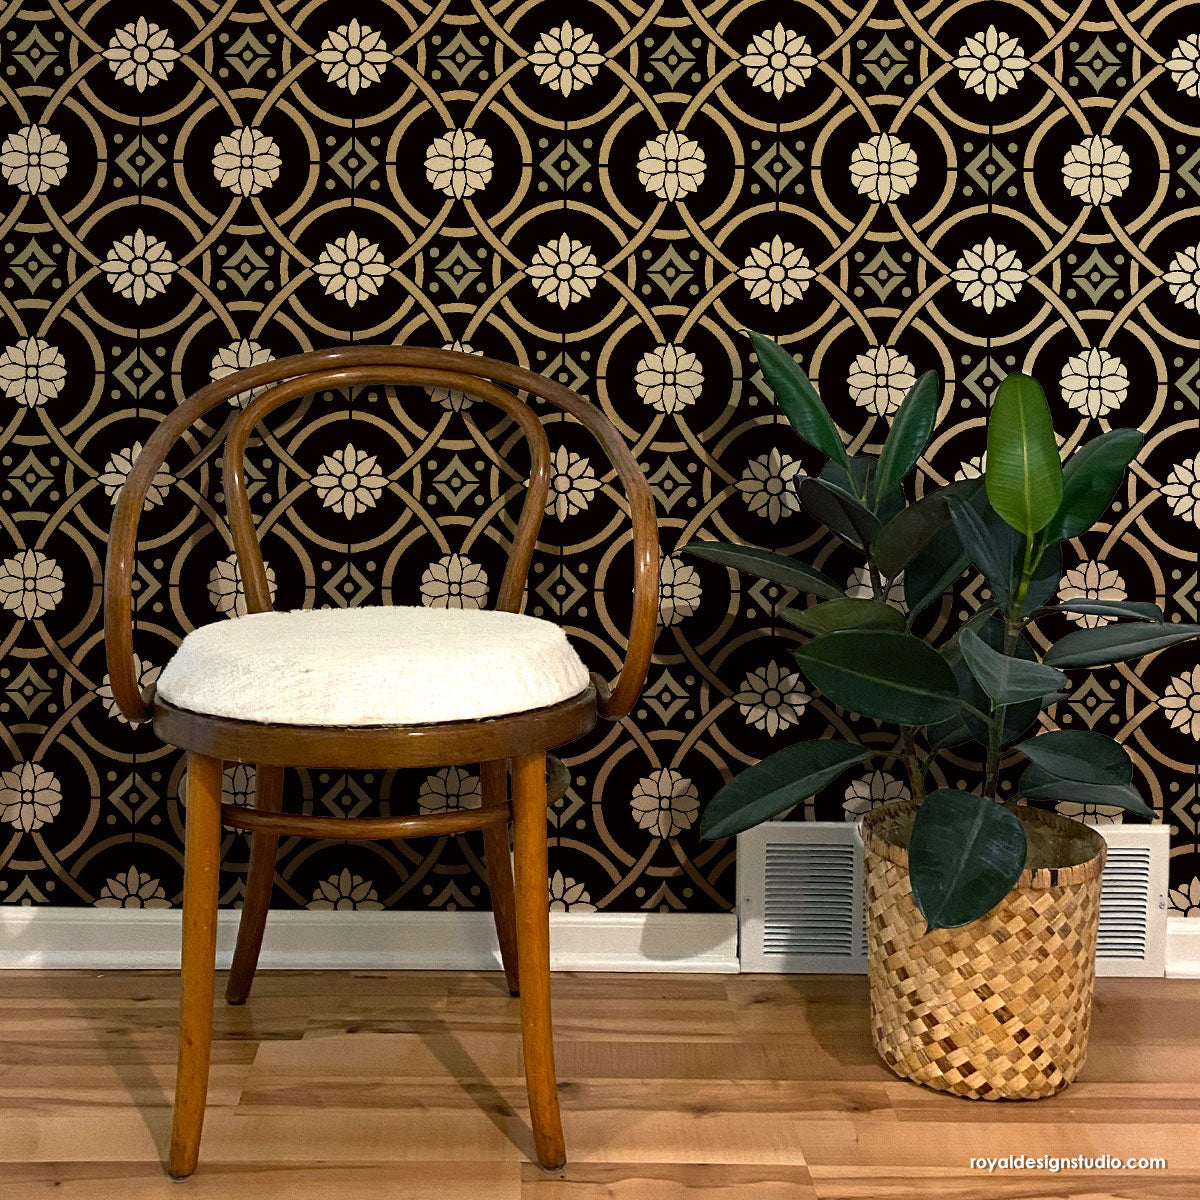
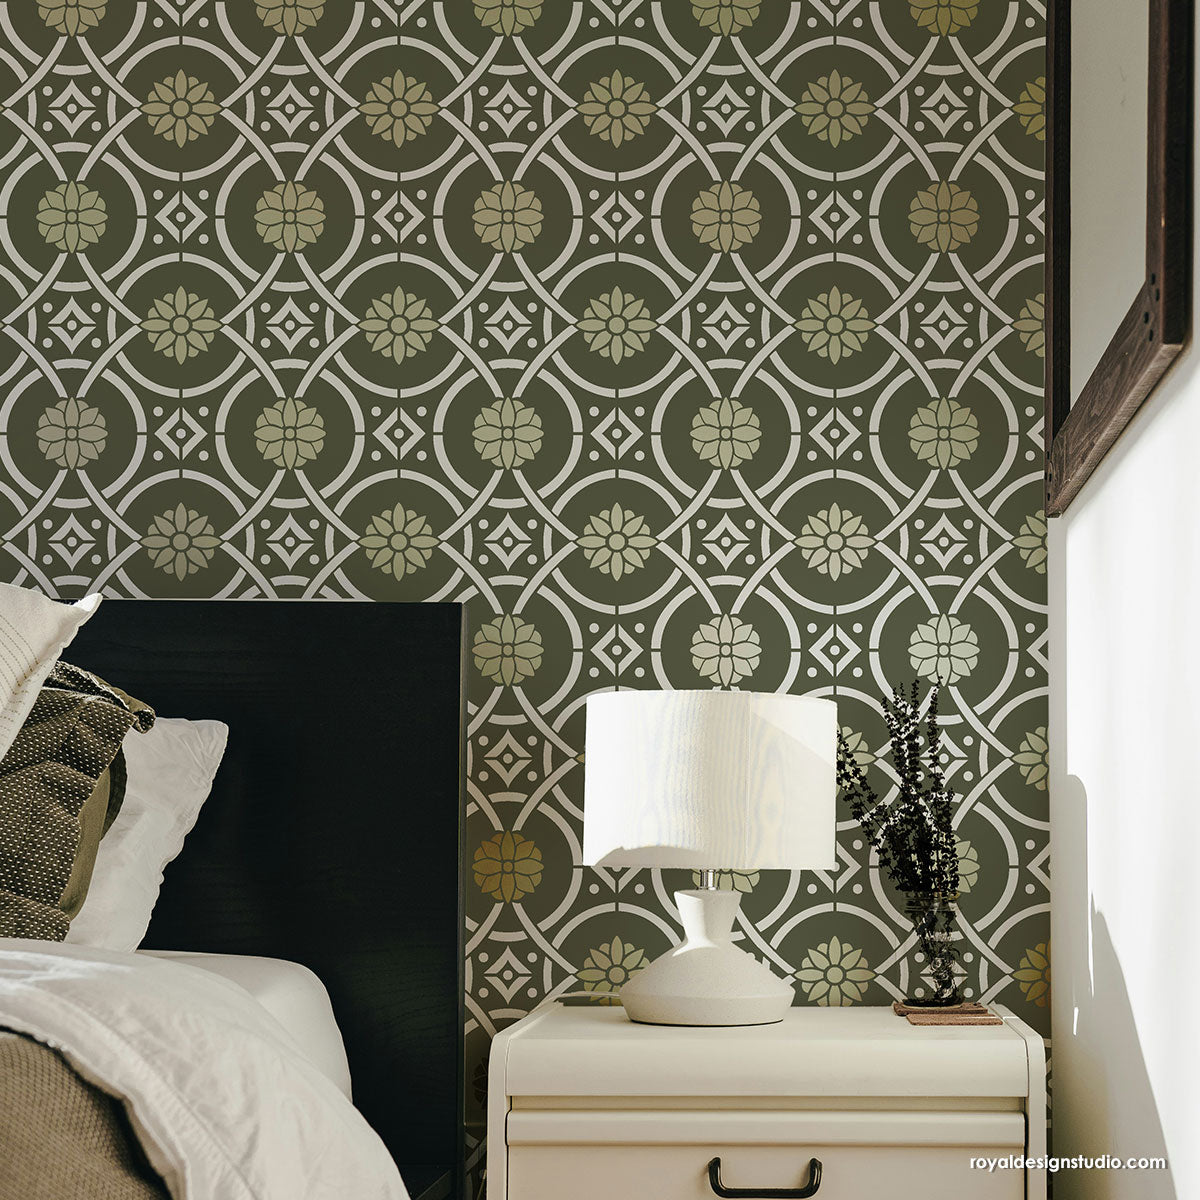
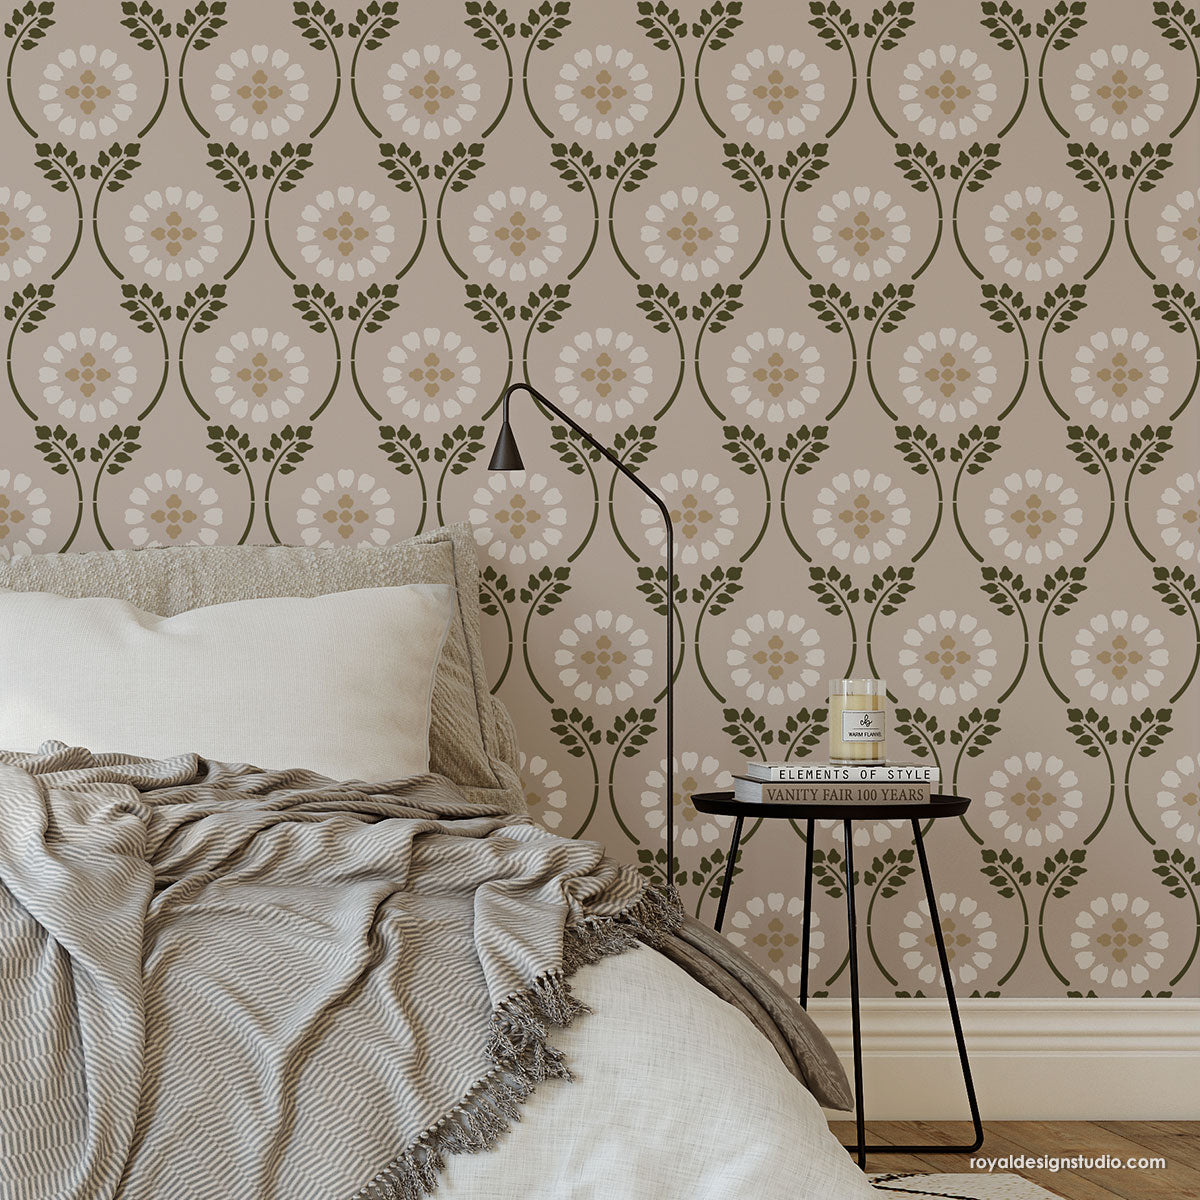
Decorating on a budget?? A Chalk Paint and stenciled furniture makeover is the perfect solution for transforming thrift store finds into custom furniture pieces that offer high style at low cost. Read on to see how easy it is to do it yourself!
Melissa of The Polkadot Chair has always wanted a white rustic kitchen. When she moved into her new home, she knew it was the perfect time to remodel the space into something she’s always dreamed of. One part of her kitchen included an odd-spaced corner that made it decorate. She looked for years for a piece of furniture that would fit in the corner and match the white rustic shabby chic style she was envisioning, but she never found one (or at least one in her price range). To keep the kitchen makeover costs to a minimum, she opted for a DIY furniture project over purchasing expensive store bought furniture.
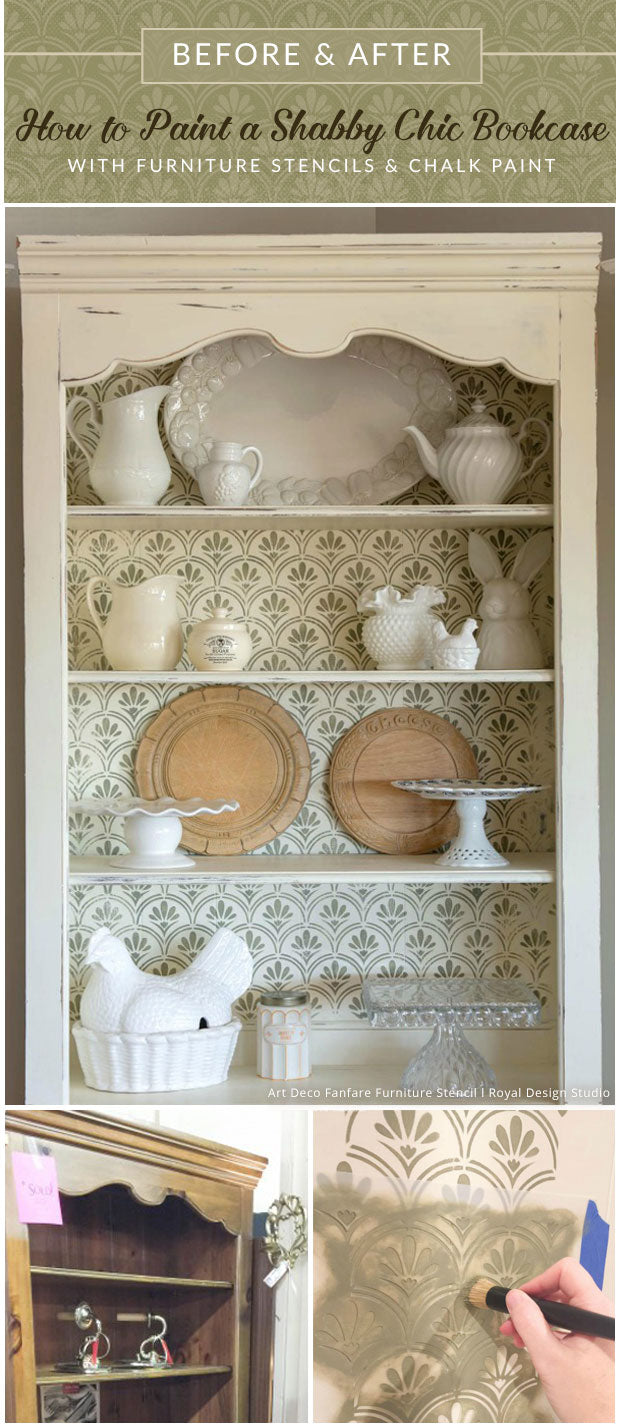
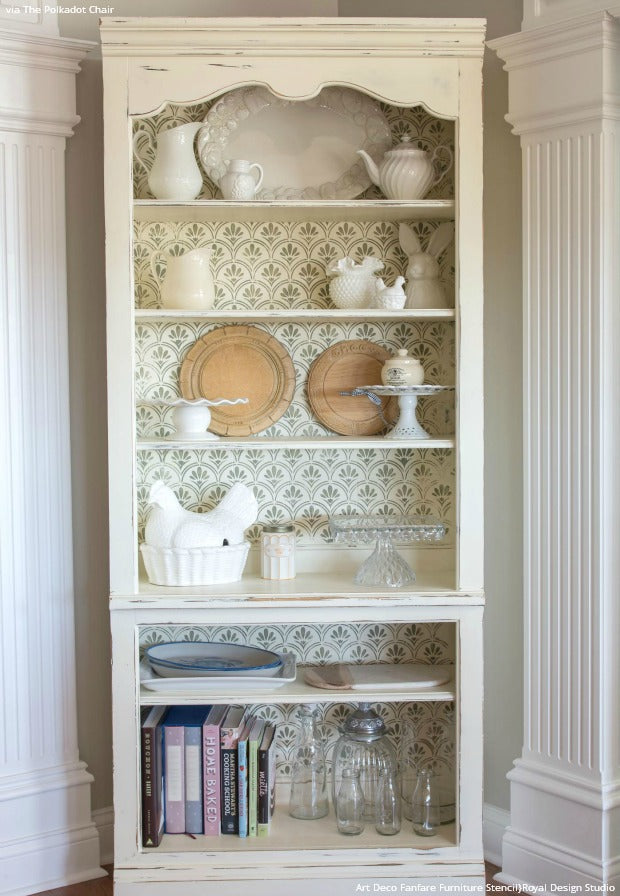
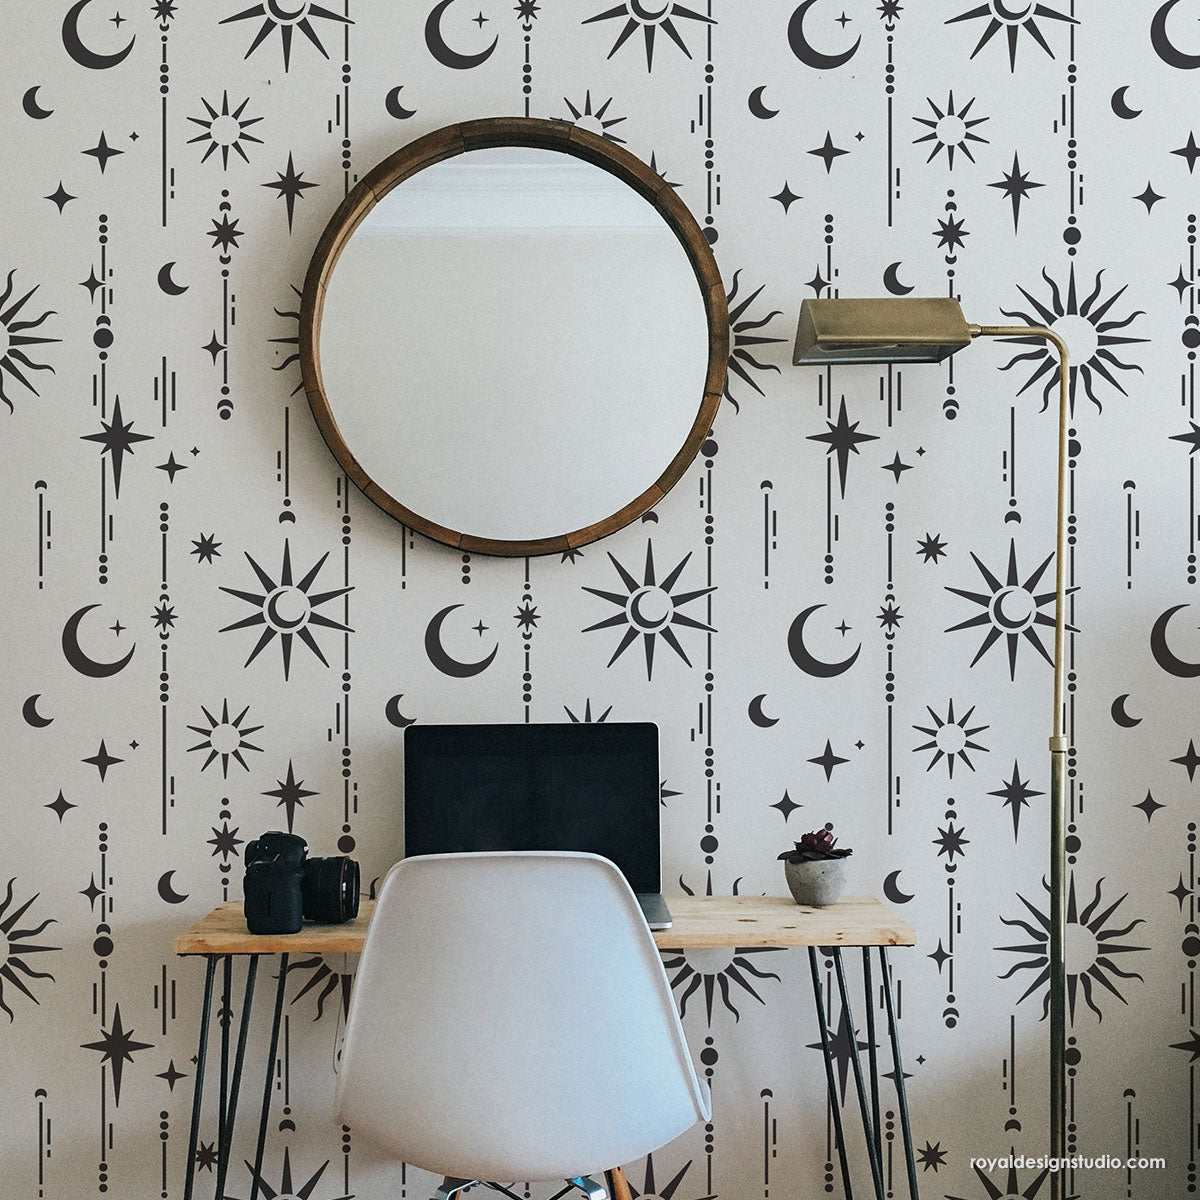
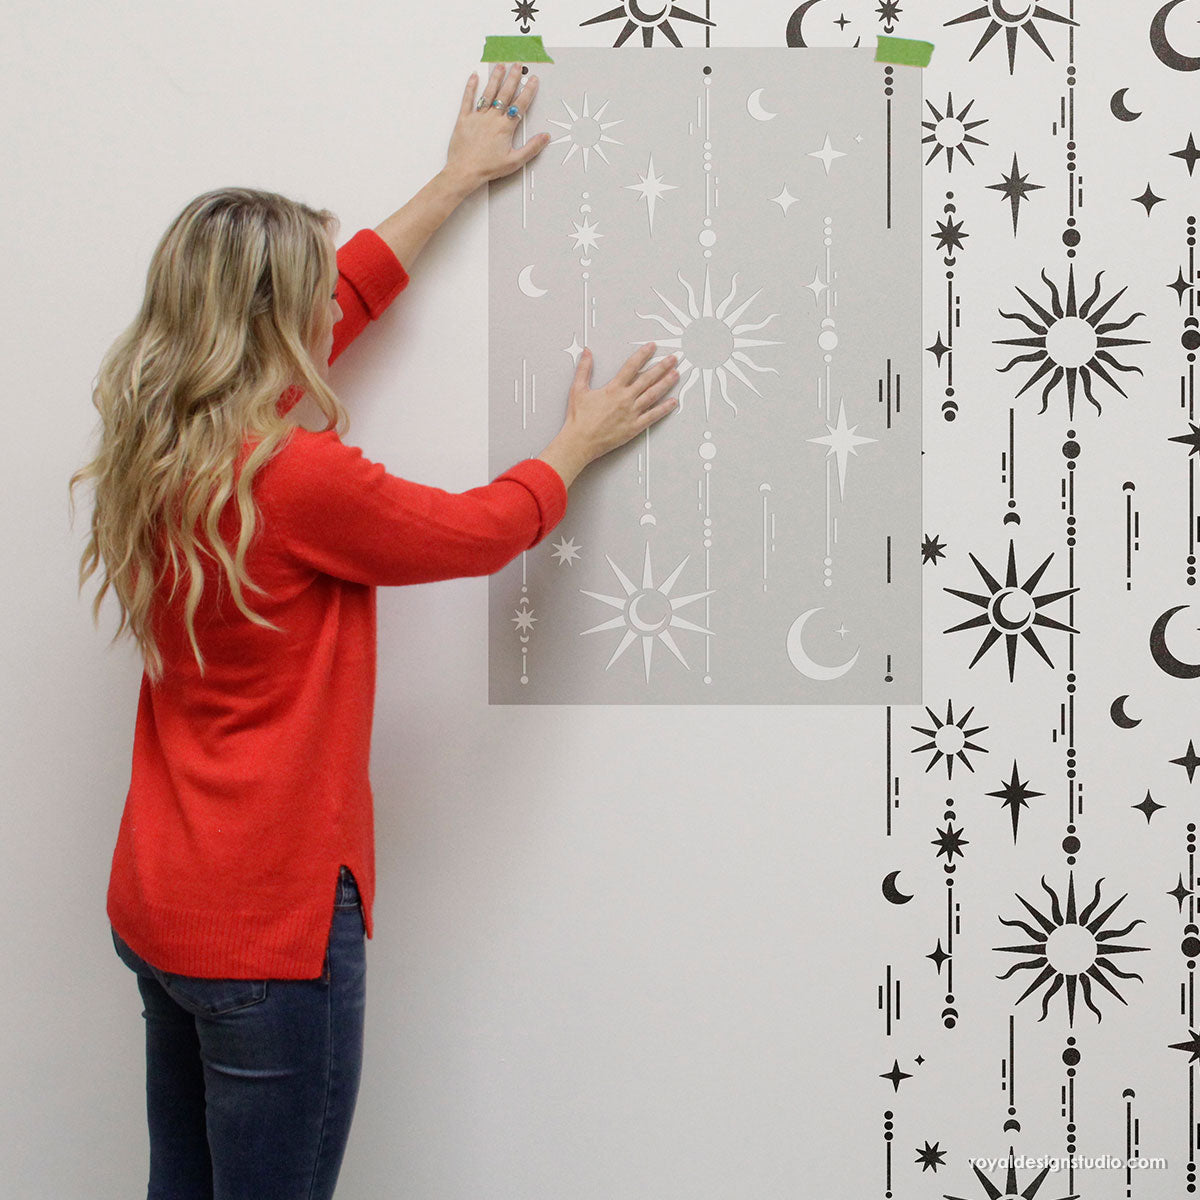
In comes Royal Design Studio! She found a thrift store bookcase that would be perfect for the corner. To give the piece the perfect look, she used our Art Deco Fanfare Raven + Lily Furniture Stencil from our Furniture Stencils Collection and Chalk Paint® by Annie Sloan. Let’s see how she transformed this bookcase from old and “eek!” to shabby chic:
Supplies:
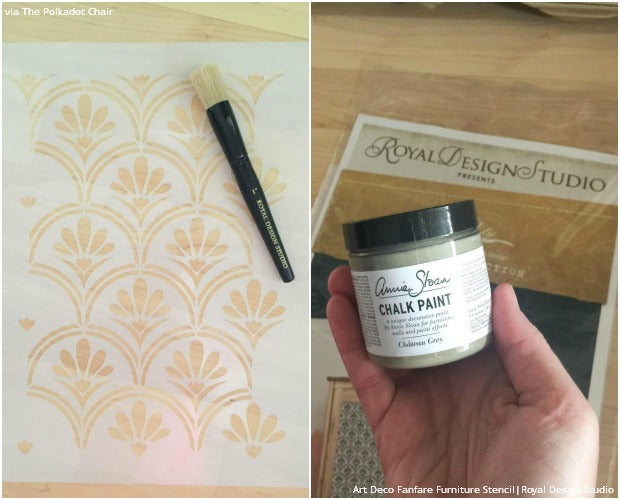
- Art Deco Fanfare Raven + Lily Furniture Stencil
- 1” Royal Stencil Brush
- Chalk Paint® by Annie Sloan in Chateau Gray and Old White
- Annie Sloan Clear Wax
- Spray Adhesive or Painter’s Tape
- Sandpaper
- Paper Towels
- Level
Step 1: Paint the entire bookcase with Old White Chalk Paint®. Allow to dry.
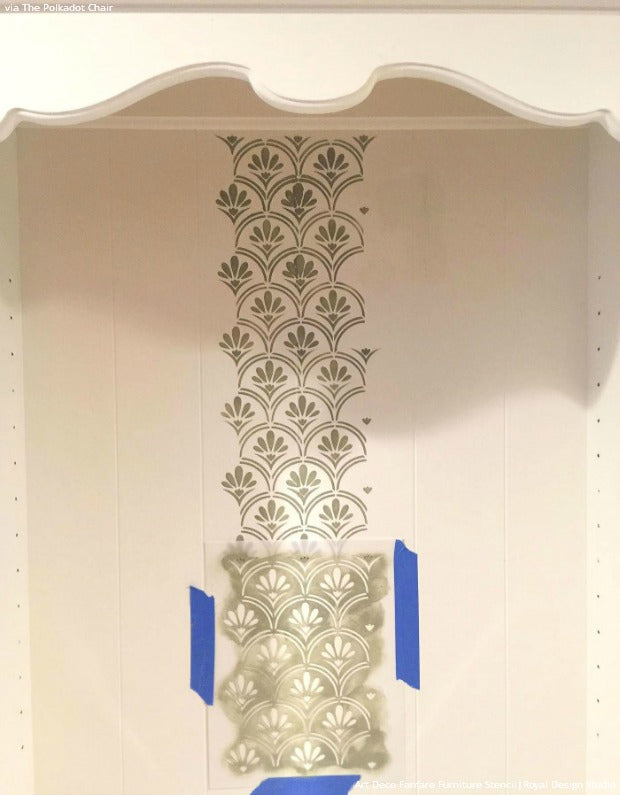
Step 2: Remove the shelving and the back of the bookcase, if you can. Removing the back and placing it on a flat surface will make it easier to stencil. Unfortunately, the bookcase that Melissa bought had a back that was thoroughly glued on. However, she was up for the challenge of stenciling the back of the bookcase while still intact.
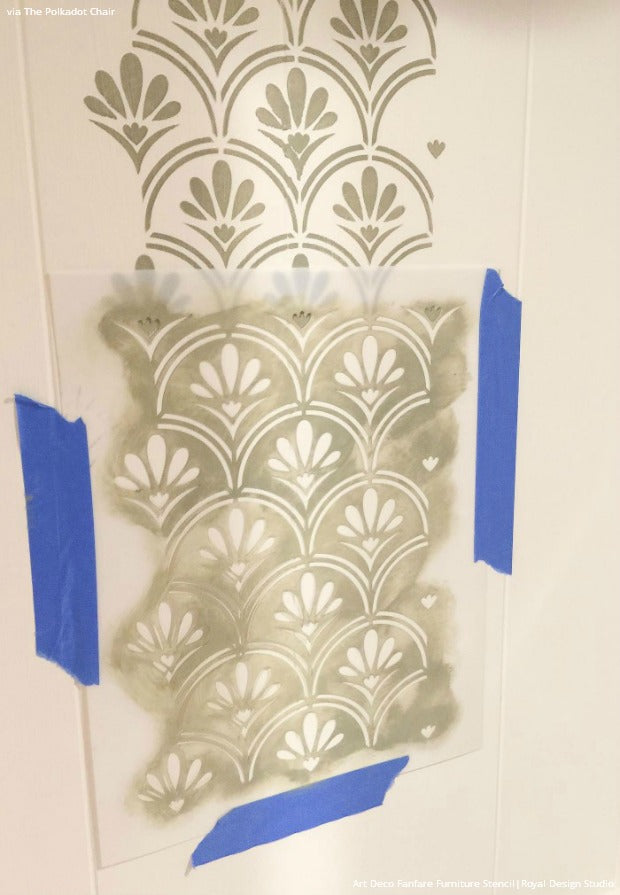
Step 3: Find the center of the bookcase back and place the stencil accordingly with the help of a level. Use either spray adhesive or painter’s tape to secure the stencil in place.
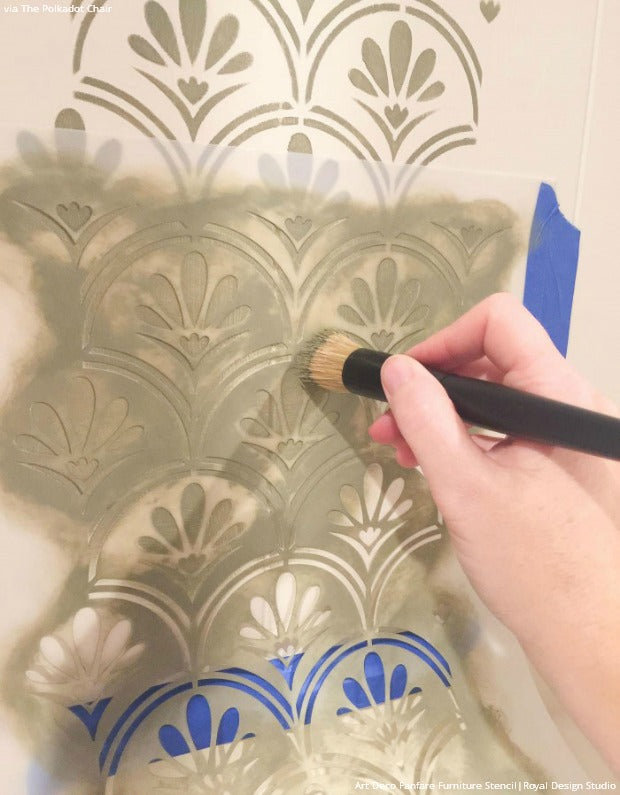
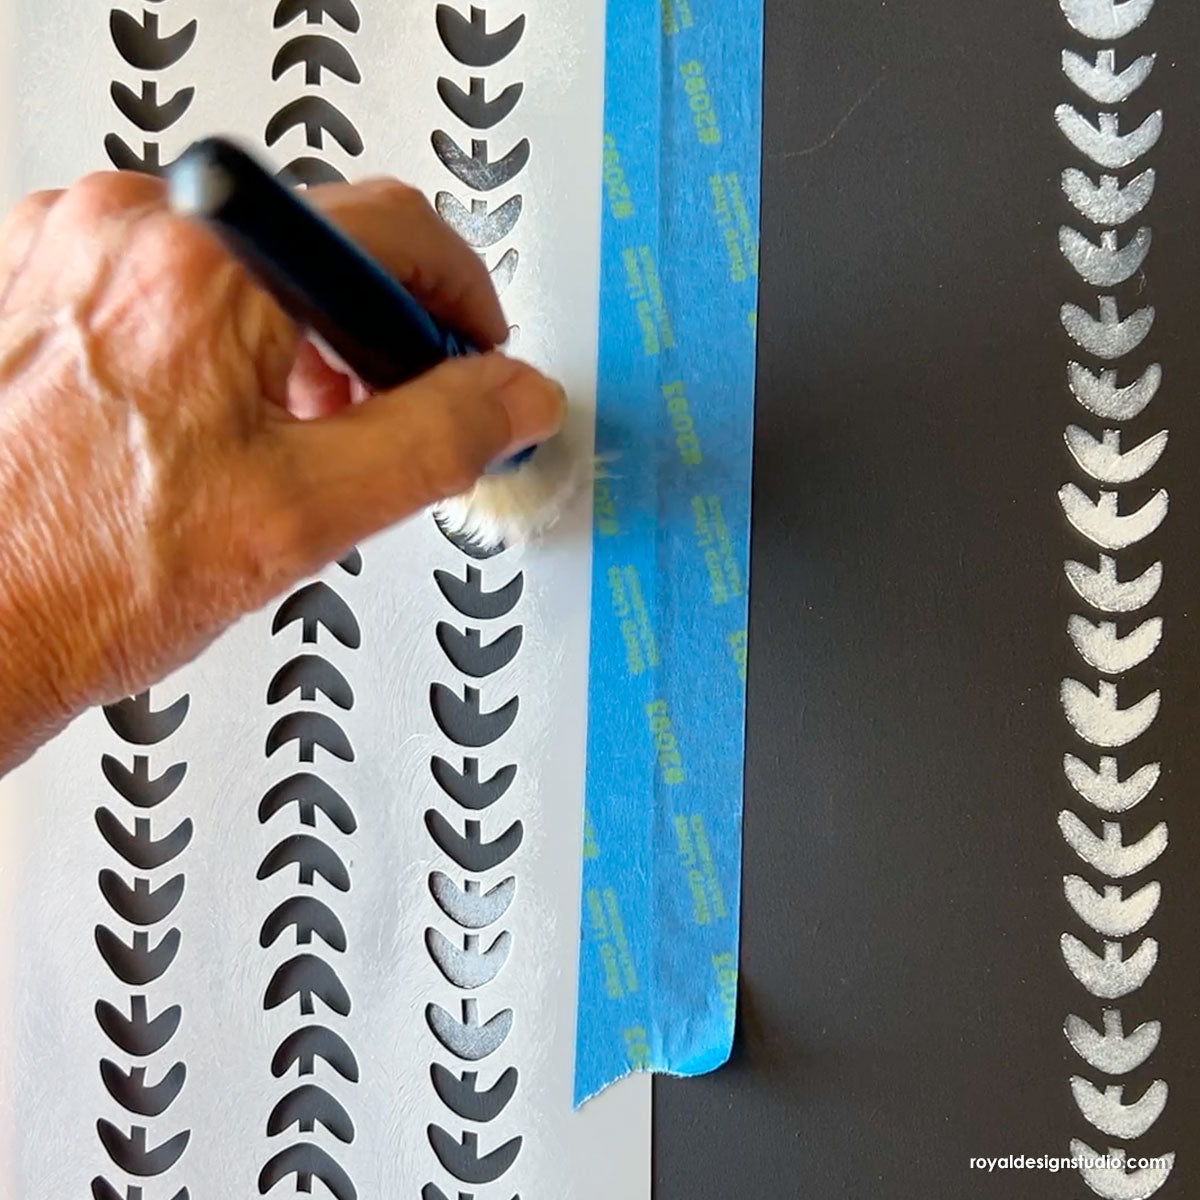
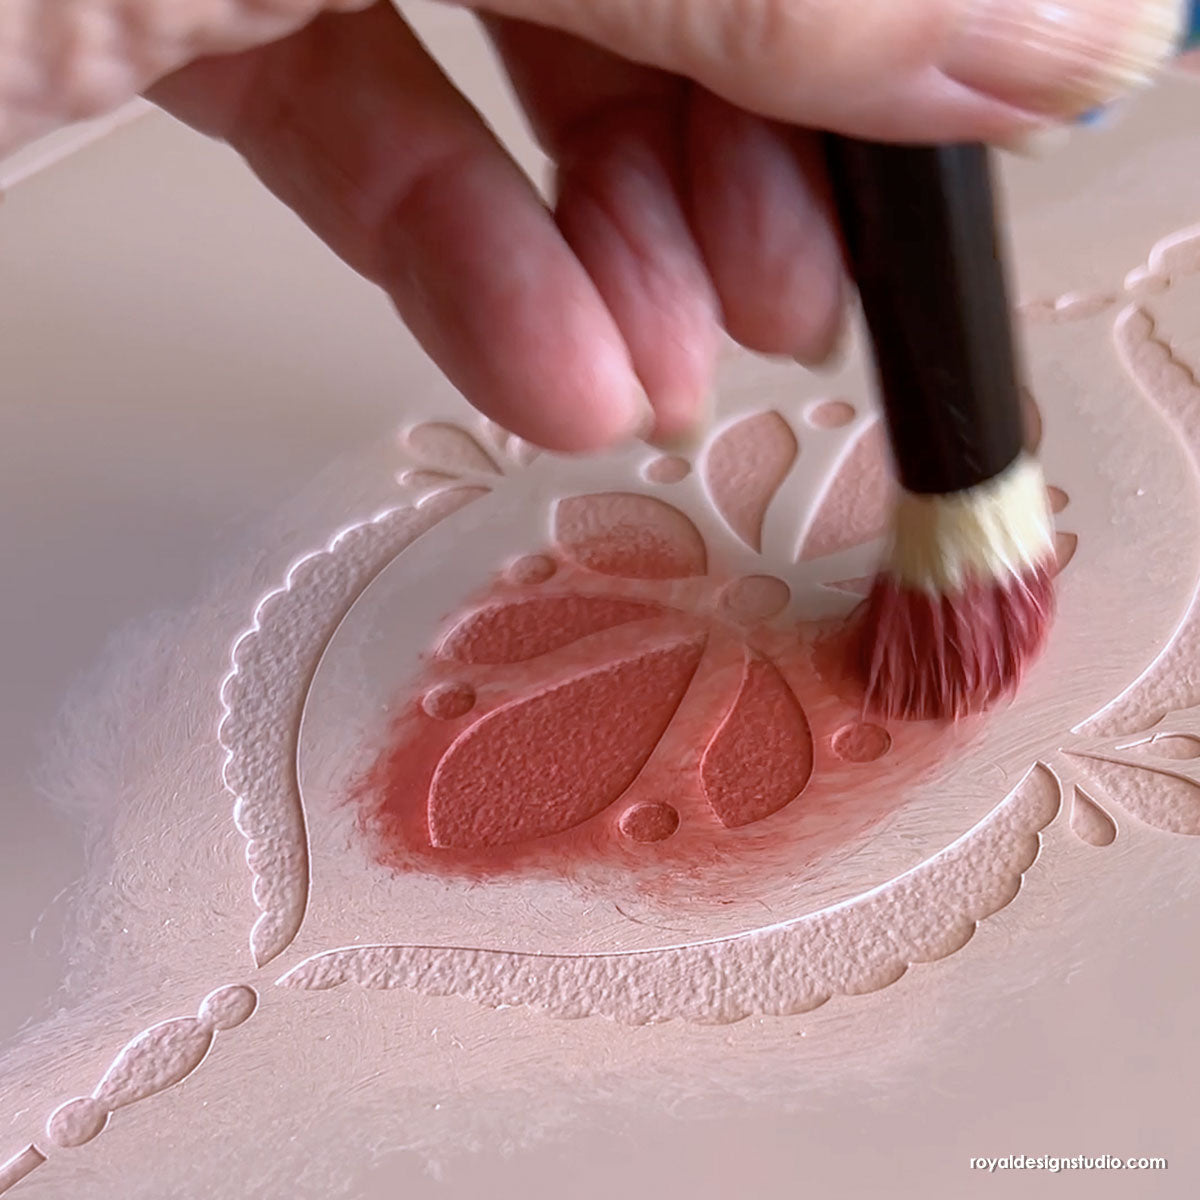
Step 4: Before you begin to stencil, but don’t forget to use the offloading method! Load your stencil brush with Chalk Paint® and then offload some of the paint onto a paper towels by rubbing in a circular motion. This ensures that there is minimal paint on your stencil brush and is crucial for stenciling crisp designs that don’t bleed.
Step 5: Begin stenciling in a circular motion. If you want a more saturated design, paint another layer or two, but always use the offloading method for each layer. Allow to dry.
Step 6: Use the registration marks on the stencil to move and align the stencil to the next position on the bookcase back. Secure with spray adhesive or painter’s tape.
Step 7: Repeat steps 3 through 5 until the entire bookcase back is stenciled. If your bookcase back is still attached to the piece, make sure to push the stencil into the corners so you can reach those spots. Our stencils are flexible and enough to bendt into those tight places.
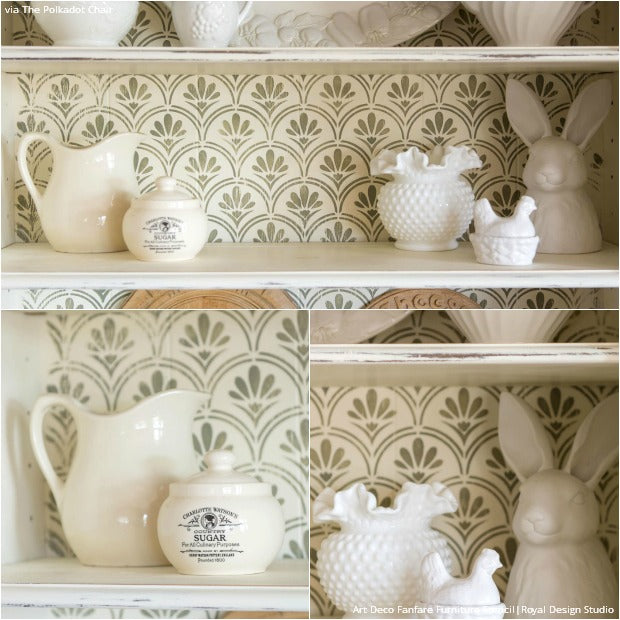
Step 8: Once the paint is dry, you can sand and distress it to create a rustic finish. Then finish off the piece with 2 coats of Annie Sloan Clear Wax for protection. Allow to dry and buff to a soft sheen. Replace the shelving and start decorating.
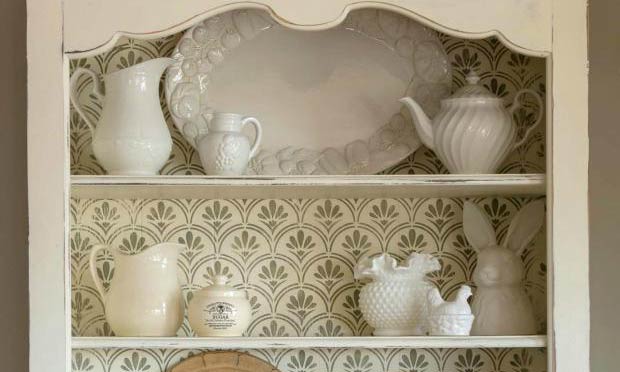
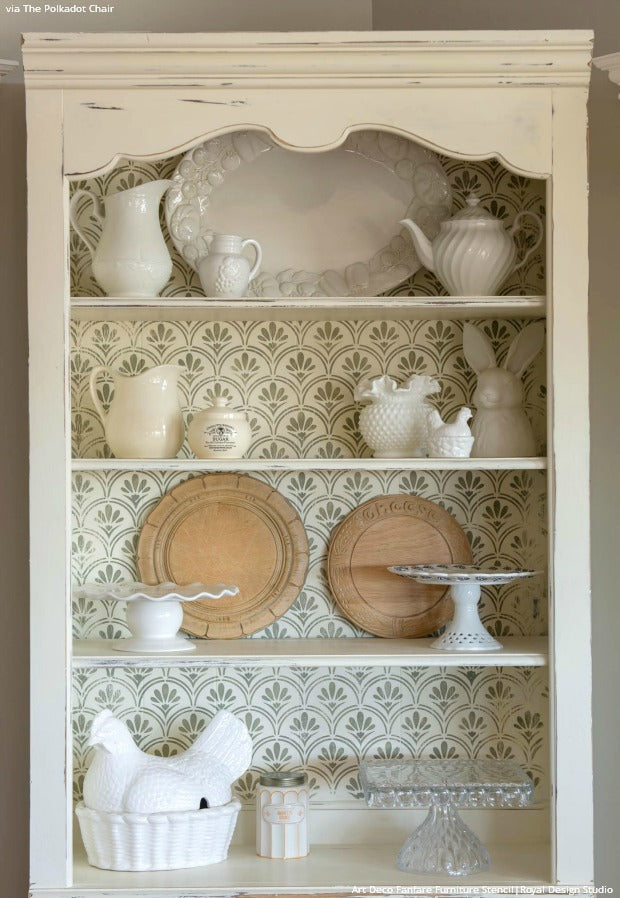
Melissa added her beloved cake plates, large platters, and items she has collected over the years to the shelves for display. By showcasing these treasured items with personal history, this stenciled bookcase gives her kitchen makeover timeless charm with personality. The rich personal history and worn look of this piece a well-loved look.
What’s amazing about this stenciled bookcase is that it gives the kitchen a shabby chic look without totally white washing the space. The stencil pattern adds the perfect amount of color, detail, and kitchen charm. Are you ready to take the reins and stencil your own bookcase? Remember, with so many stencil designs and paint colors to choose from, you can create any look you want for any space!
If you have some DIY projects of your own using our Furniture Stencils, we’d love to see them! Email us at projects@royaldesignstudio.com or post to our Facebook Page. We want to share your beautiful stencil projects with our readers!


