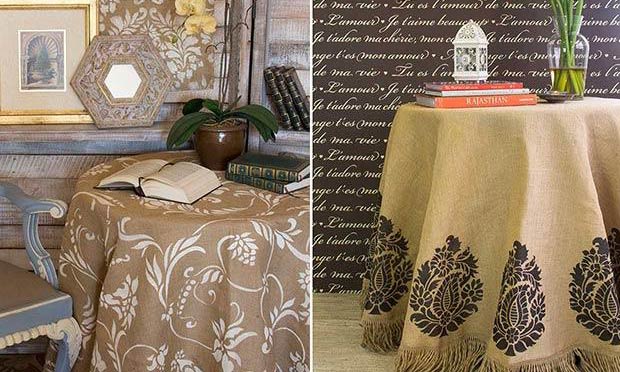
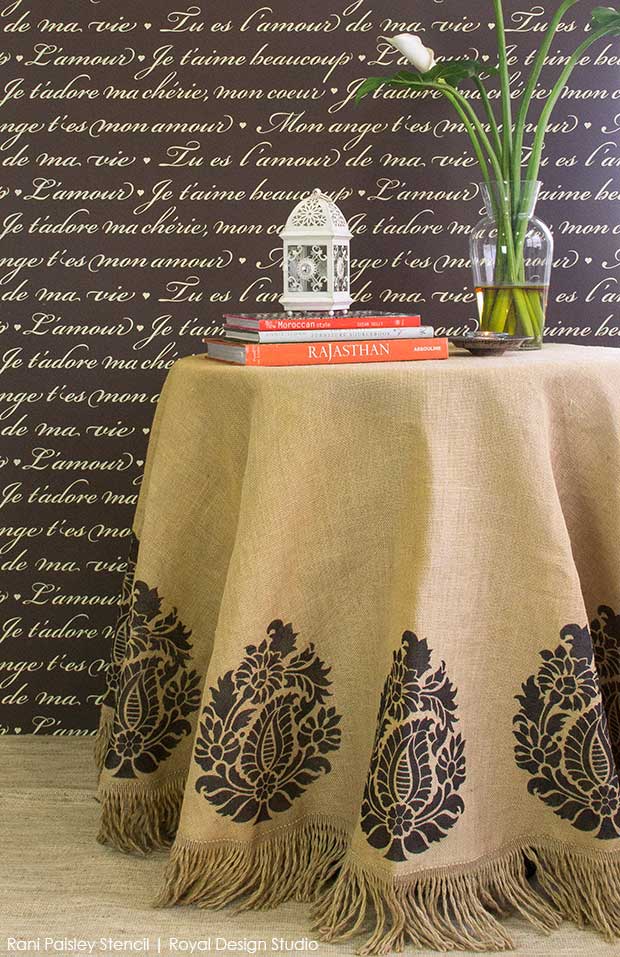
Today we bring you a how to stencil project-times two! We’re sharing how to stencil burlap round tablecloths with two different types of stencil patterns: a romantic allover floral stencil and an exotic Indian paisley motif.
Burlap has become a bit of a design classic in the last few years, particularly for vintage, country, and rustic decor. The advantage of burlap, besides that it is relatively inexpensive, is that you can dress it up or dress it down depending on how you pair it with other décor. In this case, we are going to dress it UP with pretty stencils and a little bit of paint. Read on to see how we transformed this tried and true material with a super easy stencil technique using fringed round burlap tablecloths from Ballard Designs.
Rani Paisley Stencil in the Round
Stencil Supplies you will need for this project:
- Medium Rani Motif Stencil from Royal Design Studio
- Brown latex paint
- 2” Stencil Brush
- Stencil Spray Adhesive, Paper Towels, Blue Painters tape
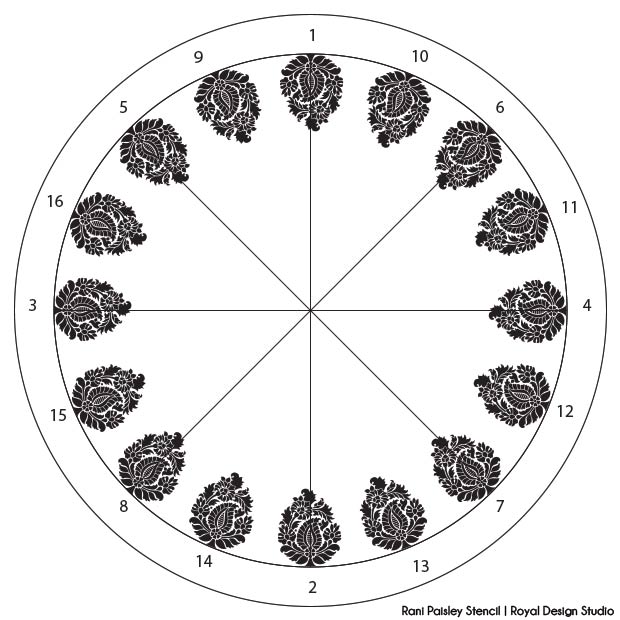
When repeating a single stencil element like the Rani Paisley Motif stencil to create a border pattern, it is best to pre-plan your pattern layout so that you get an even spacing of the design the whole way around the tablecloth. One way to do this easily is to stencil the pattern one time on a piece of paper and then run off multiple photocopies that you can play with to get the look and spacing you like.
Step 1: Fold the round tablecloth in half, and then in half again so that you are left with one quarter. Use your photocopies to determine how many repeats of the pattern will fit nicely. Note that one pattern repeat is centered at the fold here with three repeats in between.
Once you are satisfied with the layout, mark the center point of each pattern with a piece of blue painters tape placed near the fringe. Use these as your guide for stencil placement.
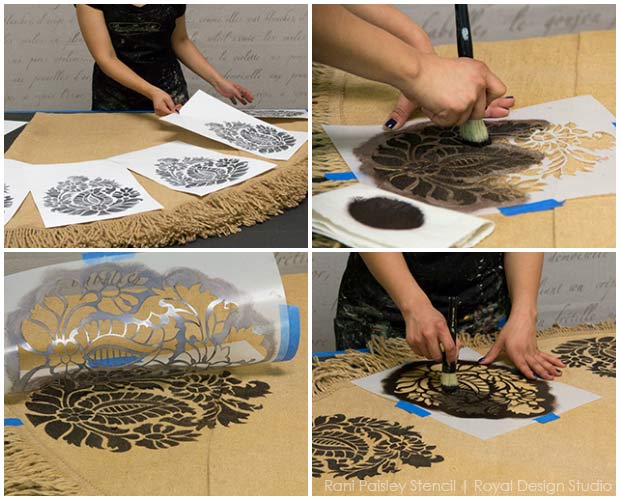
Step 2: Mist the back of the stencil lightly with Stencil Spray Adhesive and allow it to sit for a few minutes so it becomes tacky and place your stencil on the burlap. You can additionally use Painter’s Tape to further secure your stencil.
Note: We started by placing the first motif on one of the lines created by the folds made on Step 1, so it sits straight on the tablecloth.
Load your 2” Stencil Brush with the Brown Latex Paint, and off load excess paint onto paper towels.
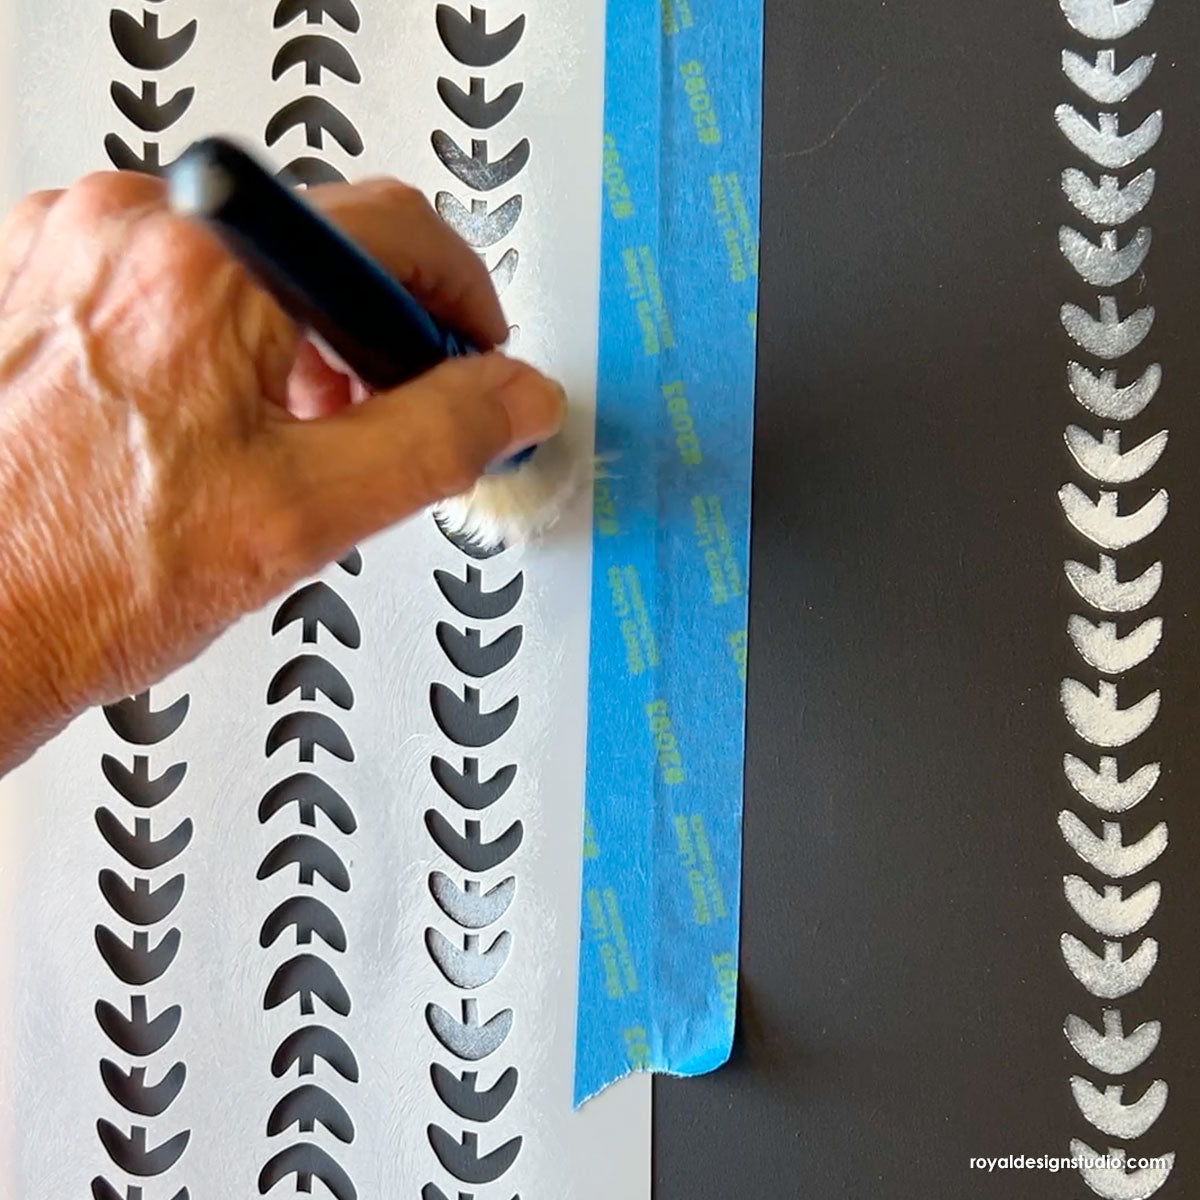
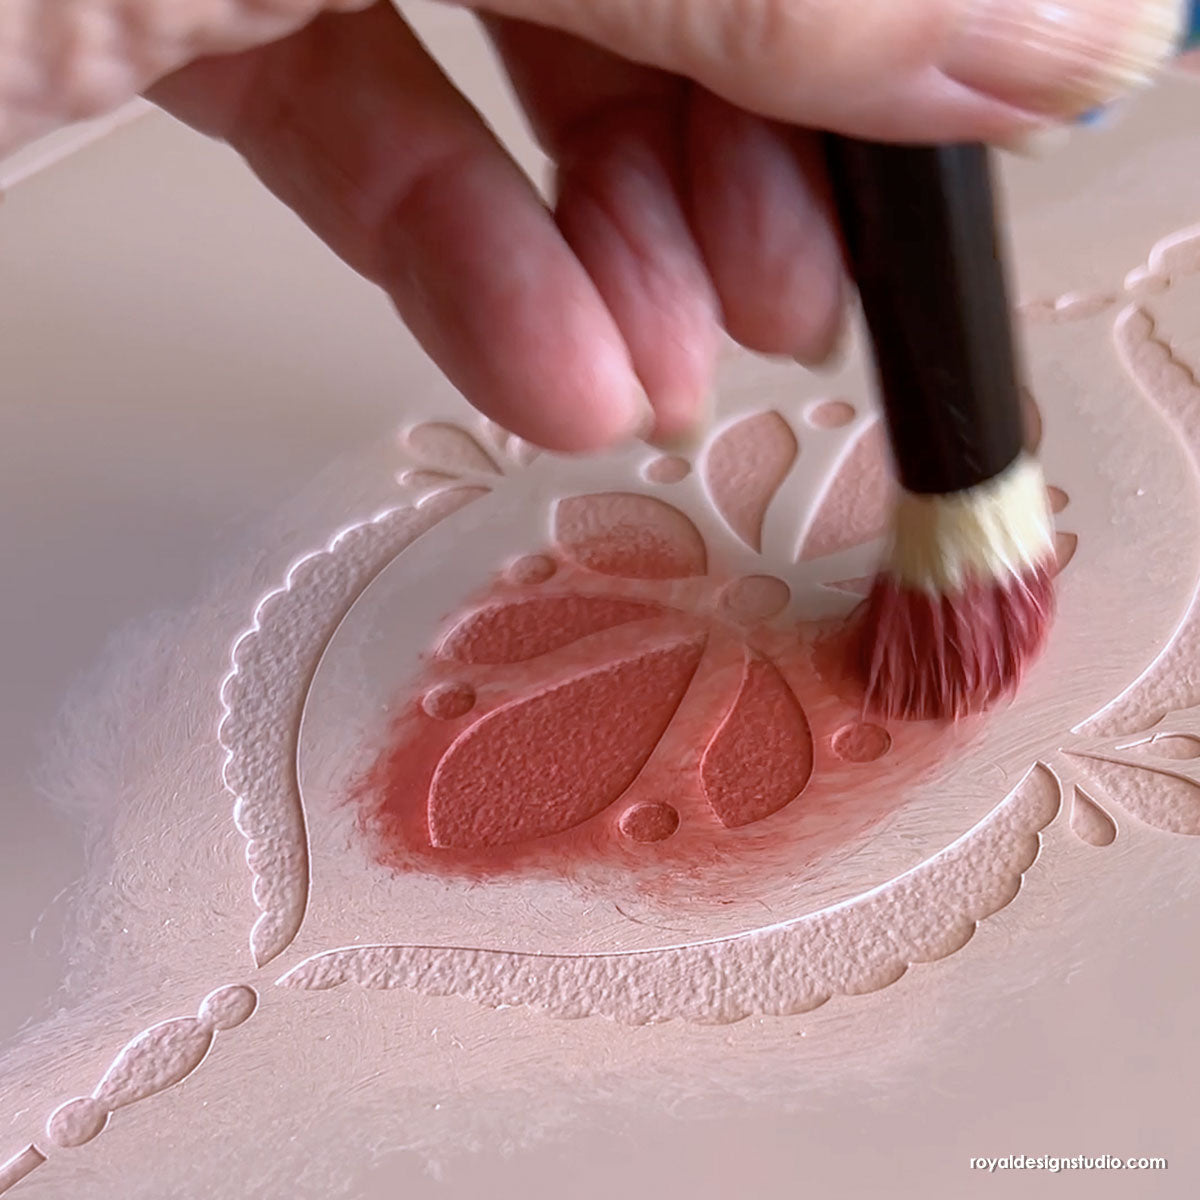
Step 3: Use a combination of stippling and circular motions, with a slight heavier pressure on the brush than if you were stenciling on a wall or other smooth surface.
PRO TIP: Burlap is a highly textured, porous surface and will take quite a bit of paint and pressure to get full, even coverage with the paint. For that reason you can leave a bit more paint on your brush than you would on a hard surface-without the fear of much paint seeping under the stencil. It’s always best to start light a build up the paint until you get a “feel” for it though!
Step 4: Place your stencil on a second mark, and repeat step 5. Repeat until you are finished with the whole circumference of the burlap tablecloth.
NOTE: To maintain a more symmetric design, instead of moving clockwise or counterclockwise on the tablecloth, after stenciling the first Motif we moved to the one across from it.
For the 3rd and 4th motif we did the same on the other line created by the folds on step 2. And then, fill in the spaces in between, following the marks made on step 3.
The end result is a delightful custom tablecloth! Keeping the stencil pattern detail down near the floor means it doesn’t compete with other design elements on the tabletop. If Indian decor is not your style simply substitute with another stencil motif pattern of your choice.
I bet you couldn’t help but notice that lovely wall stencil in the background there… it’s the French Love Letters script stencil from Royal Design Studio!
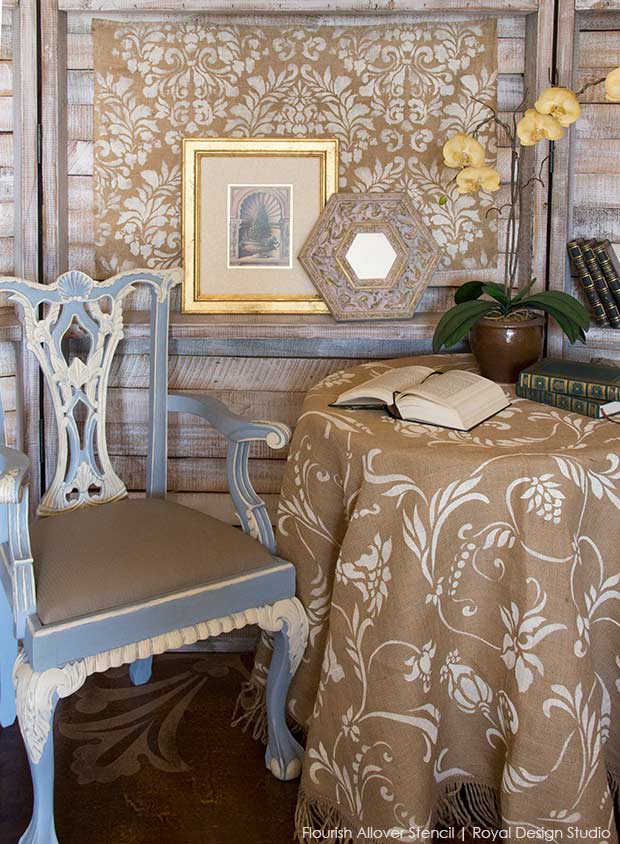
Burlap Tablecloth with a Stenciled Flourish
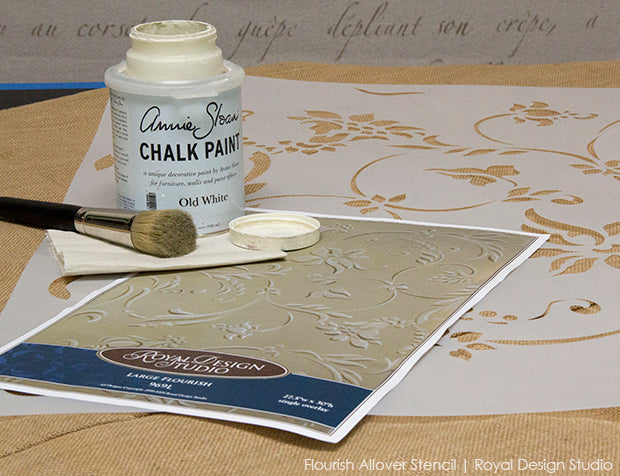
Stencil Supplies you will need for this project:
- Flourish Allover Large Stencil from Royal Design Studio
- Old White Chalk Paint®
- 2” Stencil Brush
- Spray Adhesive, Paper Towels, Blue Painter’s tape.
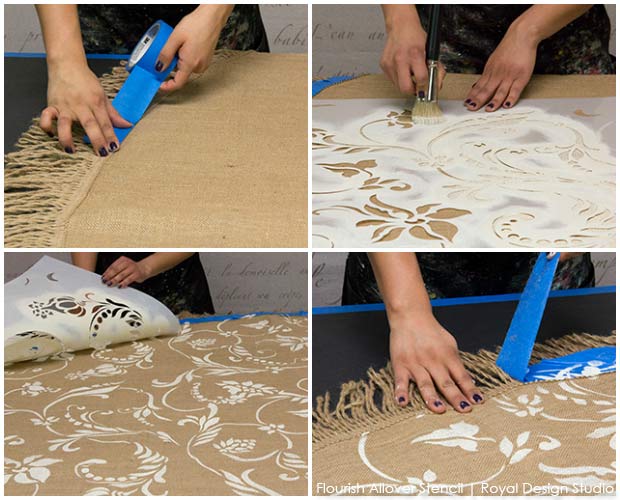
Step 1: For this tablecloth the allover stencil pattern will be stenciled right to the edges of the fringe detail. Use Blue Painter’s tape to protect the fringe all around the edge. Using shorter pieces of tape will make it easier to follow the round shape of the tablecloth.
Step 2: Mist the back of the stencil with spray adhesive, let it sit for a few minutes so it becomes tacky, and place your stencil in the middle of your burlap tablecloth.
Note: Since this Flourish stencil design is an asymmetrical allover pattern, it can begin and end anywhere. But, for a symmetrical pattern you will want to begin with the center of the design in the center of the round tablecloth. An easy way to find the center is to fold the fabric in half twice. The point where the 2 lines cross is your circle’s center.
Load your 2” Stencil Brush with Old White Chalk Paint®, and off-load some of the excess paint on a paper towel. Follow the same basic stenciling tips outlined in the first project above, using a bit more pressure and paint on the brush than when stenciling a smoother surface.
Step 3: The registration marks that are found in the stencil will allow you to repeat the pattern perfectly across the whole tablecloth surface. The paint will dry very quickly so you should not have to wait before moving the stencil to align the next repeat.
Step 4: Remove the Blue Painter’s Tape and enjoy your newly stenciled tablecloth!
These burlap tablecloths are not meant to be washed, whether stenciled or not. You can spot clean or dry clean them, if necessary. However, if you are expecting a lot of use and wear you may want to protect the table top completely with a round circle of tempered glass.
You can see in the photo above that we have also stenciled some large pieces of burlap for display. The photo above shows the Fabric Damask Stencil from Royal Design Studio, also stenciled in Old White Chalk Paint®. You can buy burlap by the roll and stencil long pieces of it to use to “upholster” and accent wall or to dress up the back of a bookcase.
Love this project idea? Help us spread that love! Please feel free to share it with your friends on Facebook and Pinterest.


