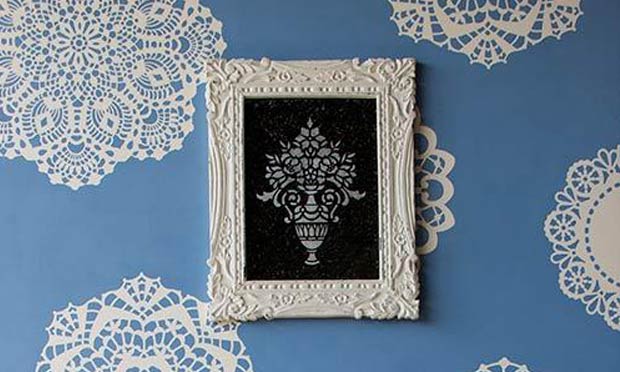
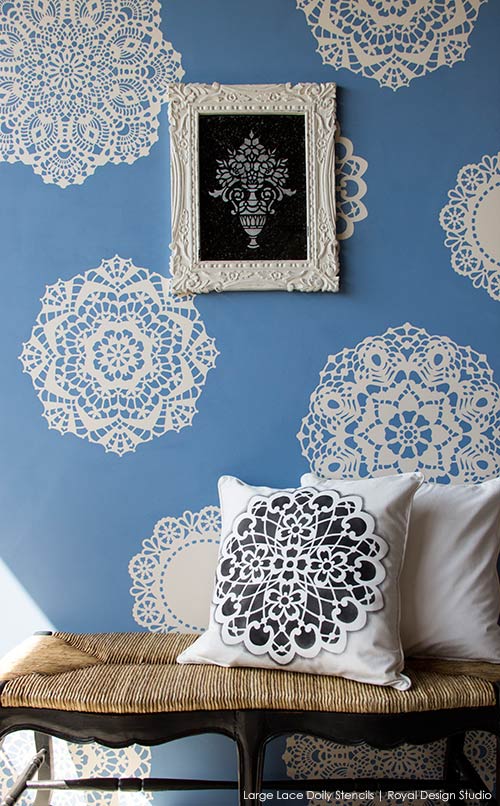
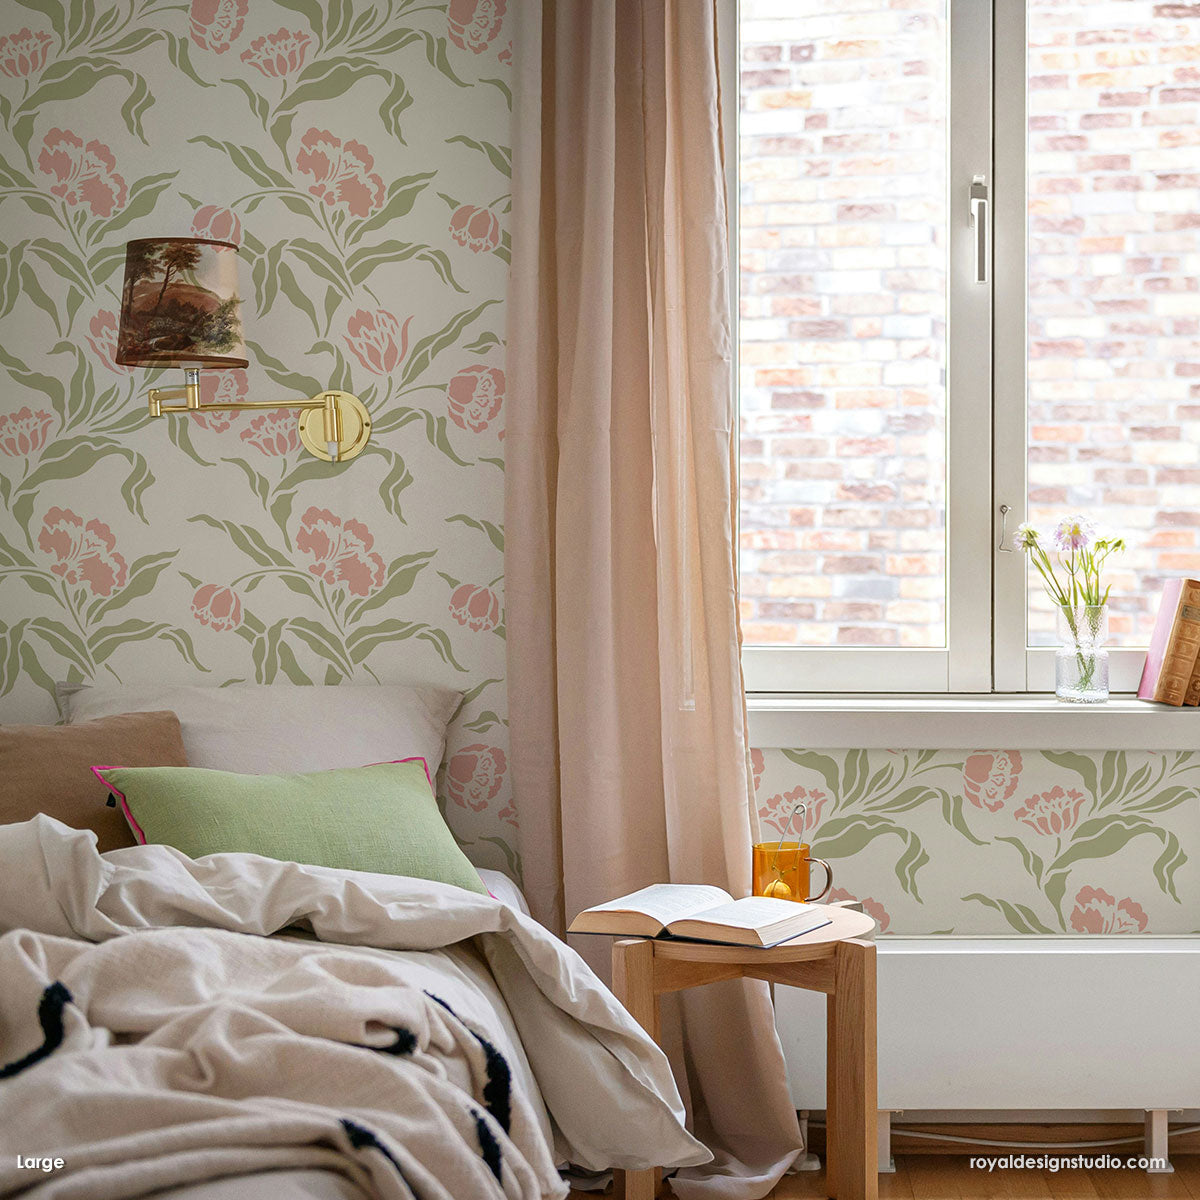
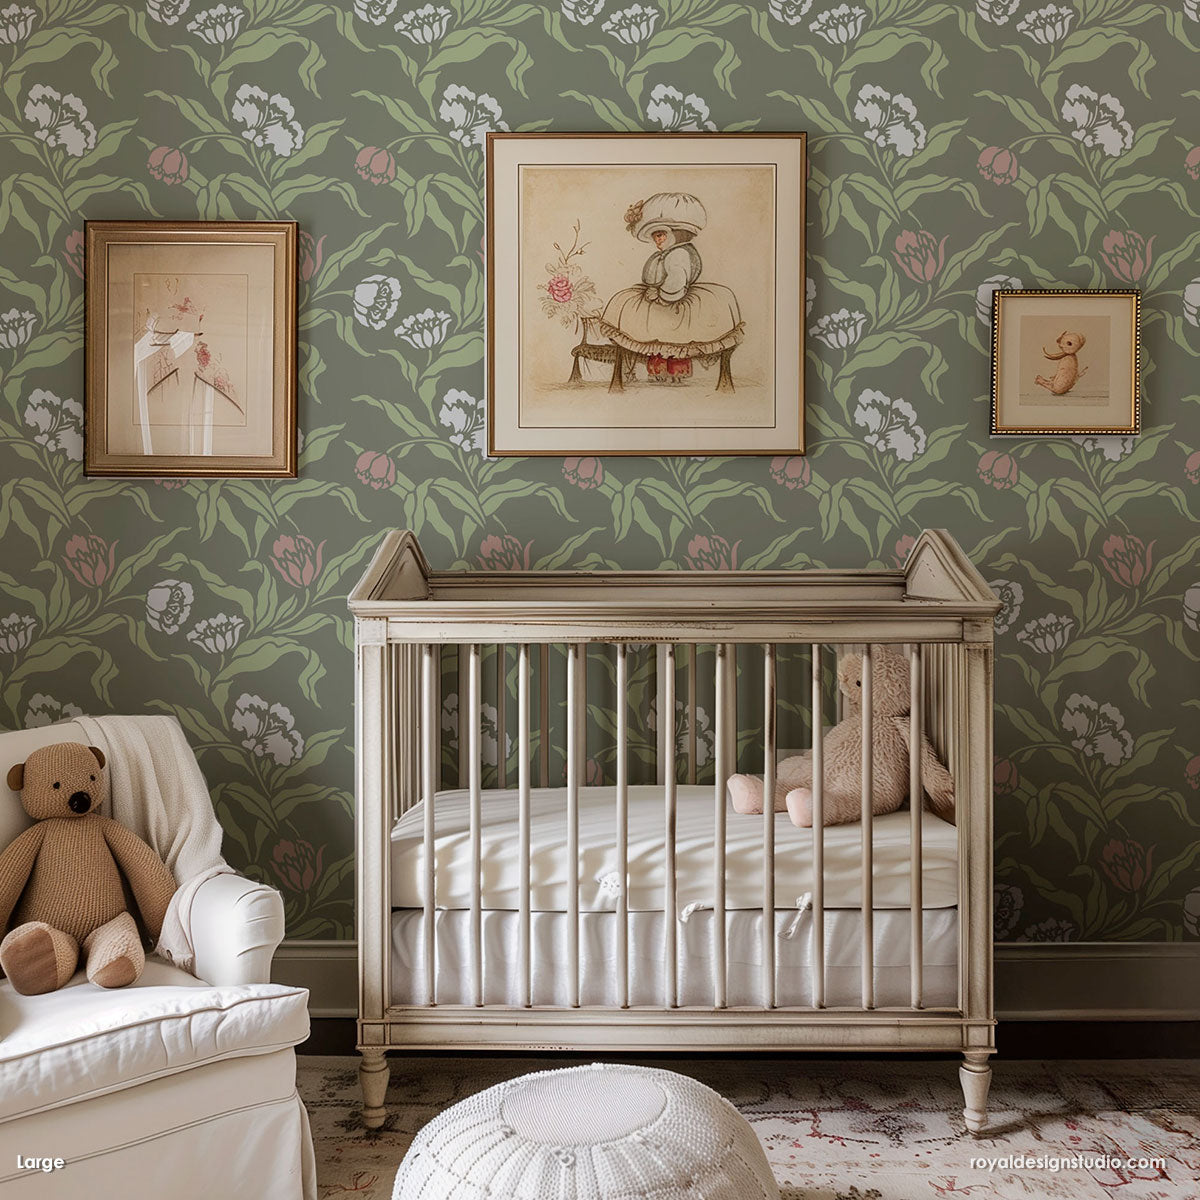
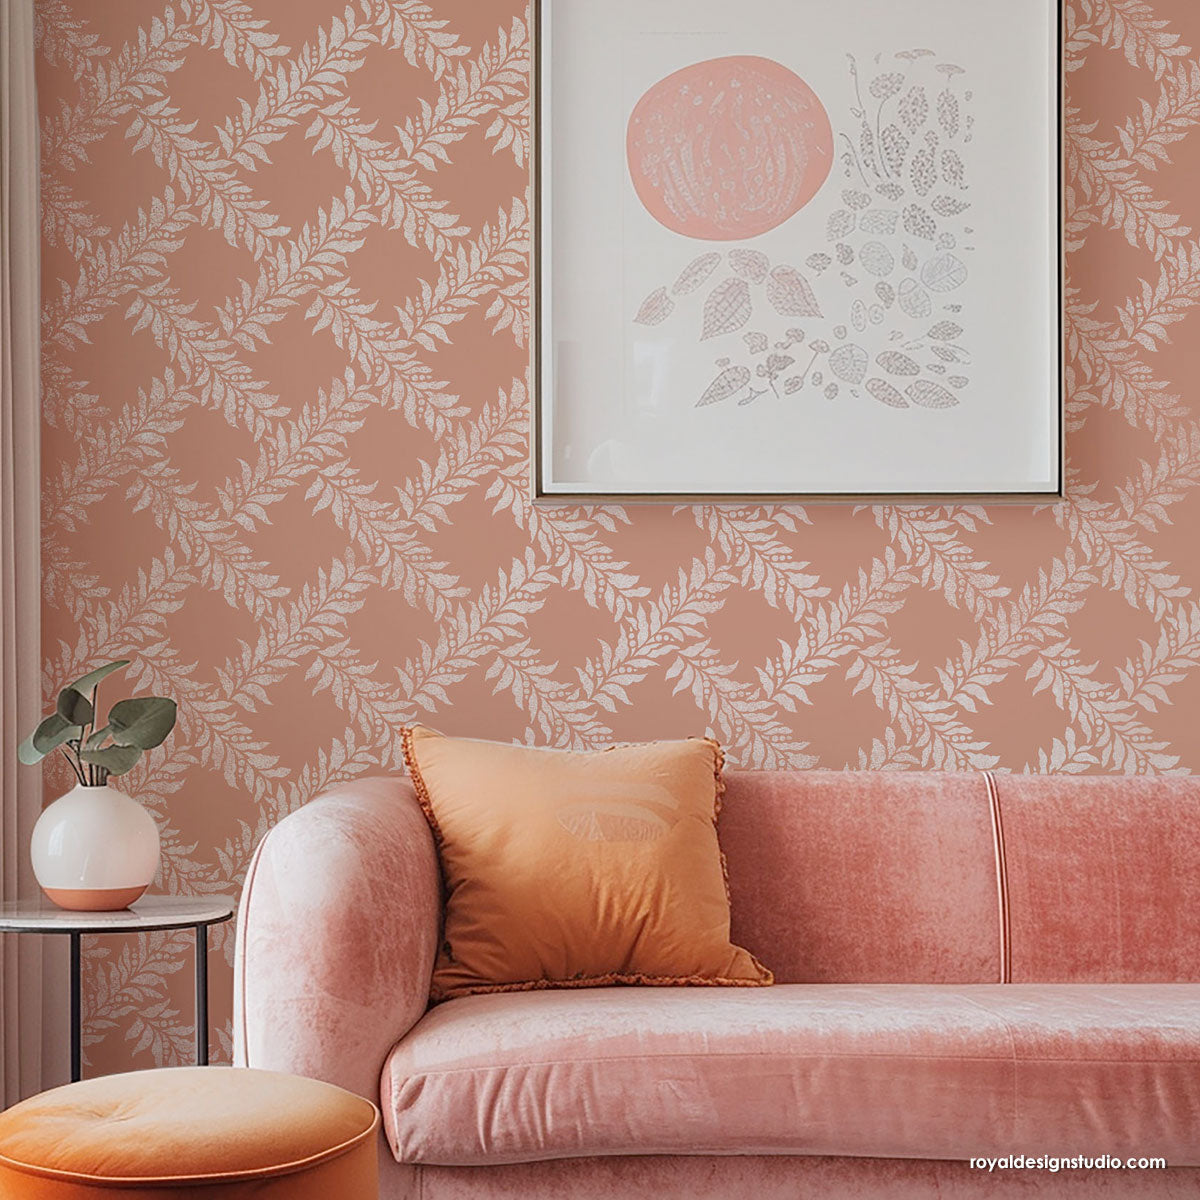
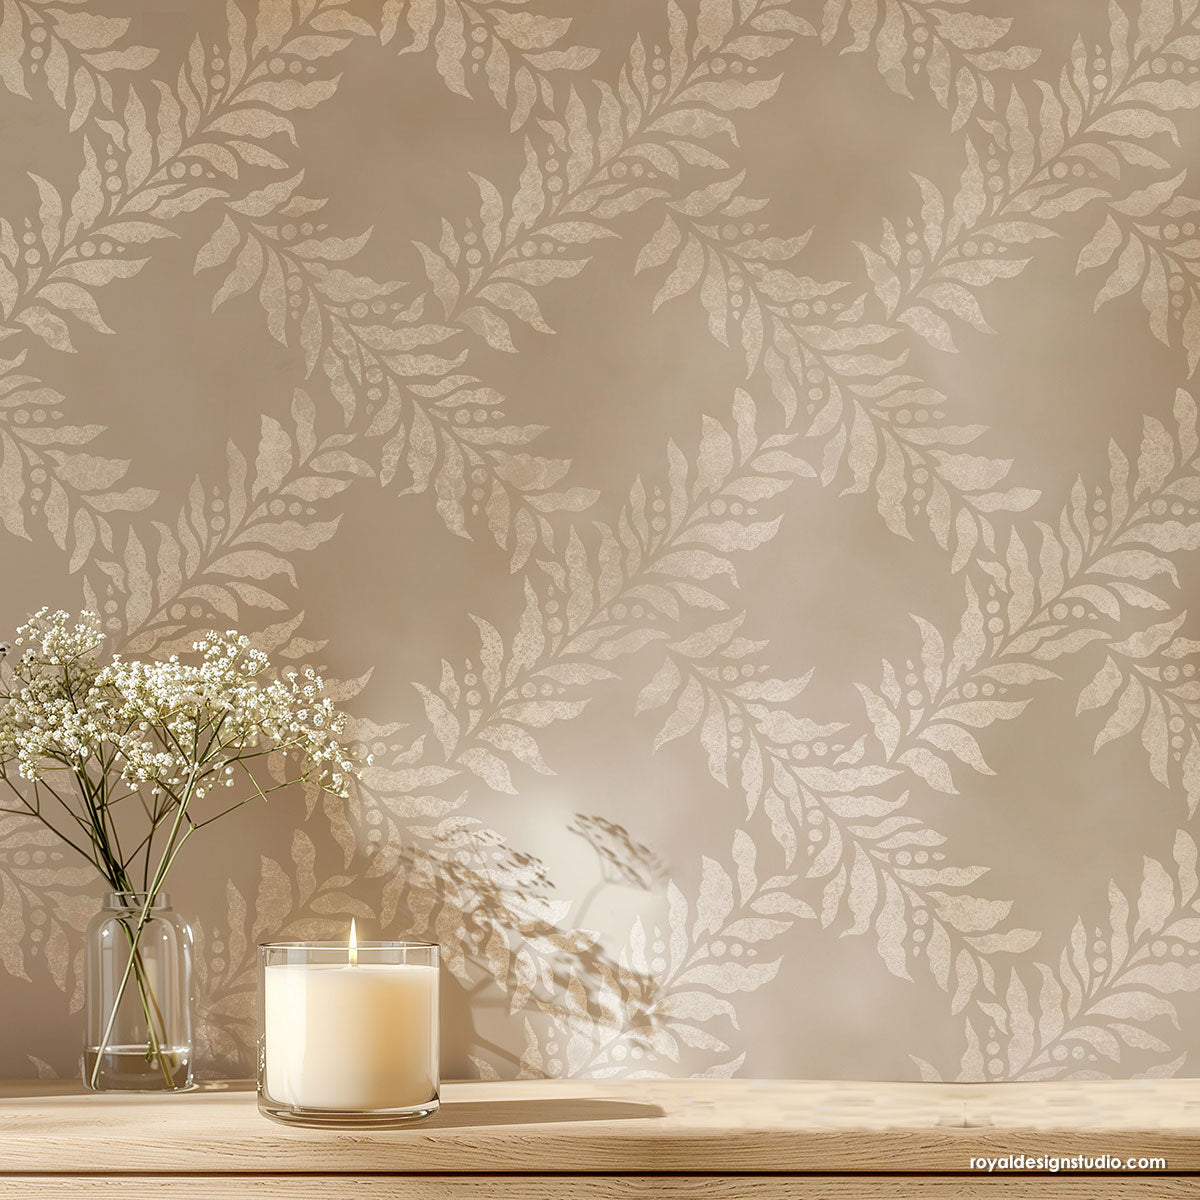
Learn how to stencil a lovely lace feature wall. Romantic lace accents are ON TREND for everything from clothing to furniture, and this stencil tutorial shows you how to translate this great look to a fabulous, original feature wall using the Large Lace Doilies Stencils Set from Royal Design Studio.
Our Lace Doily Stencils are part of our Stencil Impressions Collection. This type of stencil comes in two parts: a large silhouette shape and a design detail layer. We have created an instructional flipbook showing basic Stencil Impressions stencil applications which we highly recommend your refer to for more ideas and information. For this project we are using JUST the design detail layers, which get laid out on the wall randomly and moved as needed to complete the random design.
Stencil Supplies for This Project:
- Large Lace Doily Stencils Set
-
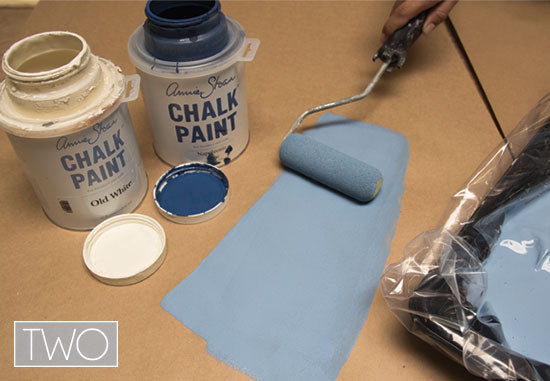
Chalk Paint® Decorative Paint Colors: Old White + Napoleonic Blue
Small or Medium Foam Paint Roller, Roller Handle, Paint Tray - Motsenbacker's Lift-Off #5 (to clean stencils)
- Contractor's Paper, Paper Towels, Spray adhesive (we use 3M Super 77)
NOTE: Start with a fresh white or an off-white wall color as you base. This will be the color of the doilies themselves after the stenciling.
Step 1:
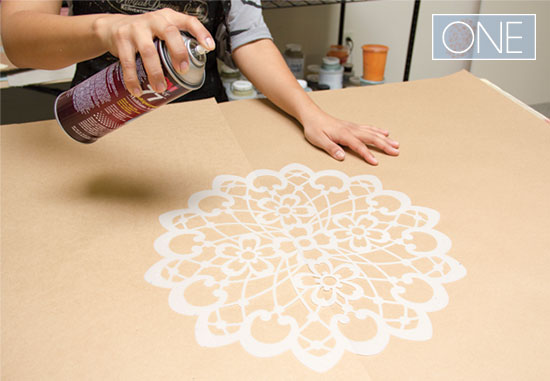
Lay the stencils down on heavy contractors' paper (or similar) and mist the backs lightly with Spray Adhesive. Hold the can about 12" away and just give it a LIGHT misting. All the adhesive to set up for a few minutes before applying the stencil to the wall. You will create your own unique arrangement with the stencils, placing them as close or as far apart as you wish on the wall surface.
Step 2:
Mix the Chalk Paint® decorative paint colors Old White and Napoleonic Blue at a rate of 1:1. It is not necessary to use Chalk Paint® for this technique, however we like that the paint covers very, dries quickly has a thick consistency which helps to keep excess paint from seeping under the stencil. Load a foam roller with paint and offload excess paint onto contractor's paper or paper towels.
Step 3:
Begin rolling using a cross hatch motion in the areas in between the stencil first and move to the stencil areas themselves as the paint roller becomes more dried out.
Step 4:
Continue rolling in your working area until you get complete coverage. This may take two quick coats-but as we said, the paint dries very quickly allowing for easy re-coating by the time you complete each area. Allow the paint to fade out randomly as you approach the areas where you will be moving the stencils into to continue the pattern you are developing.
Step 5:
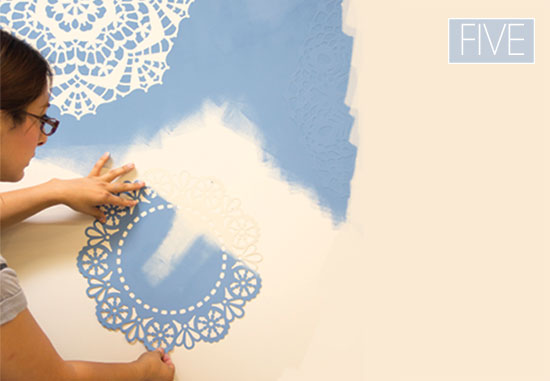
As you complete each area move the patterns up, down, and across the wall to continue your pattern development. Note that because the Chalk Paint® will be applied rather heavily you will want to clean your stencil patterns periodically with Motsenbacker's Lift-Off and respray them with the spray adhesive.
Stenciling a feature wall is a great way accent a pretty space while keeping your stencil time under control. The Lace Doily stencils are ideal for adding a little more romance in the bedroom and would also be lovely for a little girl's room. They looks equally fabulous on pillows, curtains and tablecloths. Stay tuned for another tutorial on stenciling this lace doily pillow coming soon!
Find MORE Lace stencil project how-to's here:


