If you want to makeover your bedroom with instant style and little effort, Royal Design Studio stencils are your best bet for making it affordable AND gorgeous. Ursula of Home Made by Carmona is a fan of DIY decorating and says, “You get a truly custom look for less in the space, not to mention the DIY bragging rights!” When she heard how great stencils were for easy DIY decorating, she sprung head first into stenciling to transform her daughter’s bedroom. This was her first time stenciling, and now she has become “obsessed”! Check out what she did… and we hope it inspires you to pick up a stencil brush and stencil some of your own décor!
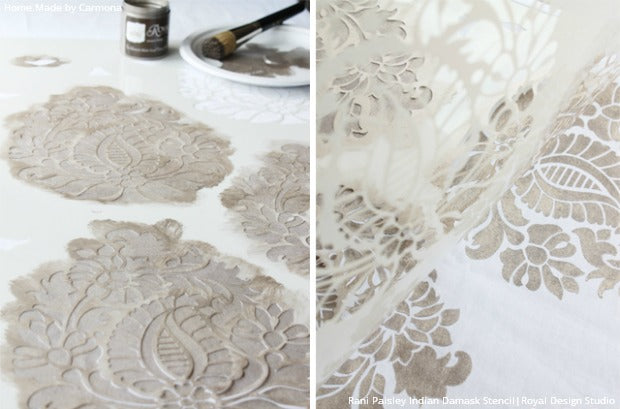
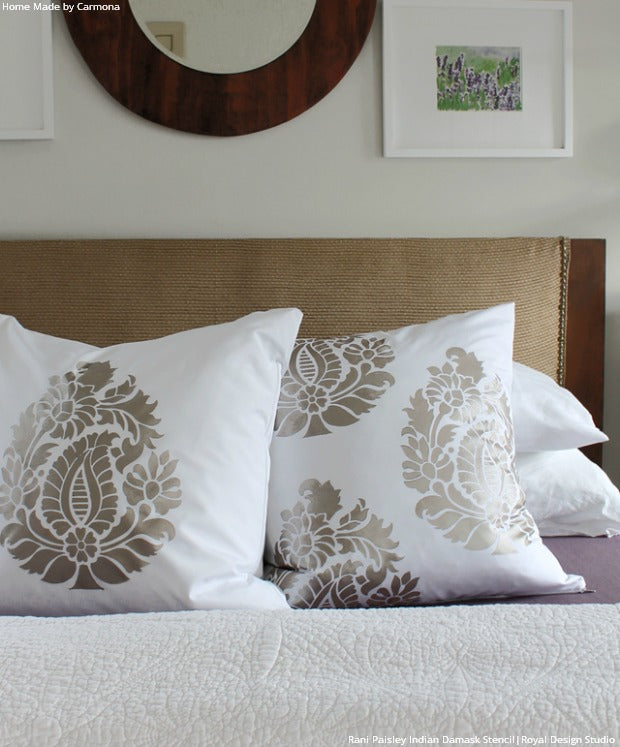
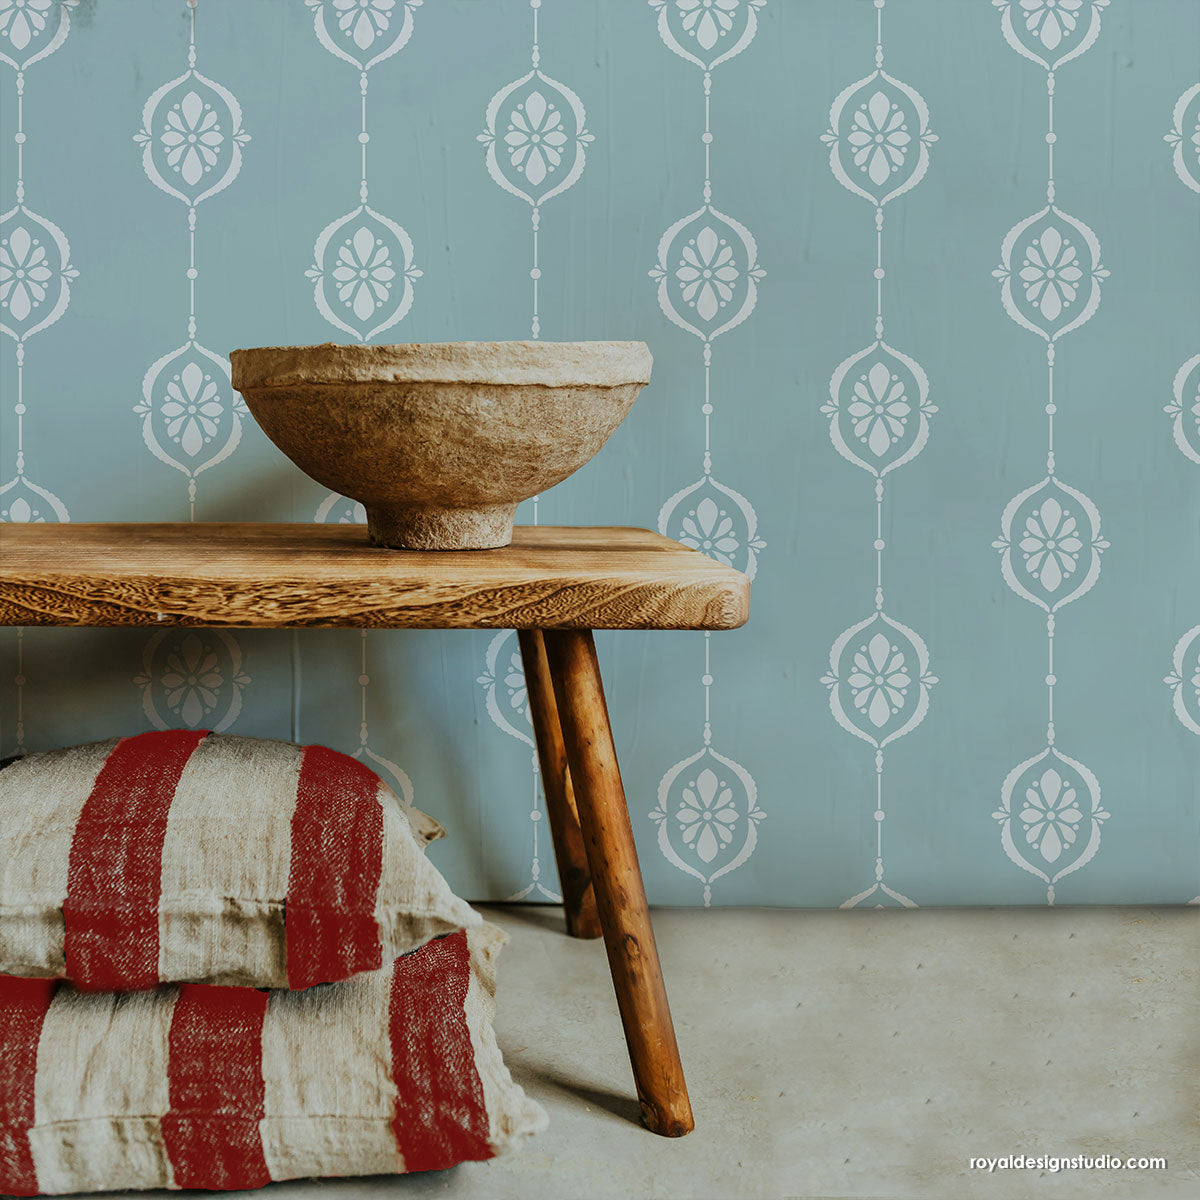
This bedroom makeover needed a final element that would help bring it all together. Ursula found our Rani Paisley Indian Damask Stencil and thought it would be the perfect design to stencil on curtains and pillow covers. She says, “You can’t go wrong with a paisley damask! It adds a touch of something ornate to any style, but in a contemporary manner.”
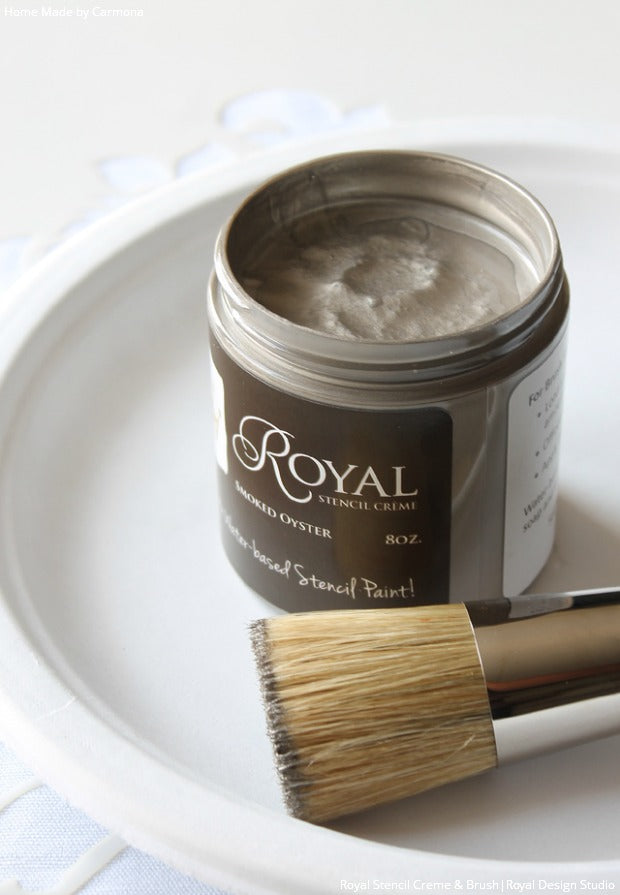
To make her DIY project a breeze, she used our 2” Royal Stencil Brush and Smoked Oyster Royal Stencil Creme. This quality brush and creamy paint combo work so well with each other to create the perfectly stenciled design on a variety of surfaces, including fabric.
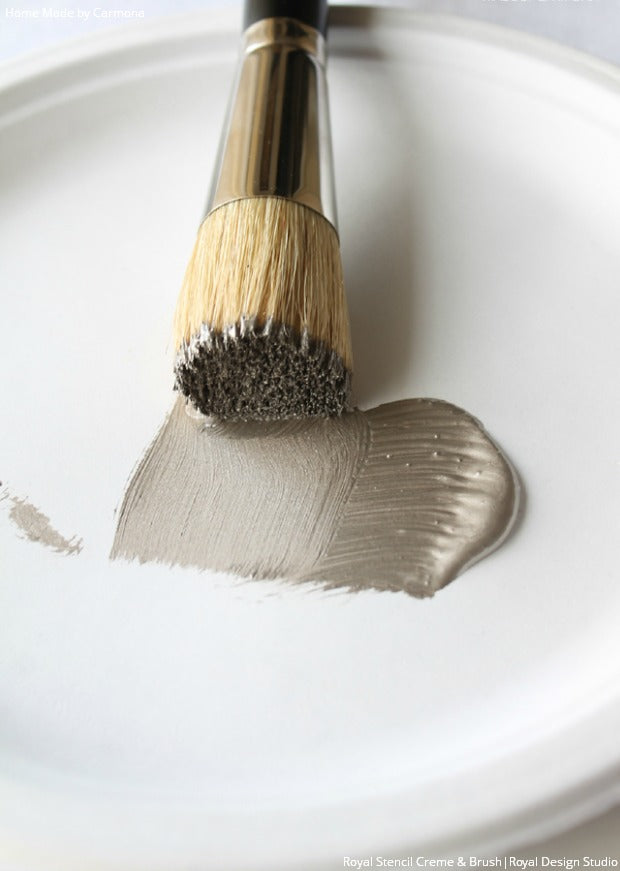
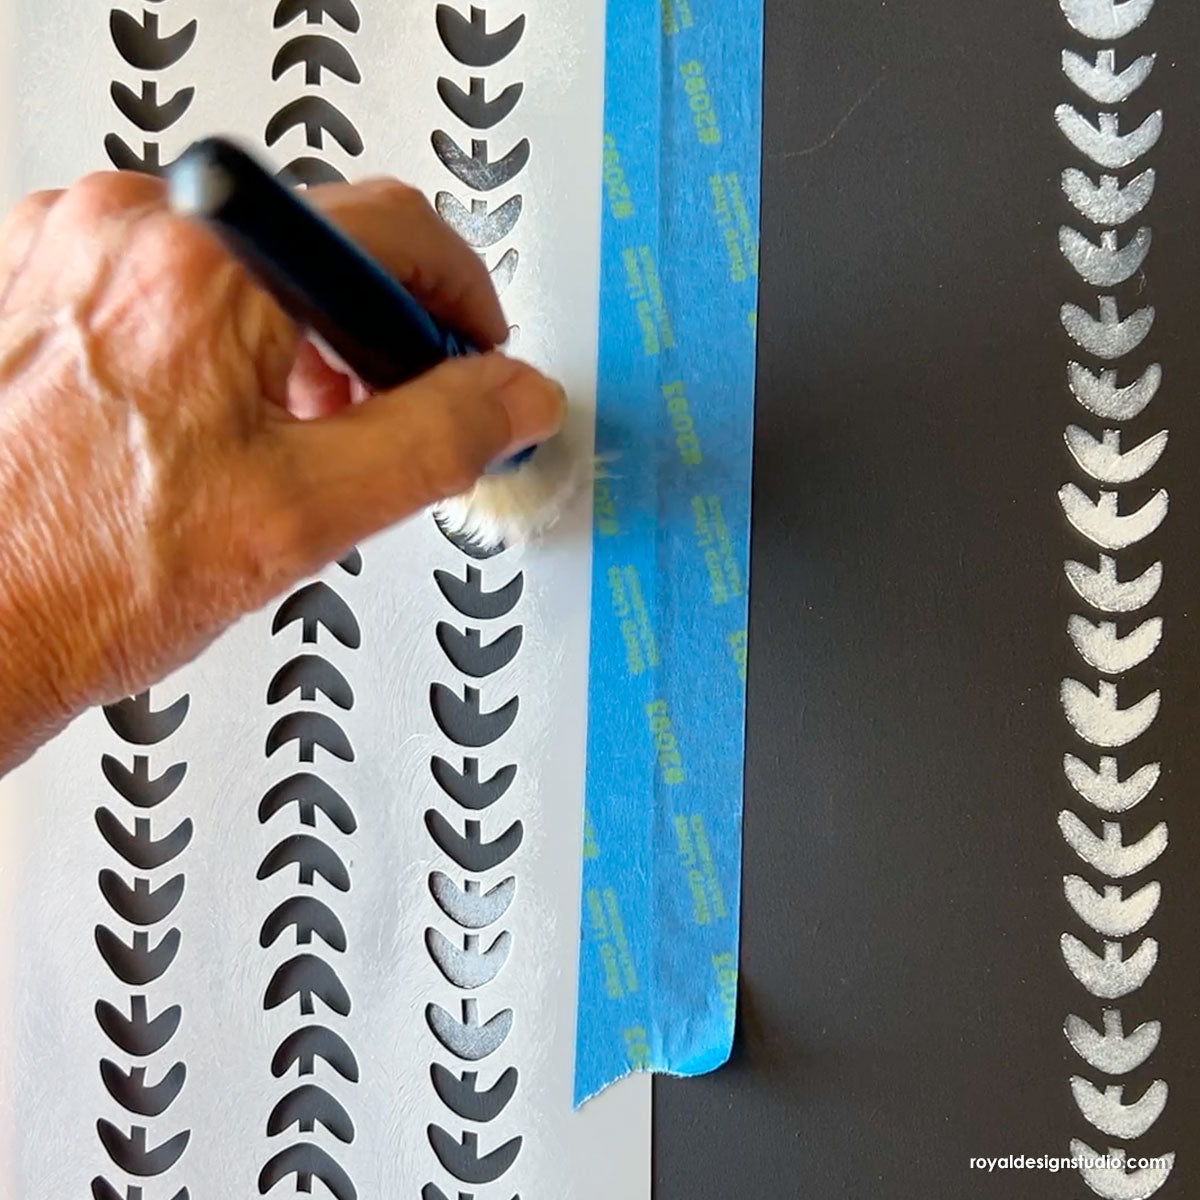
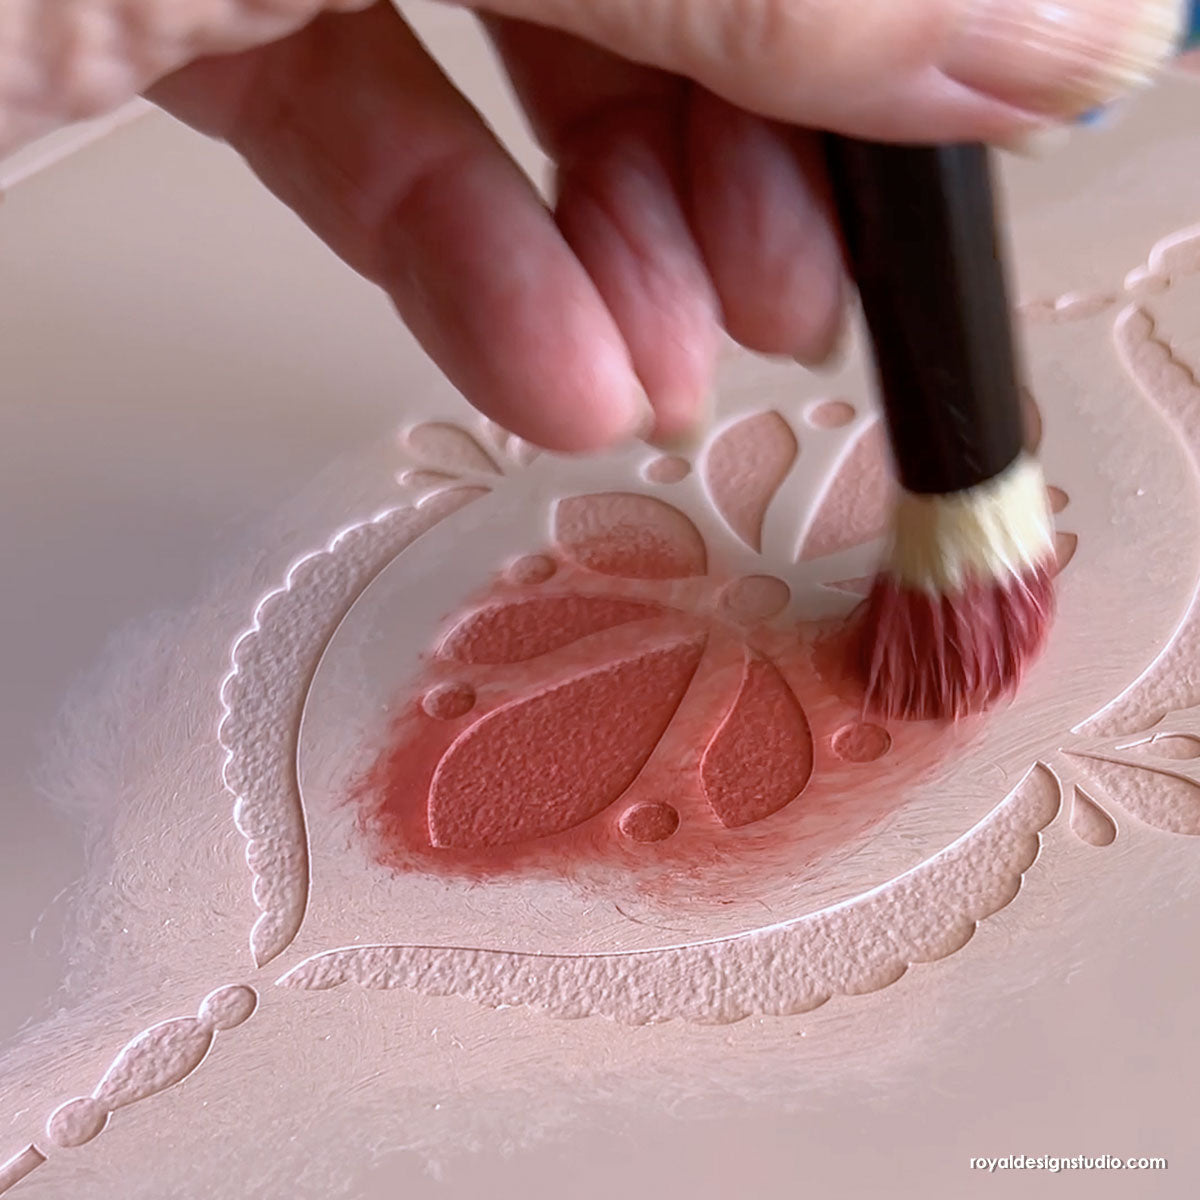
She loaded the tips of the 2” Royal Stencil Brush with Royal Stencil Crème paint and offloaded a majority of the paint onto a paper plate. This removed the excess paint and helps to distribute the paint evenly on the brush. Offload even more paint onto a stack of paper towels to be sure you don’t have any paint “bleedunders”. It’s not possible to touch up fabric!! 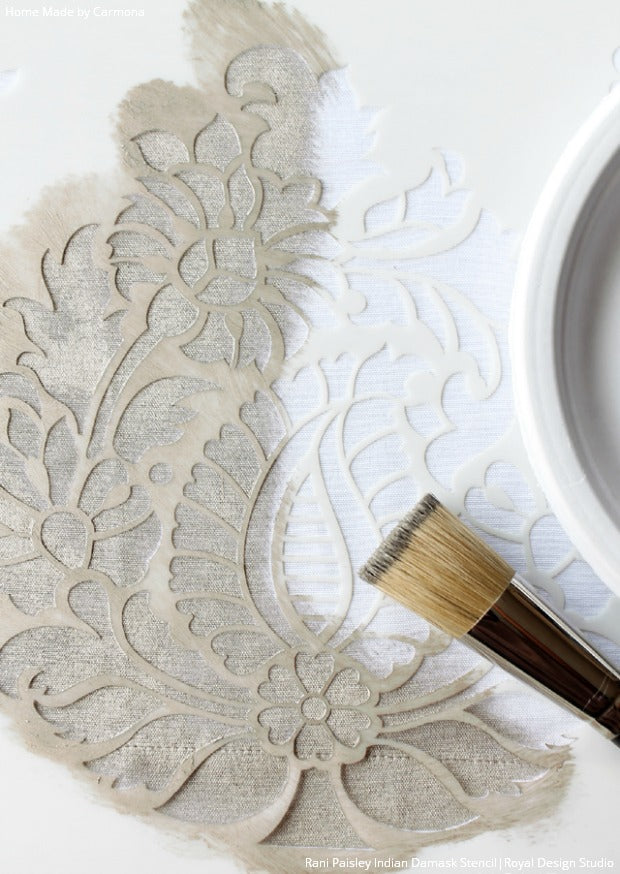
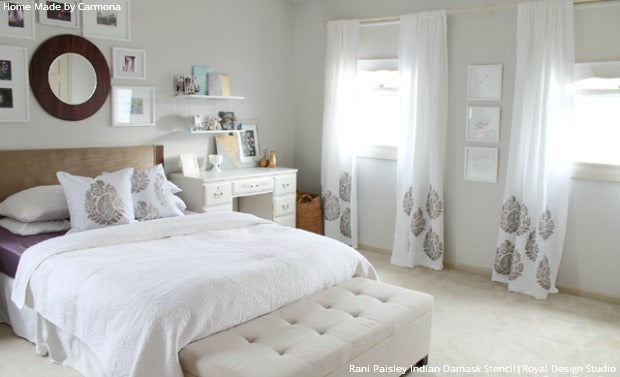
For the curtains, she positioned the stencil on the bottom middle of the fabric, taped the stencil into place, and began to stencil. She used a circular motion with light pressure on the brush. With stenciling, it’s best to build up the paint and depth of color slowly.
After she stenciled the first repeat, she repositioned the stencil and aligned it easily and perfectly with the help of the stencil’s registration marks. She continued to stencil and reposition the stencil until she was satisfied with how it looked. For this project, she chose to only stencil the bottom third of the curtains.
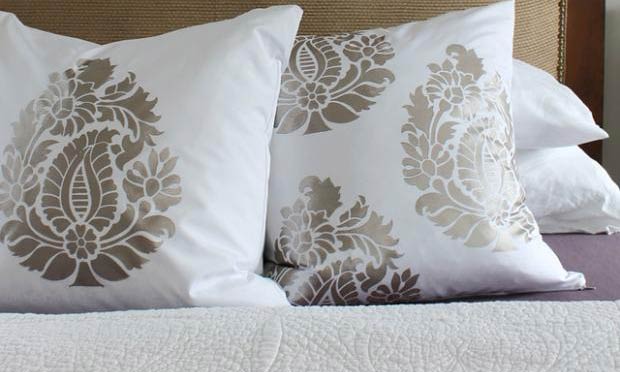
To coordinate with the curtains, Ursula stenciled pillow covers with two different looks. She stenciled a single paisley design in the middle of one pillow cover, and another with a few paisleys in an allover pattern. This adds some interest while still complementing the rest of the room.
She was delighted with how perfect these stenciled curtains and pillows came out-and wouldn’t you be too?! Her daughter is in love with how light, airy, and gorgeous her bedroom is now. The pops of paisley pattern around the room add just the right amount chic whimsy.
If you have some DIY projects of your own using our Stencils, we’d love to see them! Email us at projects@royaldesignstudio.com or post to our Facebook Page. We want to share your beautiful stencil projects with our readers!
If you liked this stencil project, then you’ve got to check out these too:


