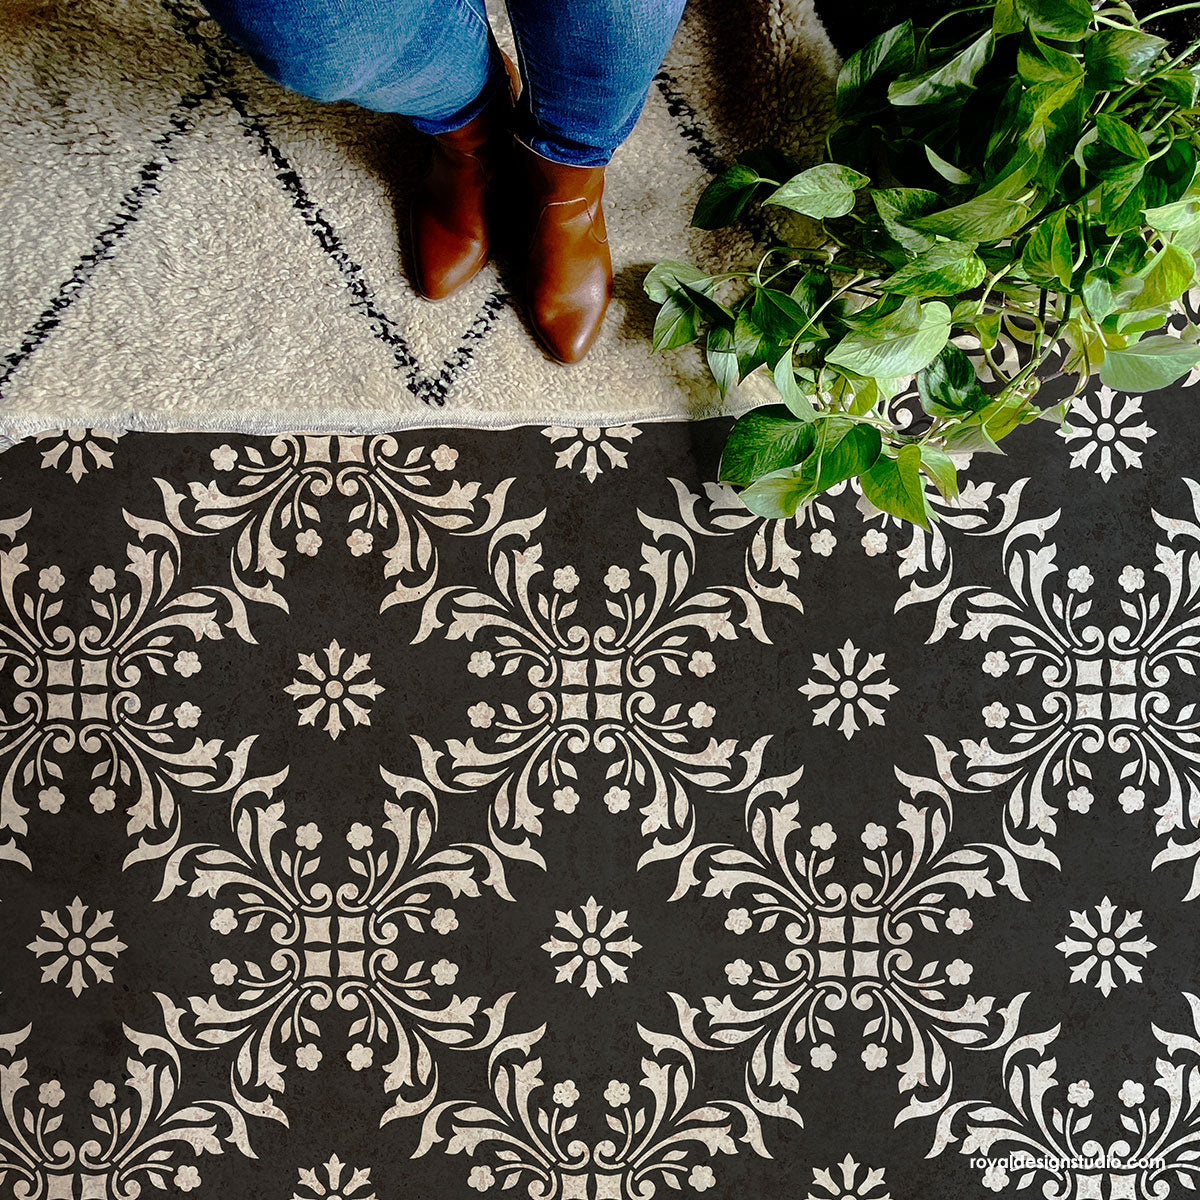
Stenciled and painted floorcloths were in wide use in the 18th and 19th centuries and were viewed as an affordable option to the grander woven carpets of the era. They used motifs and patterns important to the owner and also were painted to mimic tile, marble and other stones. They soon became an art form in their own right, a historic tradition that continues to this day. Stenciled and painted floorcloths are very easy to create, even for novices. Our friend, Janet Metzger of The Empty Nest in Virginia, provided a step-by-step tutorial for her beautiful stenciled floorcloth creation. We're so pleased to share it with you!
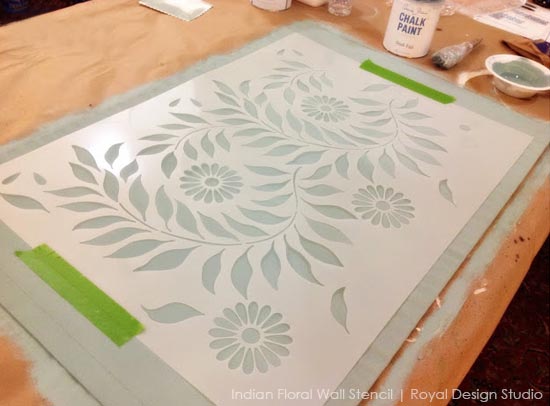
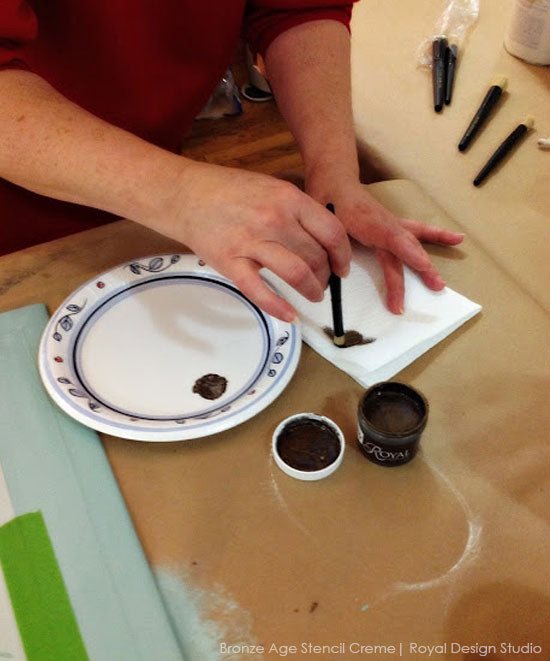
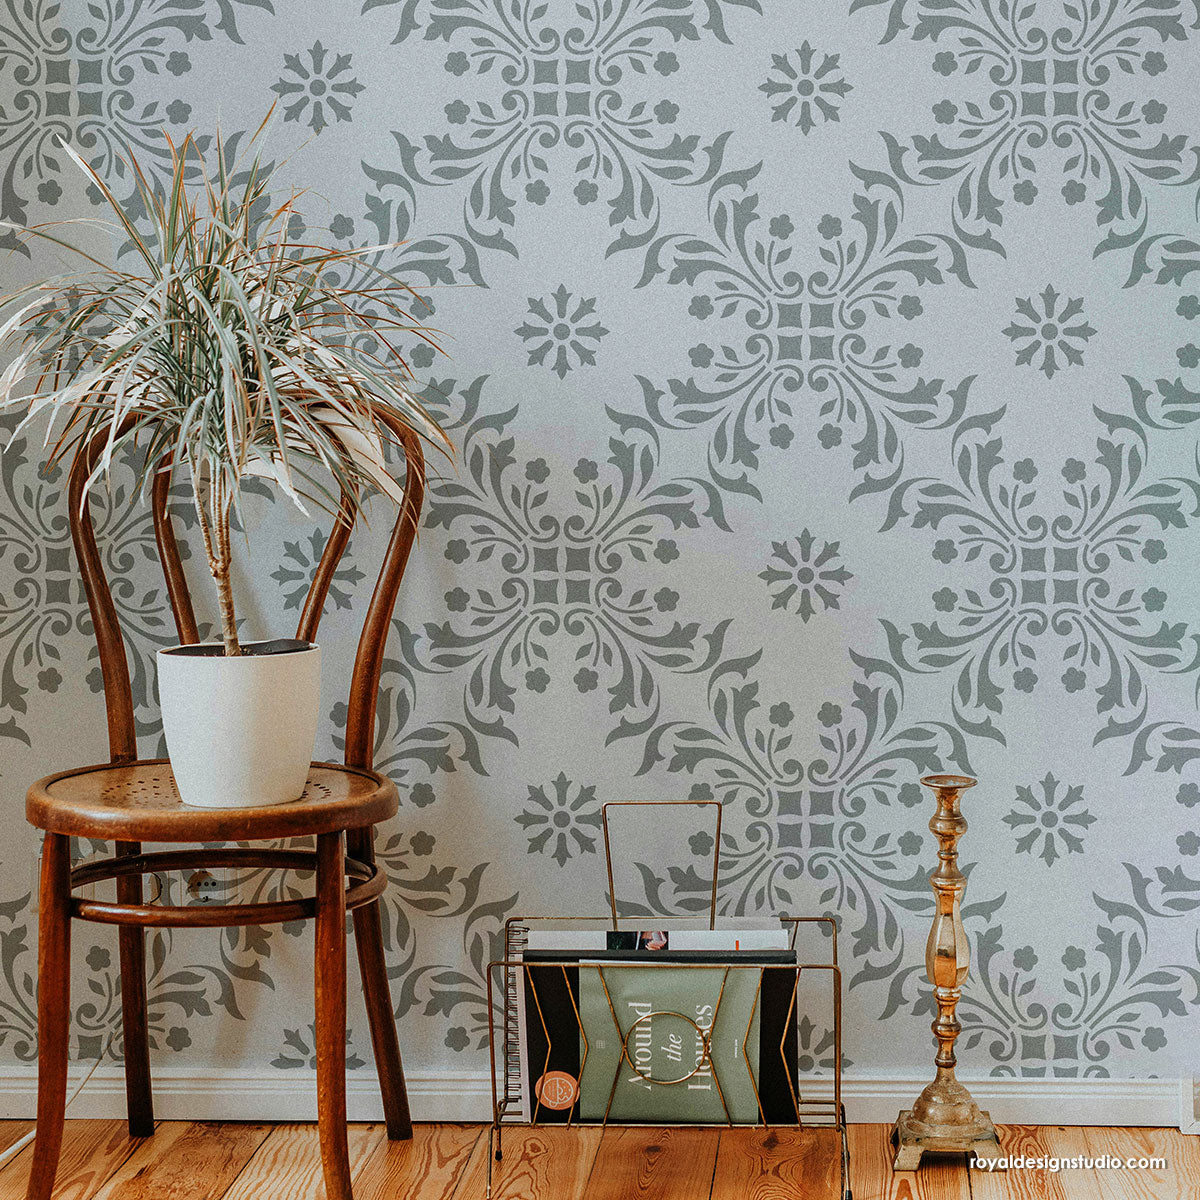
Janet started out by basing the canvas with Duck Egg Blue Chalk Paint® decorative paint and letting it fully dry. For the floorcloth pattern itself, she chose the Indian Floral Wall Stencil from the Allover Ethnic Stencils Collection. Janet says, "The quality of the mylar Royal Design Studio uses is unbeatable and results in a sturdy yet pliable stencil that will not stretch out of shape as many lesser quality ones tend to do." We love to hear that! Using our stencil brushes, she first stenciled the vines with Bronze Age Stencil Creme. Both the Chalk Paint® and Stencil Cremes dry very quickly, allowing you to move along quickly with your project.


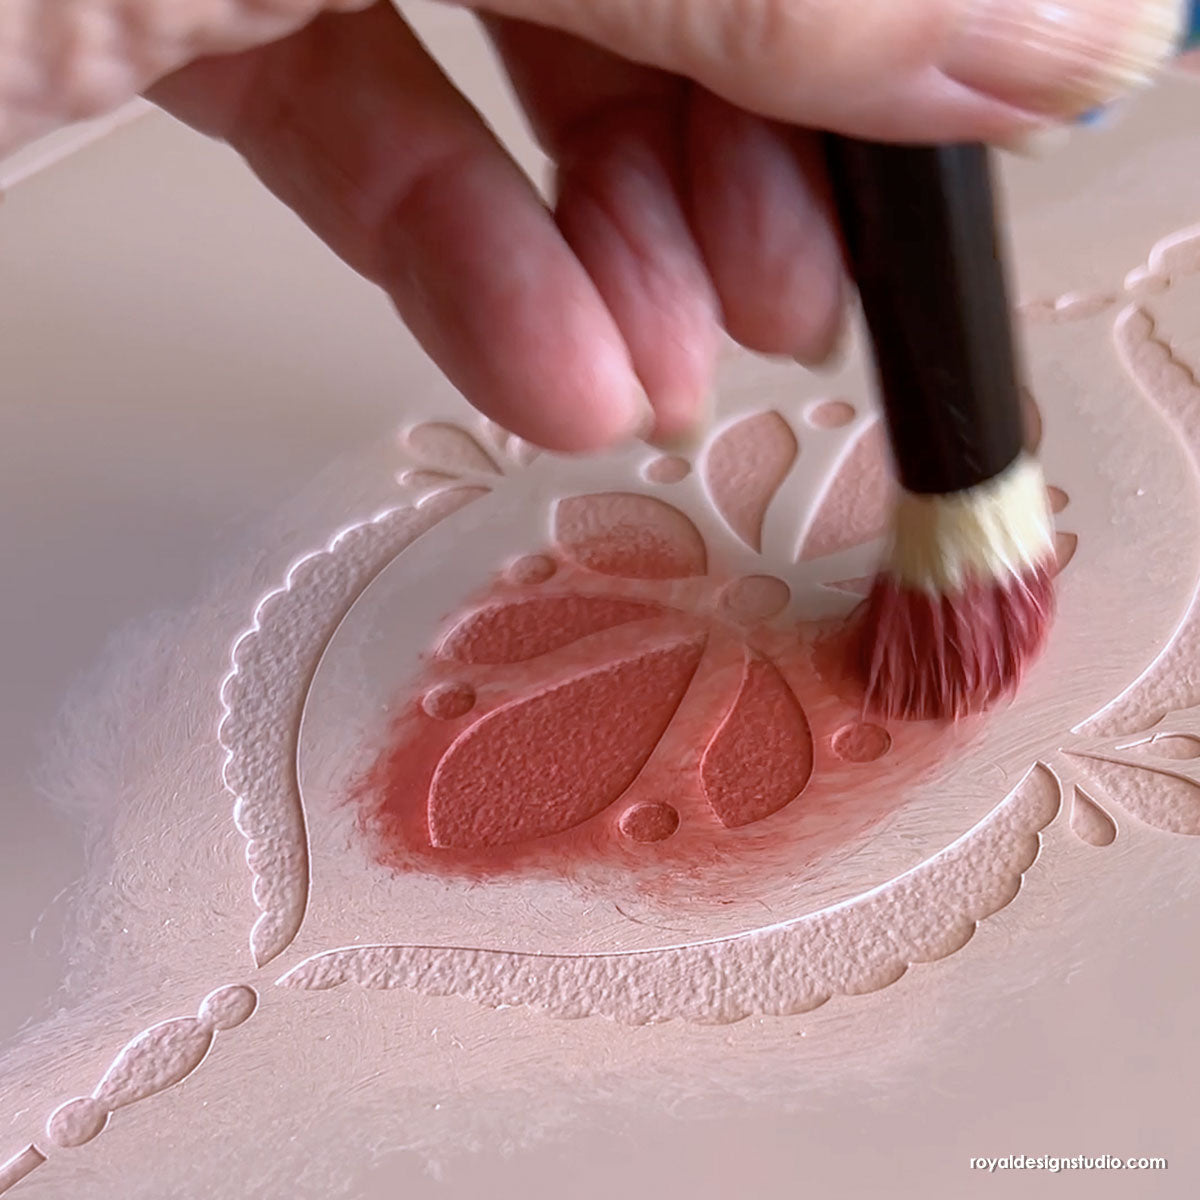
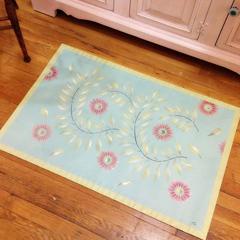
Using several colors of Chalk Paint® decorative paint, Janet stenciled the rest of the gorgeous Indian design since she wanted the design to have more depth within the pattern. She explains, "One of my favorite things about stenciling is the shading and highlighting you can achieve. You can have a sweet one-dimensional design or with just a few extra well placed brush strokes, you can have a lovely multi-dimensional effect. All this takes literally minutes to do." To protect her beautiful creation, Janet finished off her stenciled floorcloth project with two coats of Annie Sloan Floor Lacquer.

Wonderful results! You could use your durable floorcloth for any room -- kitchens, baths, patios and foyers to name a few. Janet advises to use double-sided carpet tape or poster adhesive to secure the floorcloth to the floor and to just use a damp mop to clean it. Also, depending on the wear and tear of the area you place it in, you may need to be recoat with lacquer every few years. The floorcloth sold quickly in Janet's shop so be sure to check her amazing blog for the popular project as she wrote a full tutorial along with more great tips on how to paint and stencil a floorcloth. It's a can't miss! Many thanks to Janet for sharing her versatile stencil project with us! Please visit our Facebook fan page and see our Pinterest boards for more inspired projects with our stencils!
We have a few more stenciled floor projects to share! Wanna see them? Click in!
- Painted and Stenciled Floorcloth with Chalk Paint® decorative paint!
- A Dee-lightful Stenciled Floorcloth for a Studio!
- Fab Painted & Stenciled Floor Ideas!


 Stenciled and painted floorcloths were in wide use in the 18th and 19th centuries and were viewed as an affordable option to the grander woven carpets of the era. They used motifs and patterns important to the owner and also were painted to mimic tile, marble and other stones. They soon became an art form in their own right, a historic tradition that continues to this day. Stenciled and painted floorcloths are very easy to create, even for novices. Our friend, Janet Metzger of The Empty Nest in Virginia, provided a step-by-step tutorial for her beautiful stenciled floorcloth creation. We're so pleased to share it with you!


