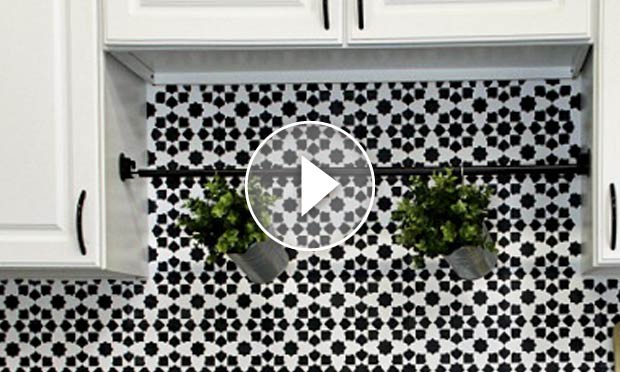
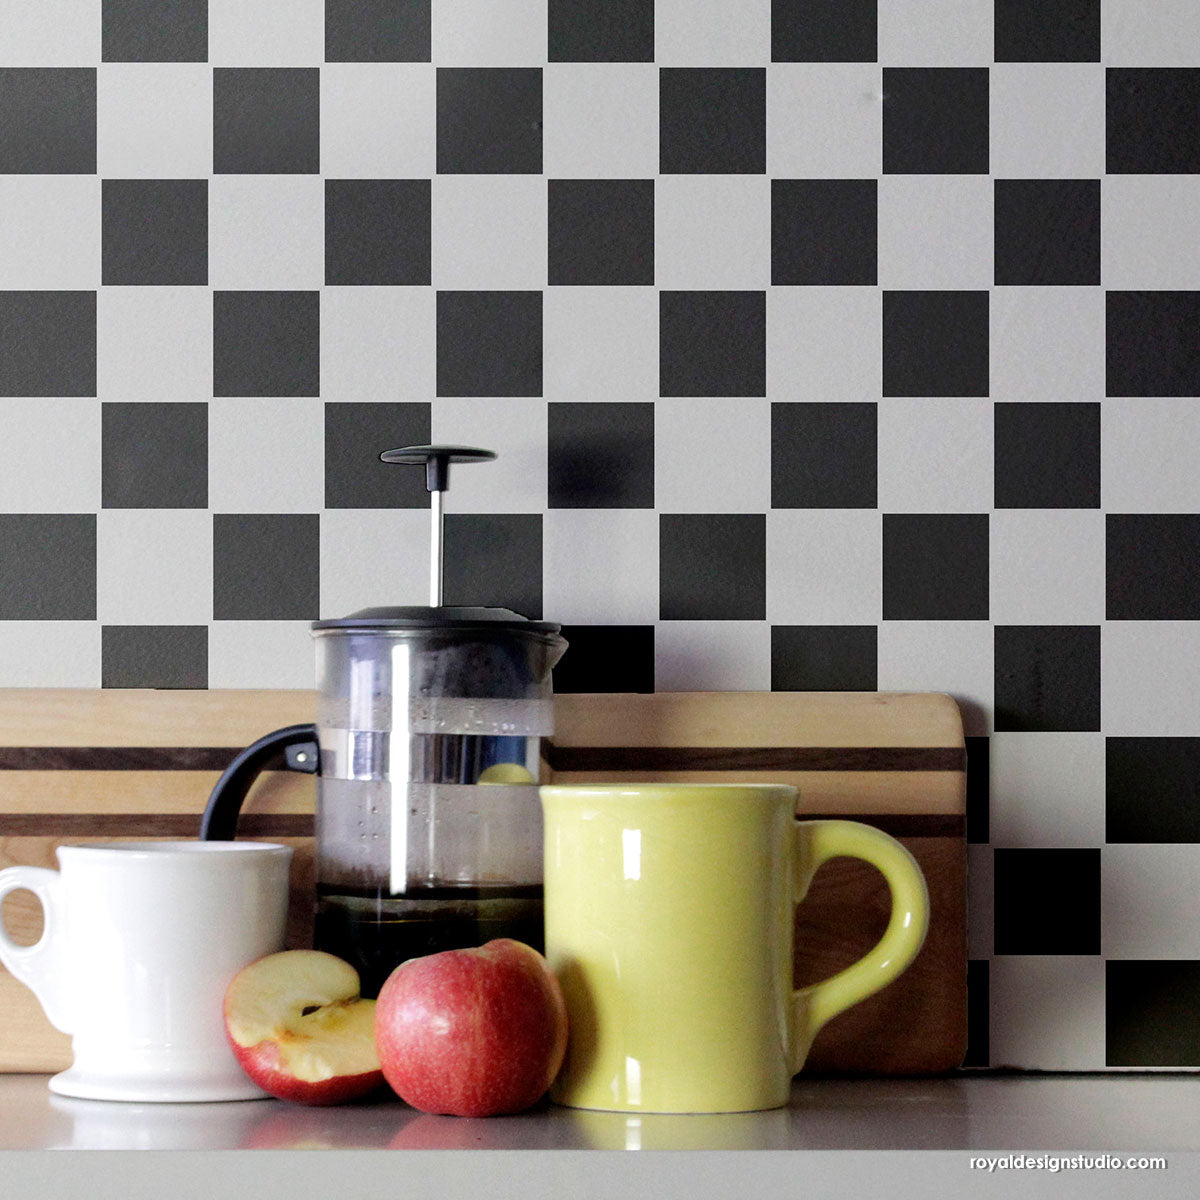
Kitchen Backsplashes not only protect your walls, they also add color, pattern and texture. However, the overwhelming amount of materials needed for a new kitchen or a kitchen remodel can quickly make your costs skyrocket. Save precious dollars by cutting down on costs while maintaining high style. We’ve been seeing a LOT of home decorators opting for Tile Stencils to decorate their backsplash rather than pay for expensive tiles (plus the cost of installation and a professional!). Watch the video tutorial below to learn how to paint your own DIY kitchen backsplash using Tile Stencils…
Supplies:
- Cadiz Tile Stencil (size large) from Royal Design Studio
- Royal Stencil Brush
- Black and white latex paint
- Foam roller with tray, contractor’s paper, painter’s tape, small artist brush, level
Step 1: Paint your kitchen backsplash with a white base coat and allow to dry. Center and secure the tile stencil with a level and painter’s tape.
Step 2: Load a paint roller with black paint and offload the excess paint onto paper towels or contractor’s paper. Offloading helps you use minimal paint so it does not bleed under the stencil.
Step 3: Stencil the tile design using a light to medium pressure.
Step 4: Remove and reposition the tile stencil below the first painted repeat and continue stenciling your backsplash. Once you get to the countertop or cabinets, use your hand to bend the stencil into the corner and use a small stencil brush to paint into the corner.
Step 5: Repeat Step 2 through 4 to continue stenciling your DIY tile backplash until it is finished. Your kitchen makeover is now black and white and beautiful!
Now that we have your mouth watering from this delicious kitchen backsplash makeover, head on over to pick out a stencil pattern and your favorite paint colors to create a truly custom look! Remember, with stencils, the possibilities are endless and the design choices are all YOURS!


