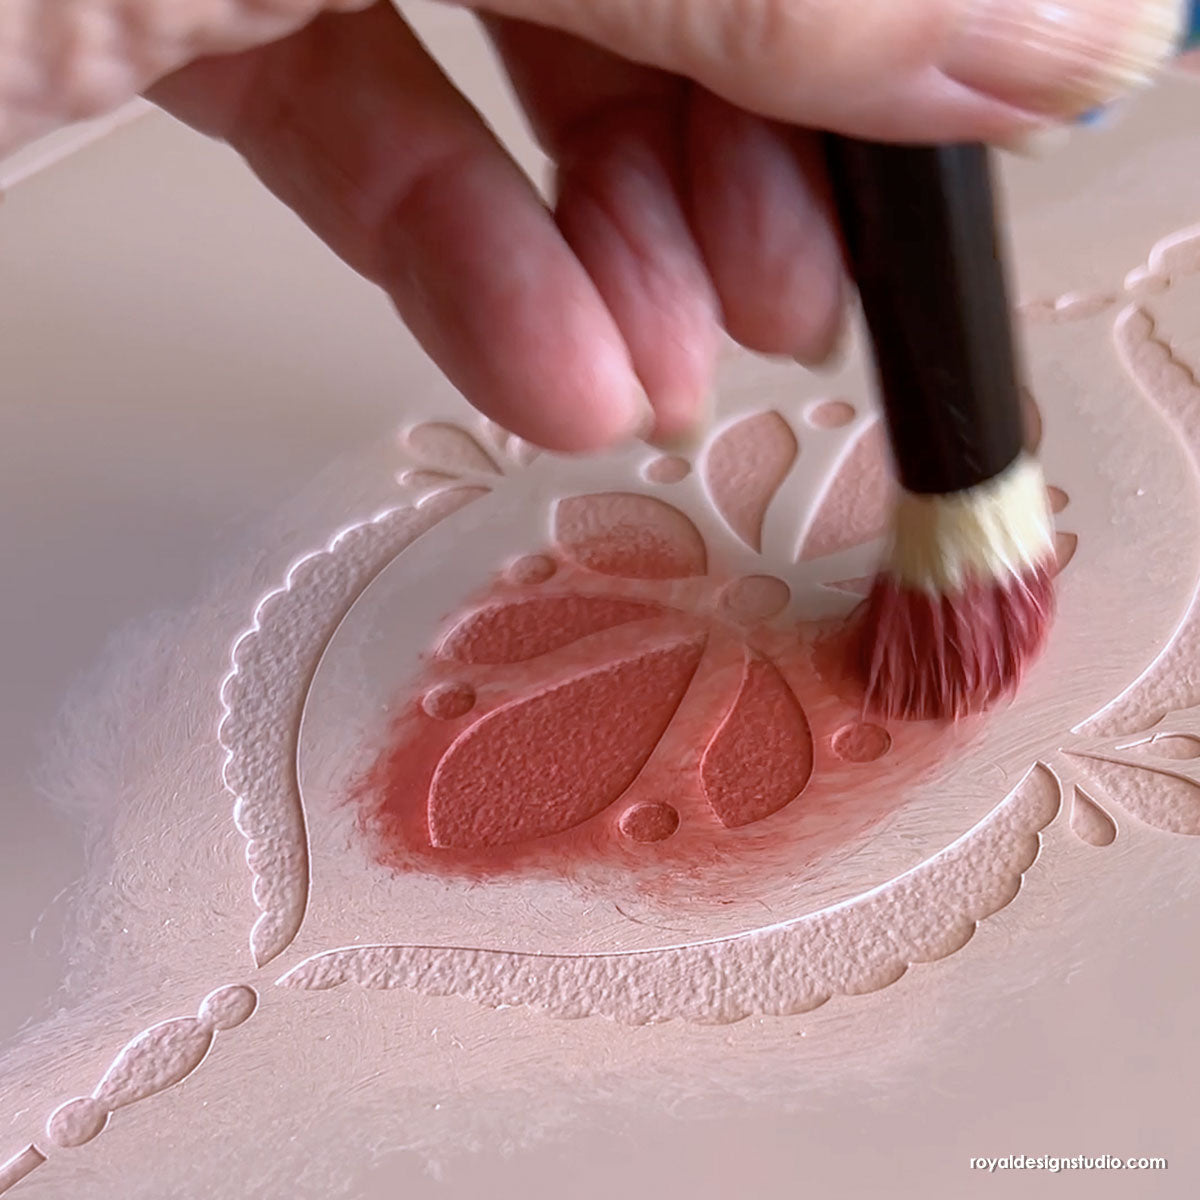
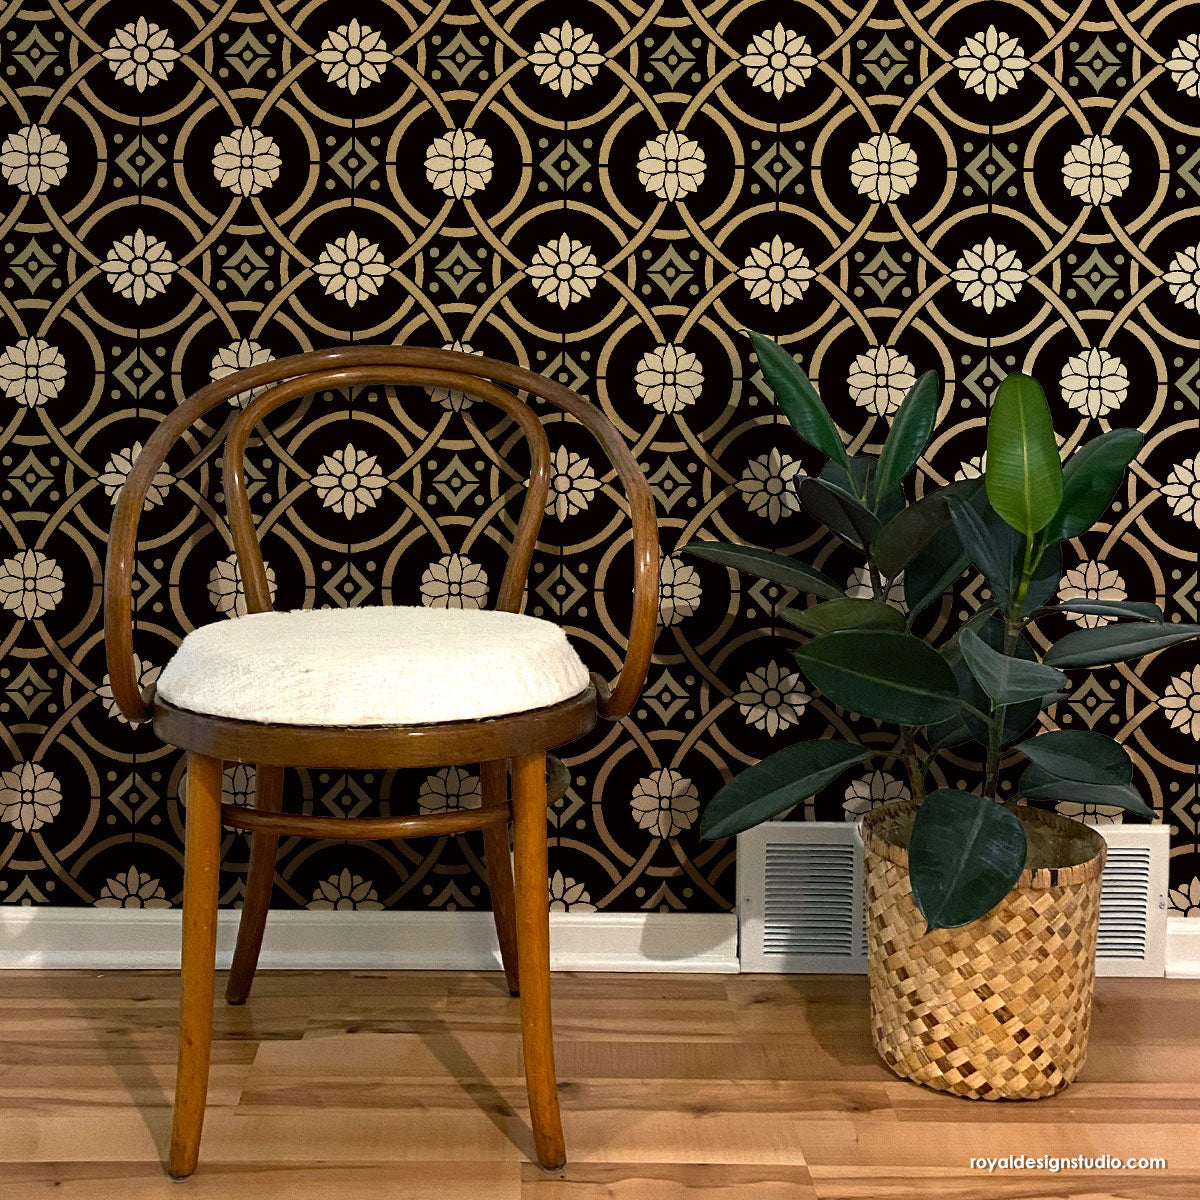
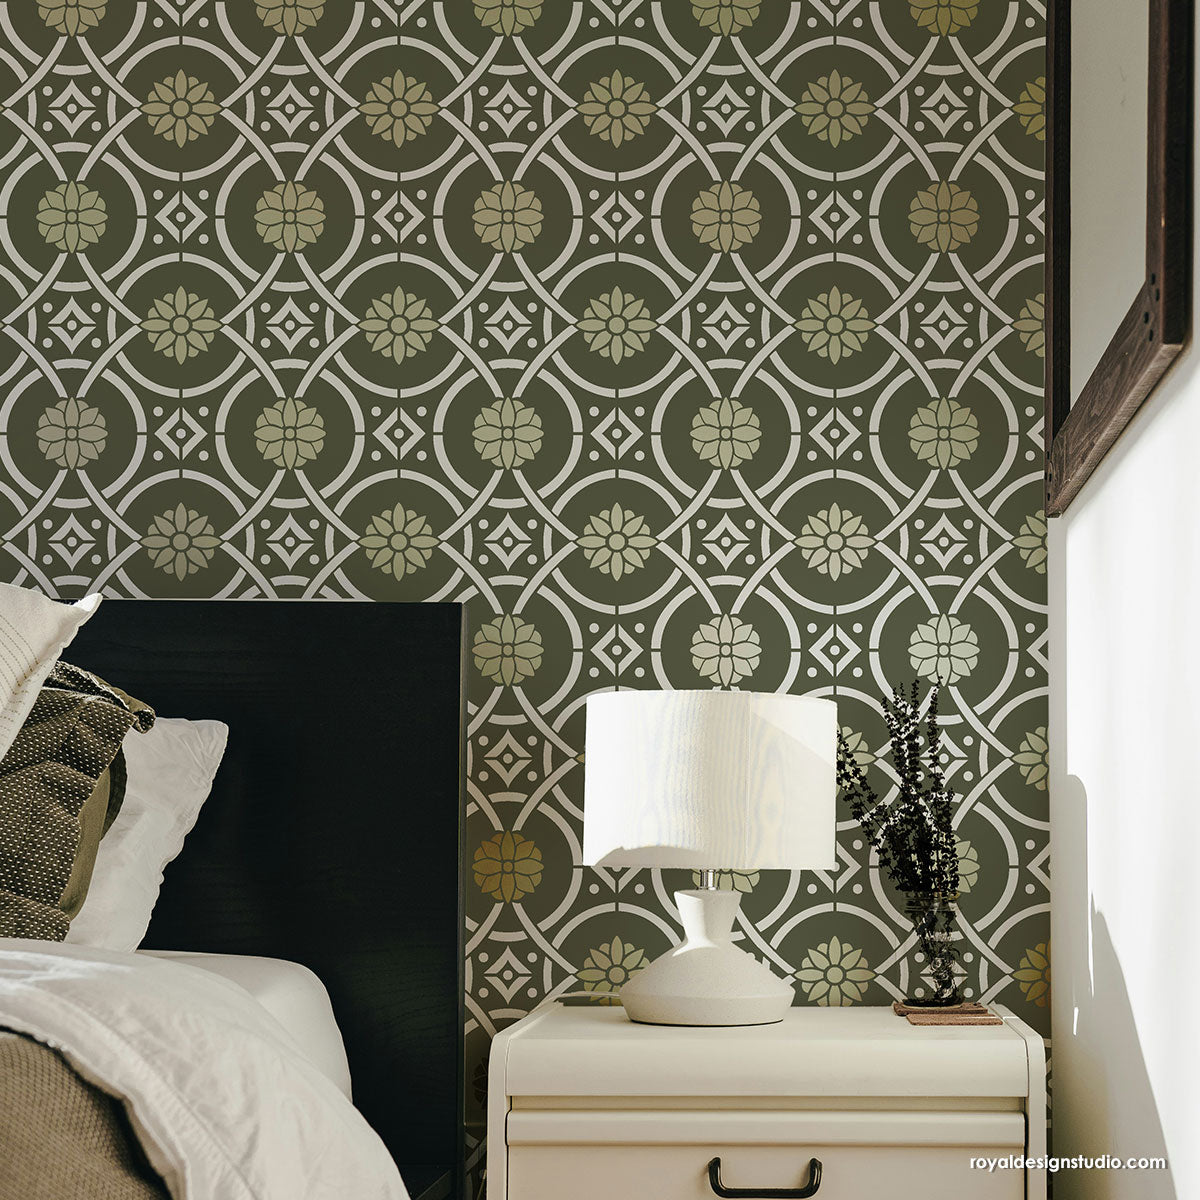
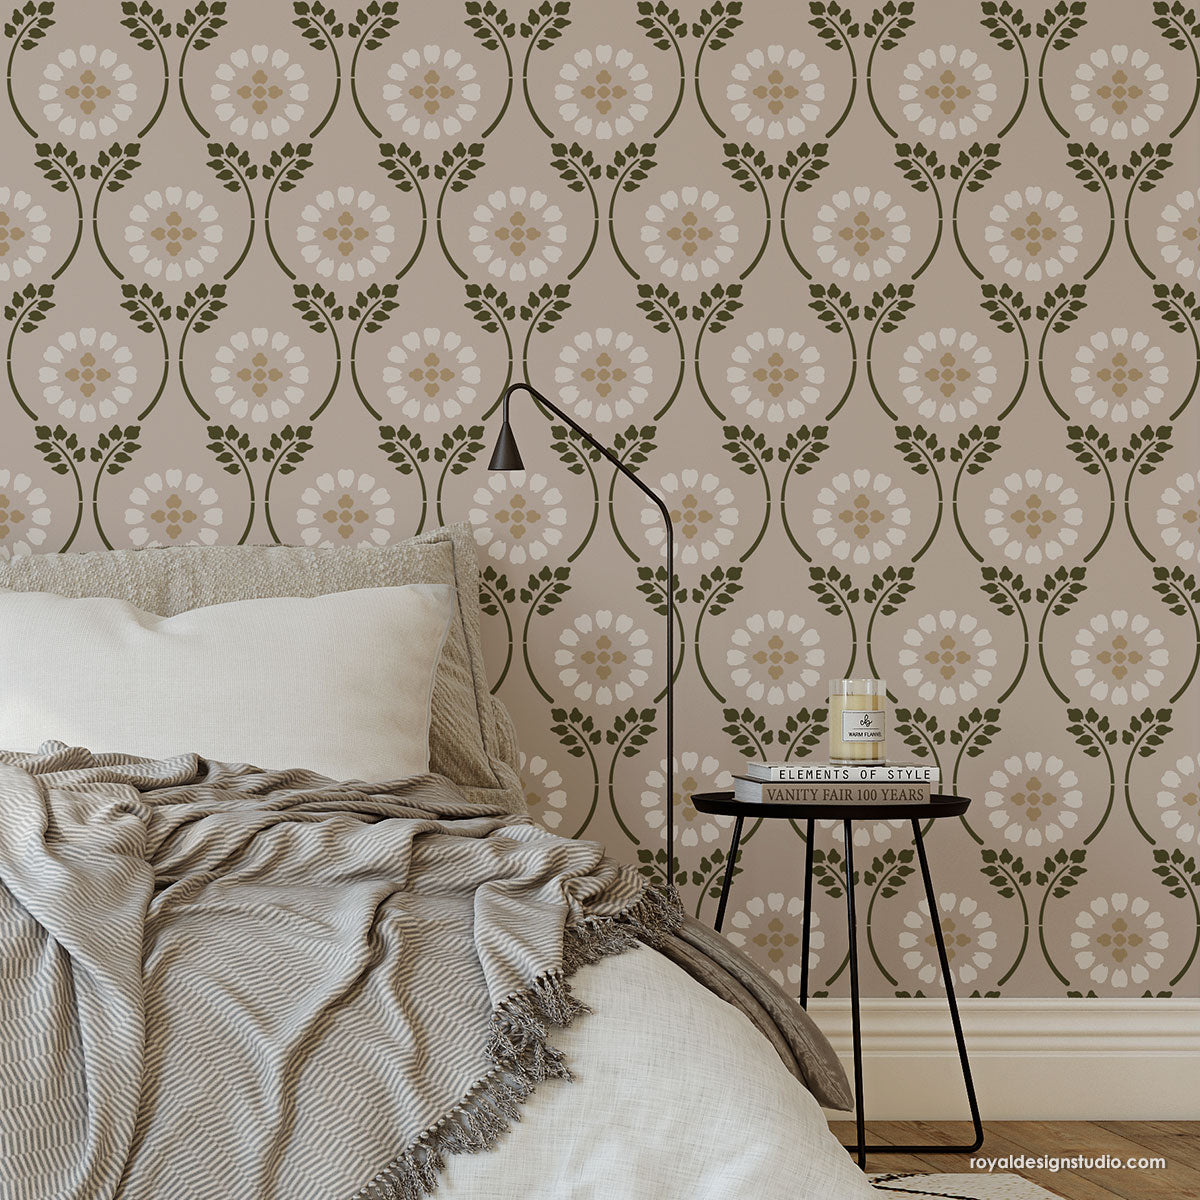
Even with a bazillion fabric offering out there, sometimes you just can’t find the right combination of color and pattern to complete a room makeover. If you take the DIY route, though, it's easy to make your own fabric design with Stencils! Stenciling plain fabric with pretty pattern helps you create any look you want for a DIY throw blanket. Watch the video below to learn how to paint on silk and turn it into a pretty pink throw blanket. Then, grab some plain fabric, paint and a stencil and start creating your own!
Supplies:
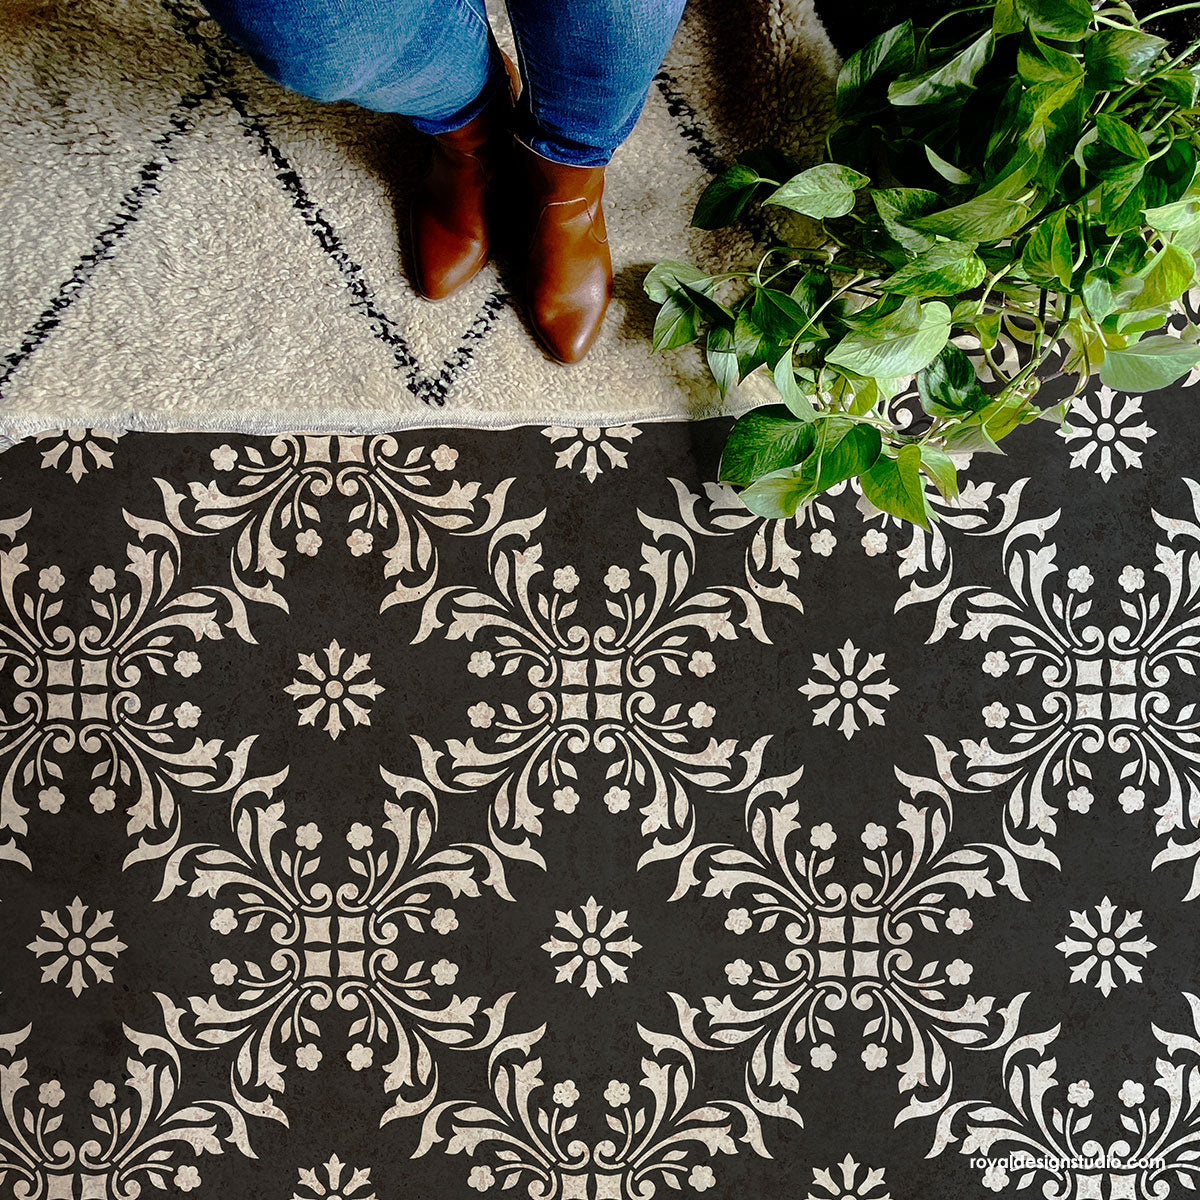
- Feathered Damask Stencil from Royal Design Studio
- Royal Stencil Cremes in Shimmer Pink, Bright Gold, Pearl Oyster, and Renaissance Red
- 1” Royal Stencil Brush
- Mica Powder in Pearl
- Paint fabric medium
- Spray adhesive
- Contractor paper, paper towels, and painter’s tape
Step 1: Apply a layer of spray adhesive to a flat surface such as a table. This will prevent the silk fabric from shifting while you are stenciling. Lay the fabric on top and secure the large stencil in the center with painter’s tape.
Step 2: Create a custom color by mixing 1 part Shimmer Pink, 1 park Pearl Oyster, ½ parts Bright Fold, ½ parts Renaissance Red Royal Stencil Cremes, and ¼ parts Pearl Mika Powder. Add fabric medium to your custom color mix.
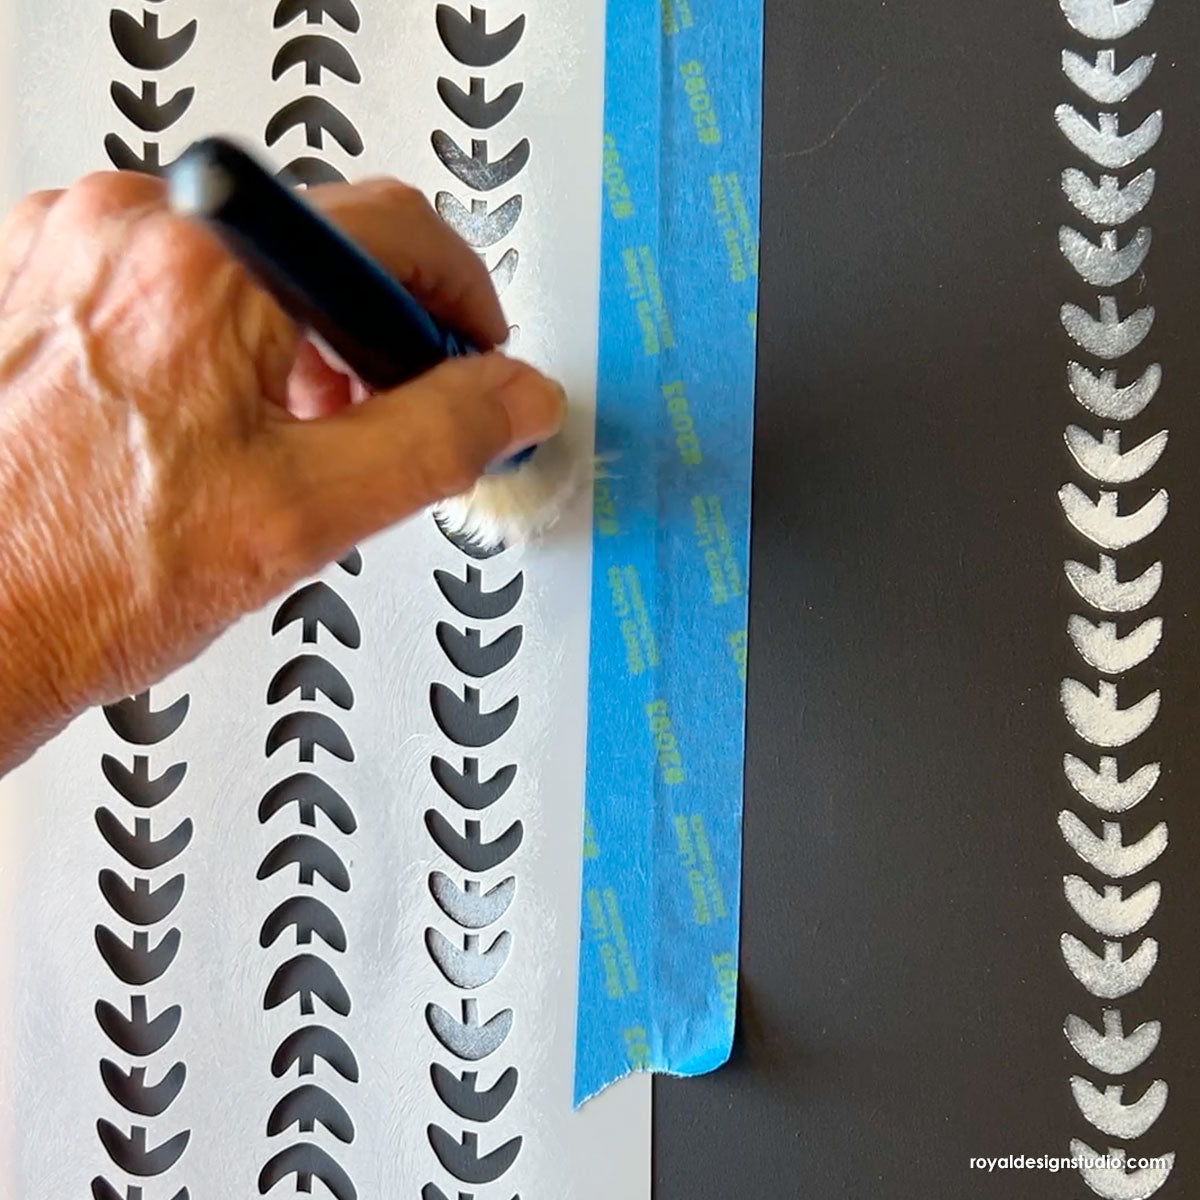
Step 3: Load a 1” stencil brush with the color mix and offload any excess paint onto a paper towel before stenciling. Stencil the design using a medium to flight pressure. For a distressed look, vary the pressure as you stencil.
Step 4: You are now done with the first repeat. Reposition the stencil next to the first repeat, using the registration marks built into the stencil as a guide to perfectly align the design.
Step 5: Repeat Steps 3 and 4 to stencil the entire piece of silk fabric. You can pull unpainted fabric onto the surface with spray adhesive so you always have a secure flat surface to stencil on.
Step 6: Secure a second piece of fabric of the same size with pins. Make sure the right sides of the two fabrics are facing each other and are straight and pulled tight. For this DIY project, we are using a trendy pink synthetic fur fabric. So soft!
Step 7: Once the four sides of your DIY blanket are pinned, use a sewing machine to sew around the edges. Leave a 7” opening on one of the sides and use the opening to flip the blanket inside out so that the two fabrics are facing out. Hand sew the opening to close it.
Not only does your new DIY throw blanket look FABULOUS, it FEELS fabulous too! Texture is a huge decorating trend and the combination of synthetic fur and silk is the perfect… touch ;) to your bedroom or living room!
Looking for more Stencil Techniques using fabric stencils like this? Check out these other stencil ideas and tutorials:


