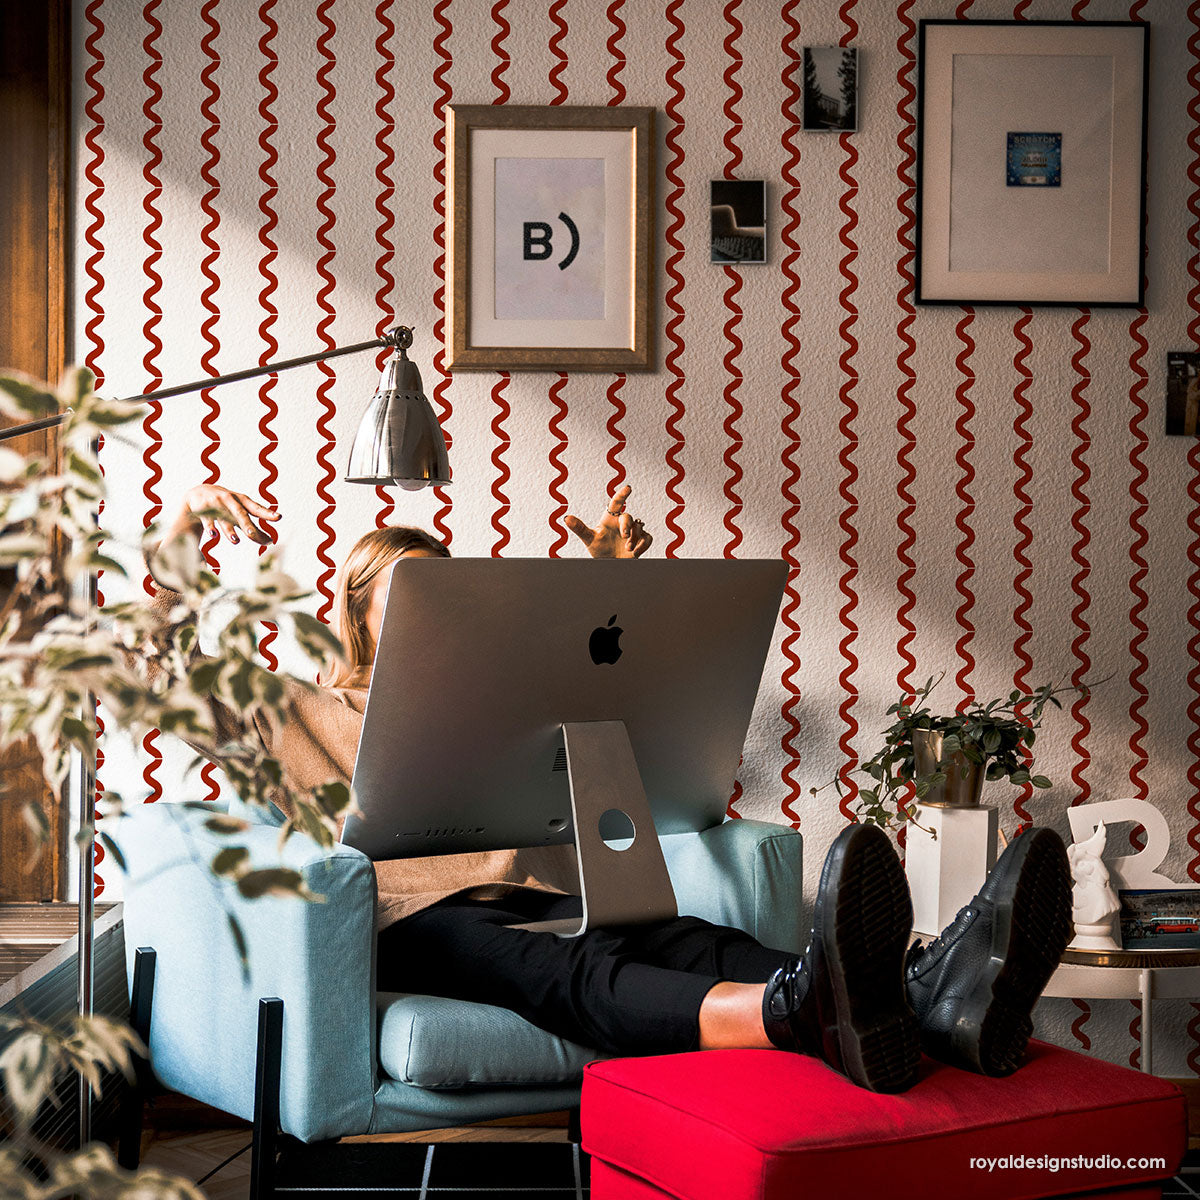
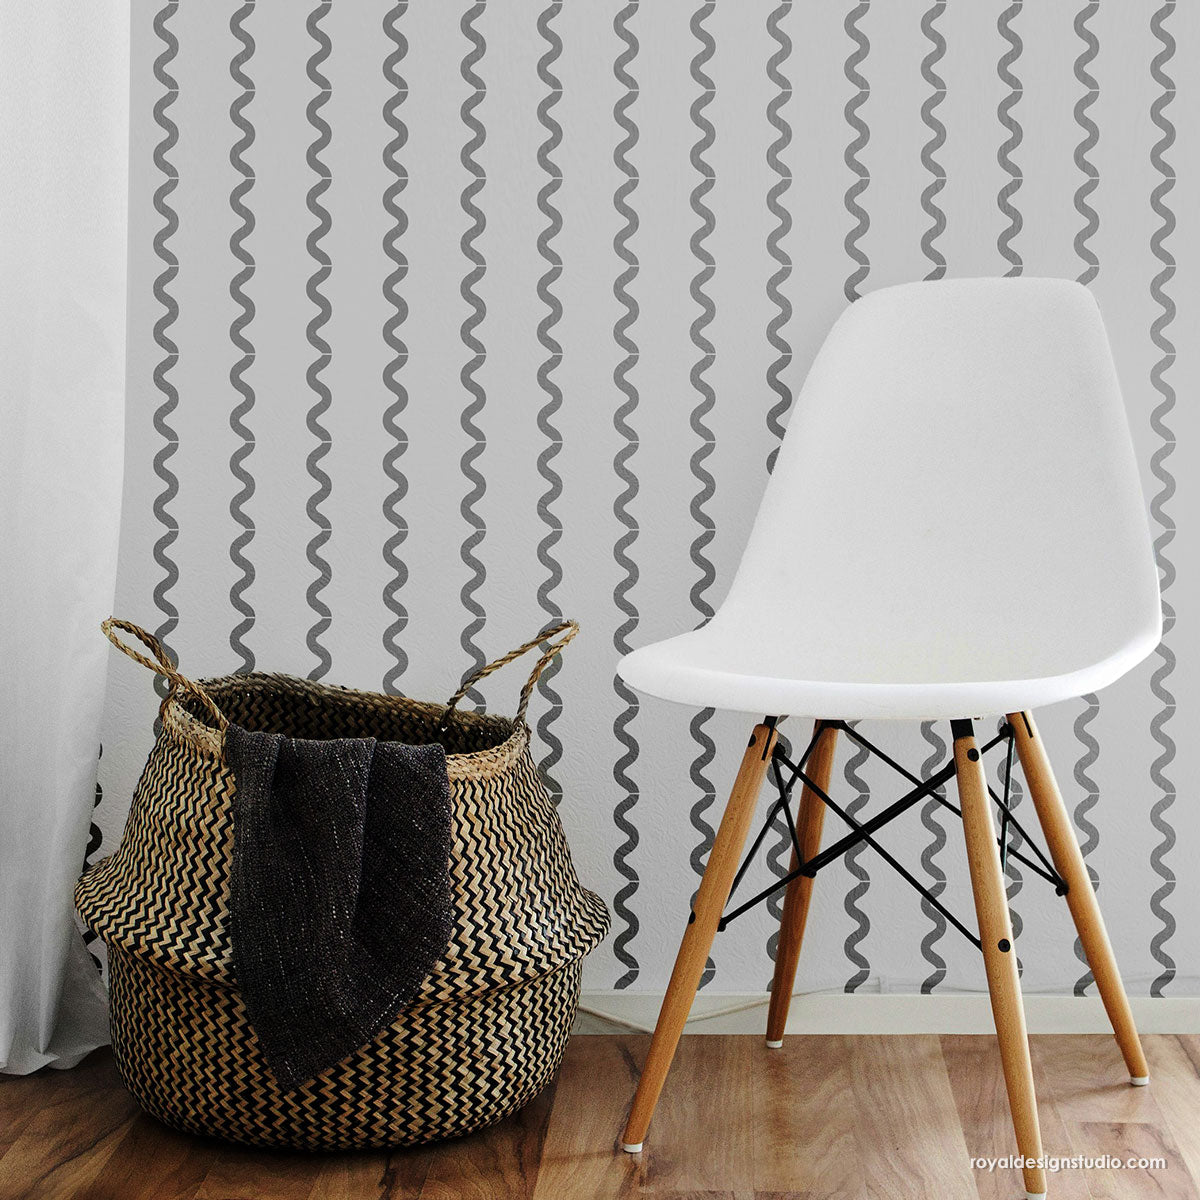
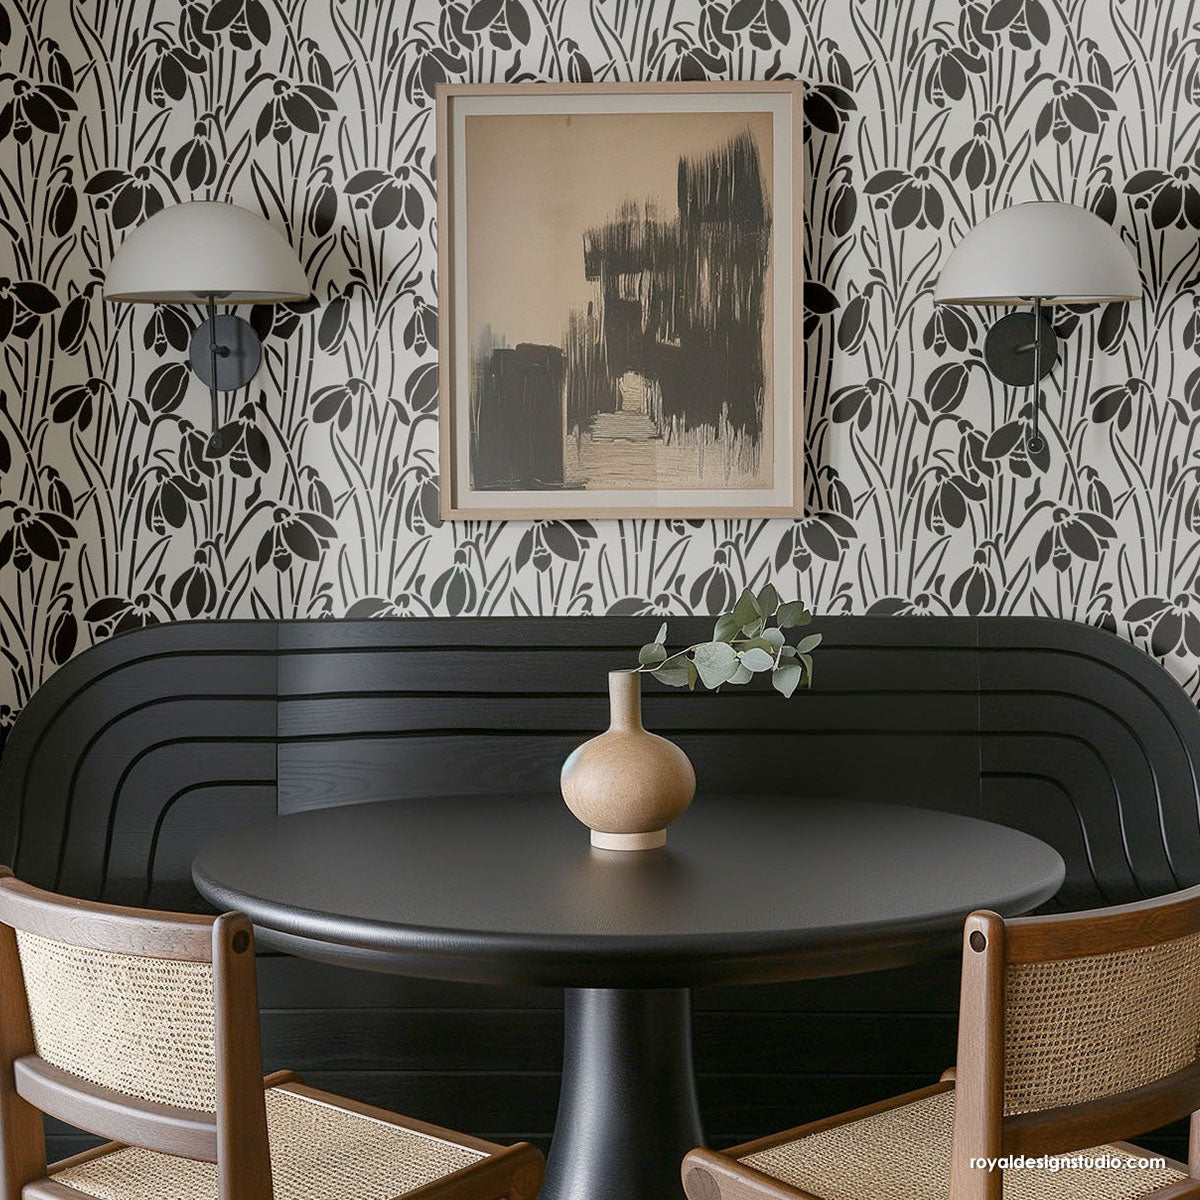
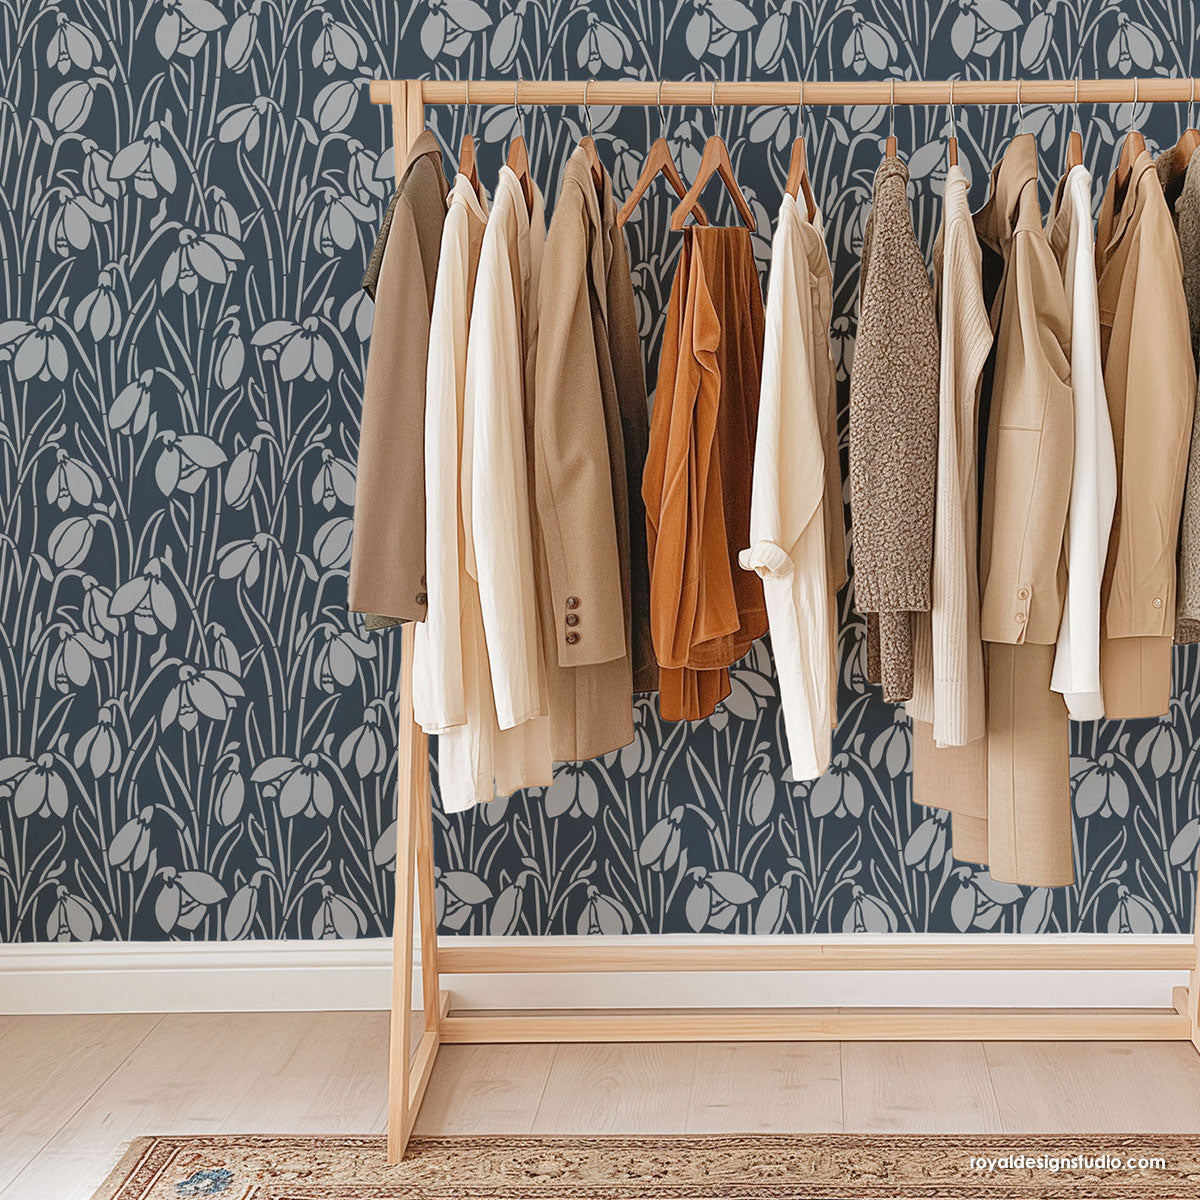
Stenciling is the easy, inexpensive way to add colorful pattern to your walls, furniture, floors, and fabrics. There are two main ways to work with stencils: using a foam roller or high quality stencil brushes.
While stenciling with a foam roller and paint may be an easy way to apply a simple layer of color through the stencils, the results can be quite uniform. Sometimes that’s desirable, but there are times you might want to add a bit more life and interest-and a hand painted touch-to your stencil project.
That’s when stencil brushes are the perfect choice! Stenciling with brushes gives you a LOT more control over the amount of paint and pressure you are using. This allows you to create lovely hand painted and shading effects that can bring your stenciling project to life.
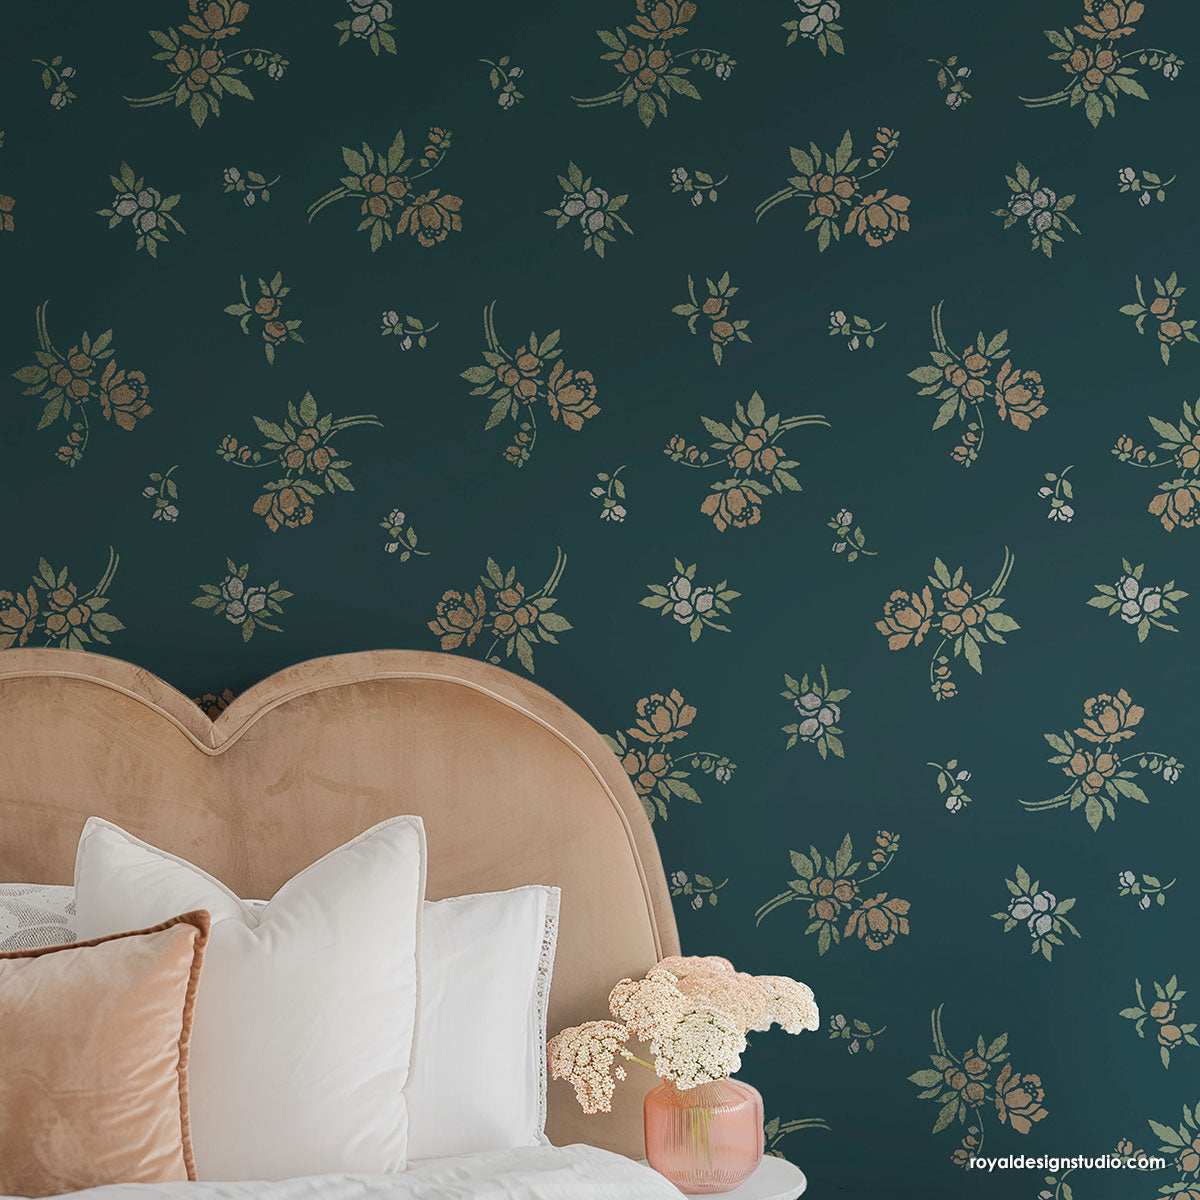
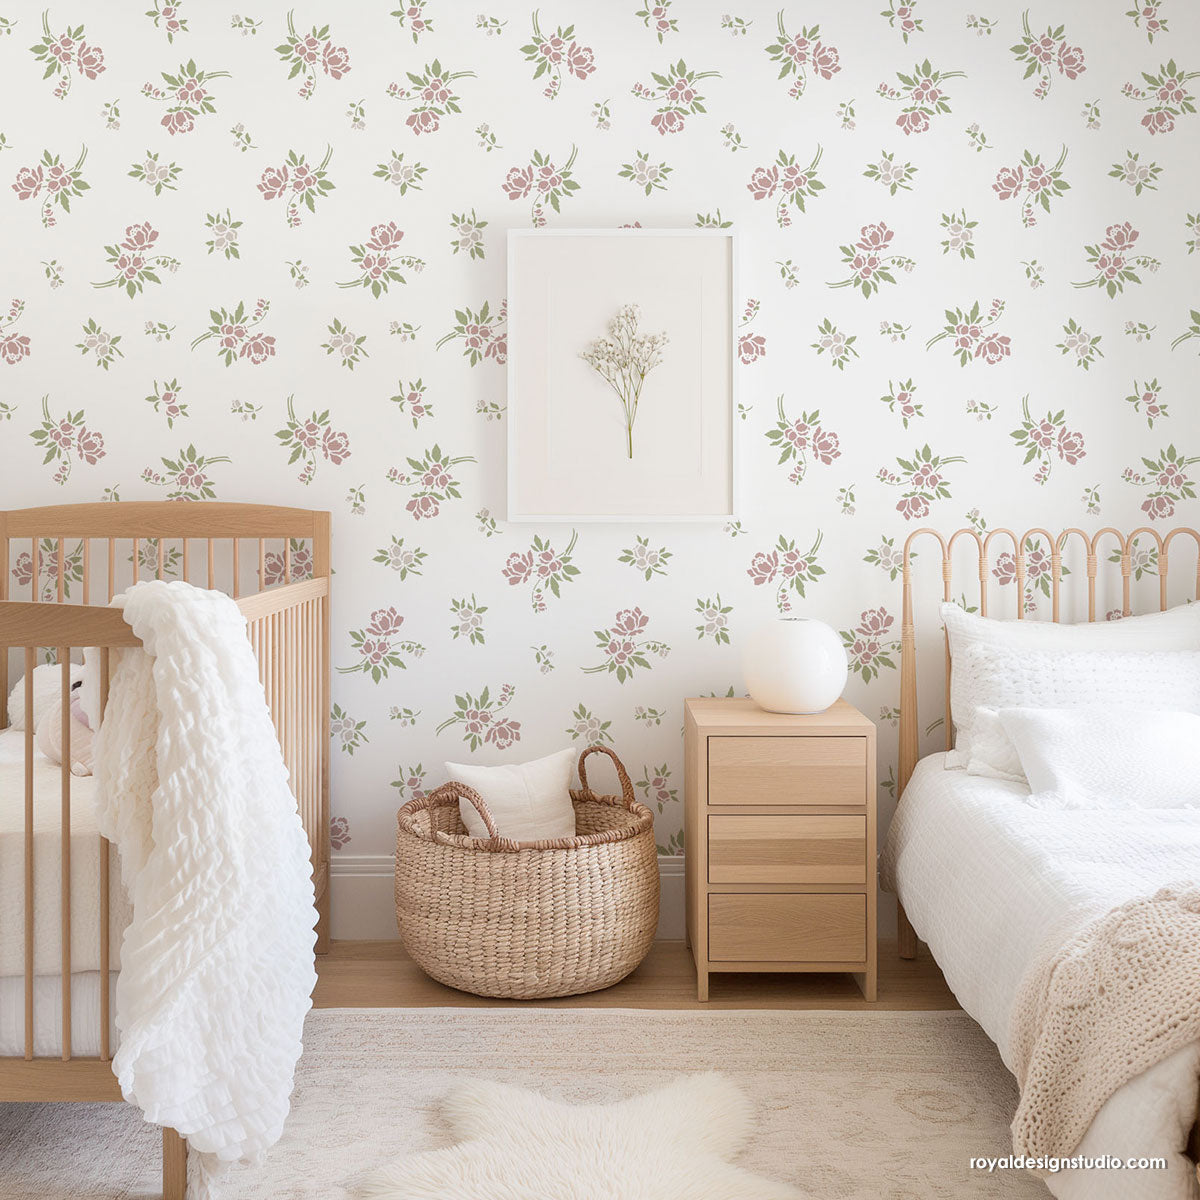
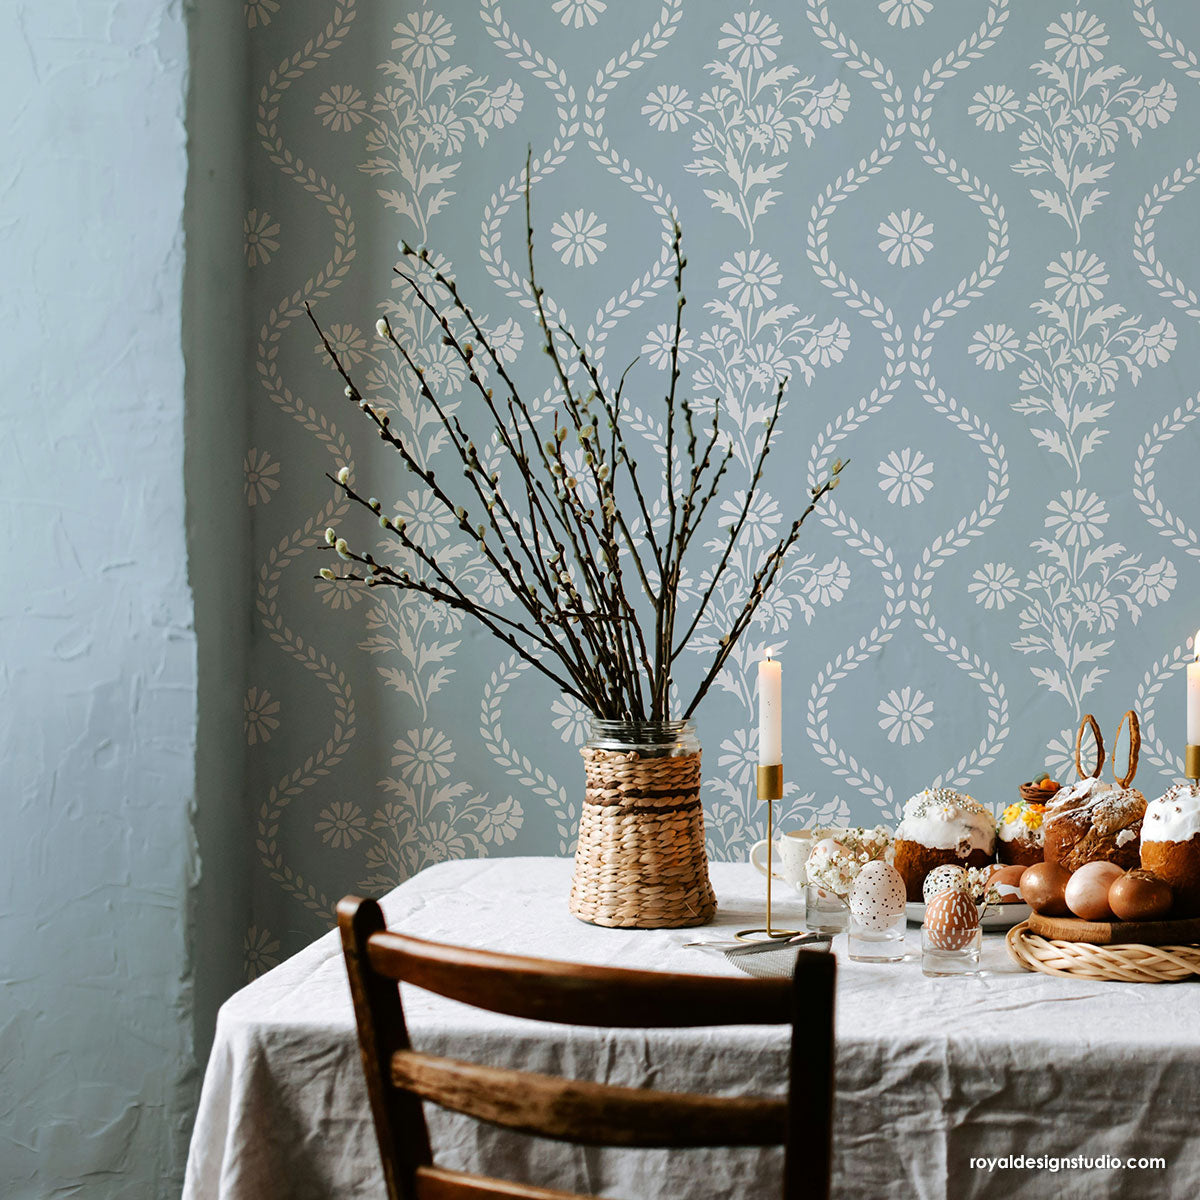
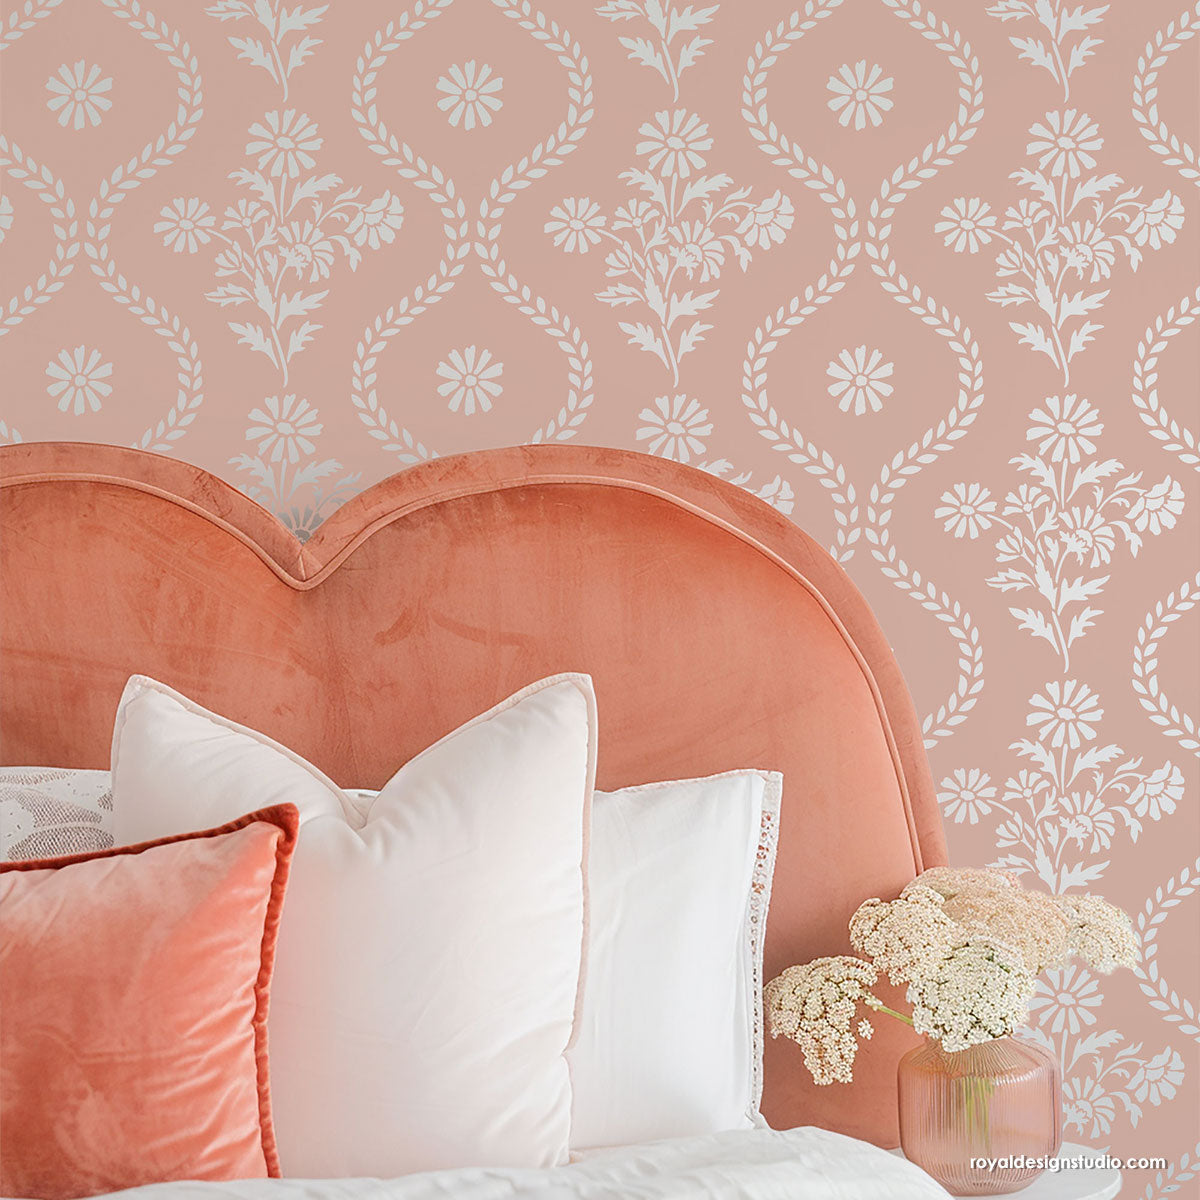
In this video we share how easy it is to use craft acrylic paints with ¾” stencil brushes to create a two-color stenciled block print pattern with subtle shading and color depth variations.
Stencil Supplies:
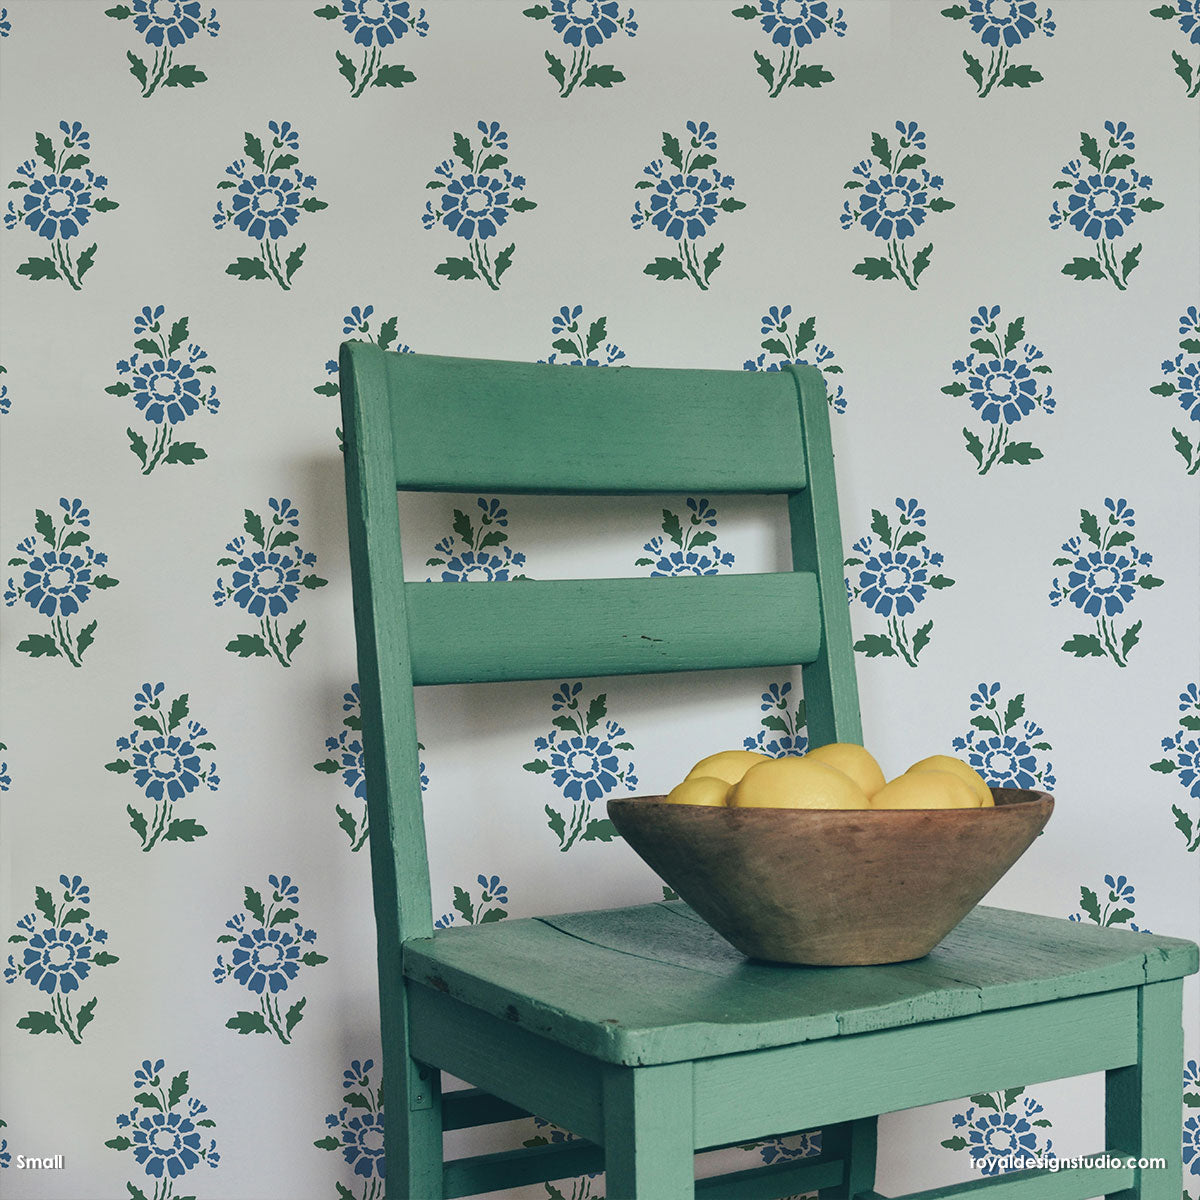
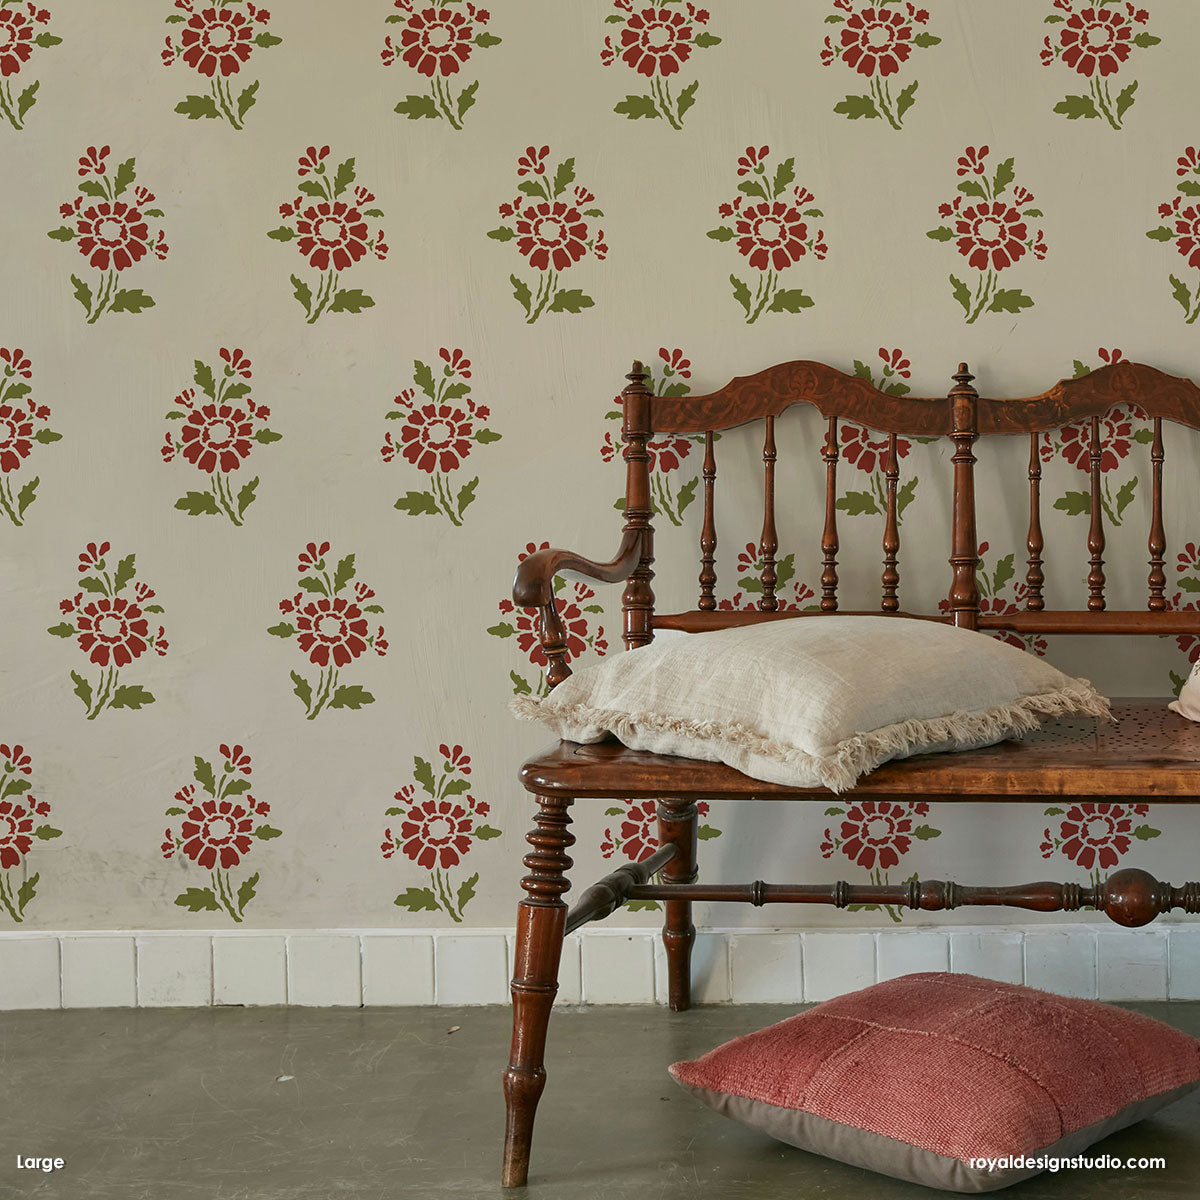
- Nadia Block Print Stencil
- 2-3/4” Stencil Brushes
- Decoart Acrylic paint in Lush Green and Deep Ochre
- Paper Towels
- Painter’s Tape
Pour small amounts of acrylic paint onto a plastic plate or small saucer.
Load just the tips of the stencil brush into the paint and offload excess paint onto a stack of paper towels. Offloading the paint using a firm circular motion helps to distribute the paint evenly on the head of the brush and removes excess paint that could seep under the stencil.
Beginning with the green color, use the stencil brush in a swirling motion to apply the paint quickly and randomly in the leaf and stem areas. Vary your pressure on the brush as you stencil to create variety in the depth of the color.
Use the yellow color to stencil the flower areas in the same way.
Now go back and use the green to pull and shade some of the yellow areas close to the stencil. This will add some depth and a LOT more interest.
Note: It takes a little practice to get comfortable with the right amount of pressure and controlling where the paint goes, so devote some time practicing this on some scrap paper.
You will be a “hand painted” stenciling expert before you know it!
Here are some more Stencil How To's to explore upleveling your next stencil project:
How to Stencil and Paint a Terrazzo Look
Use Stencil Shading on our Arts and Crafts Wall Stencil
It's all in the Details! Stencil Shading for a Dimensional Effect