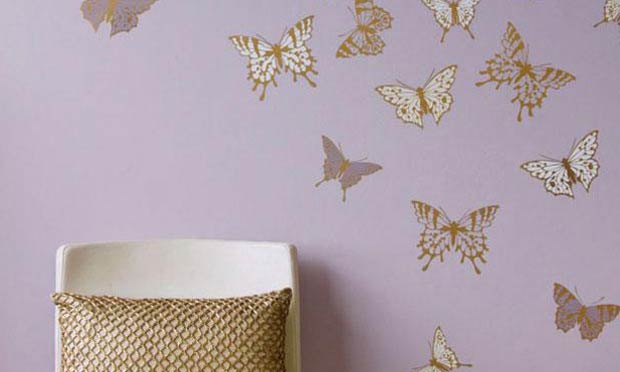
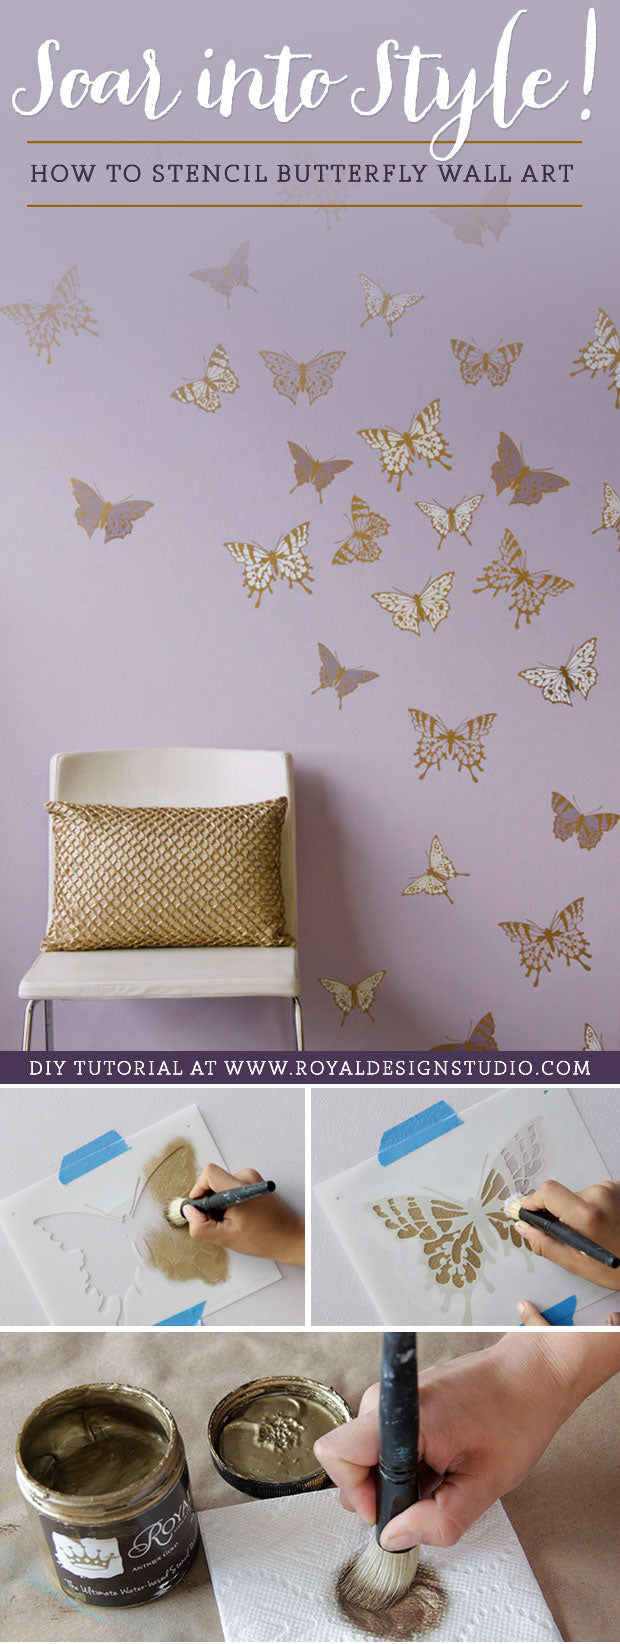
Our Wall Art Stencil Collection is full of ornamental patterns and motifs that allow you to play around with spacing and color treatments to create original designs that perfectly fit your space. This easy stencil DIY features our Papillion Butterfly Stencil Set to create a graceful wall treatment that is one of a kind. It’s a great way to add fluidity and movement to a room however you see fit.
Unlike repetitive Allover Stencils, Wall Art stencils hand the creative reins to you, so that you have complete control of where and how the pattern is painted onto the wall. Do you want a single design above your bed? Do you want a random design to cover a whole wall, or to repeat a motif to create a border? You can do that and more with Wall Art Stencils!
Stencil Supplies You will Need:
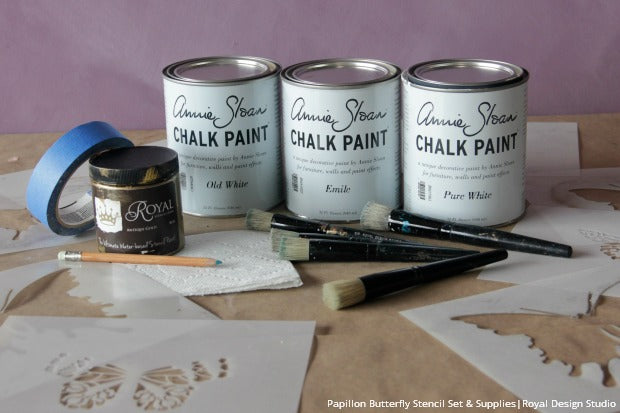
- Papillion Butterfly Stencil Set
- 1” Royal Stencil Brushes One for each color used
- Royal Stencil Crème in Antique Gold
- Annie Sloan Chalk Paint® in Emile, Pure White, and Old White
- Painter’s tape and paper towels
- Soft pencil or watercolor pencil
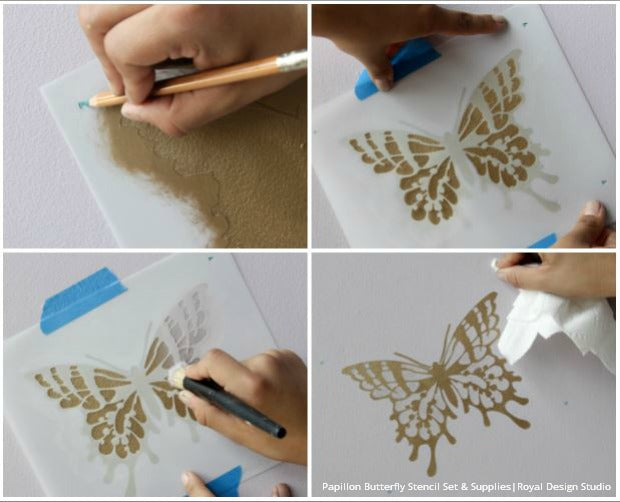
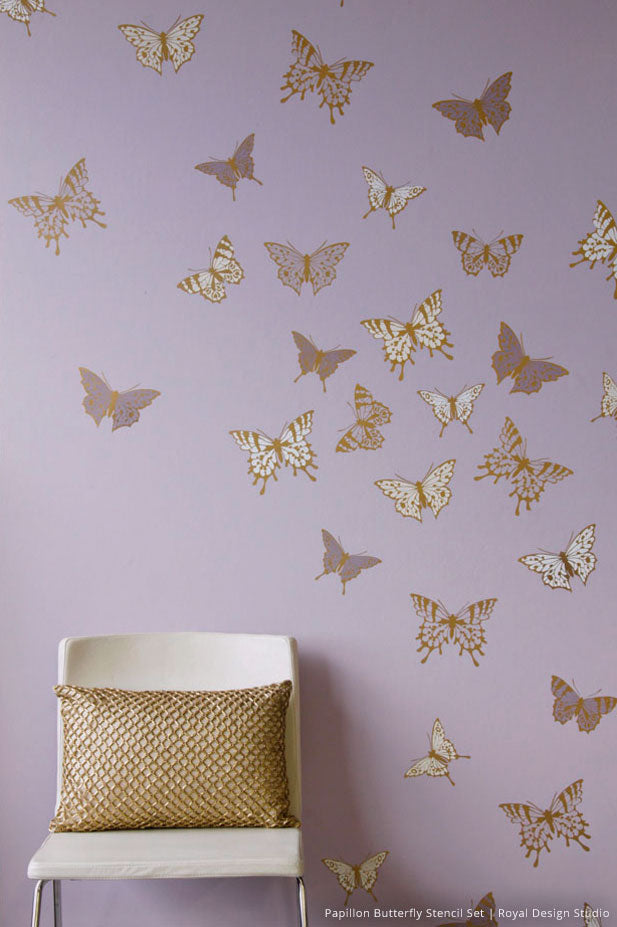
This collection of butterflies each has two layers to complete the design. The first layer is a silhouette shape that allows you to paint in a solid color overall. The second layer contains all the design details which you can paint all in one color, or use smaller stencil brushes to create a multicolor design.
Our project combines our metallic Royal Stencil Crème paint with Annie Sloan Chalk Paint® The background is base coated in Emile. For the butterfly details we variously used Emile, Emile lightened with a little Old White, and straight Old White and Pure White to create some variety.
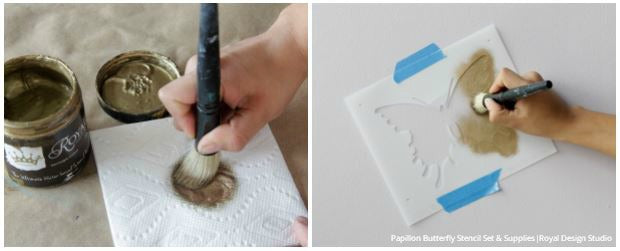
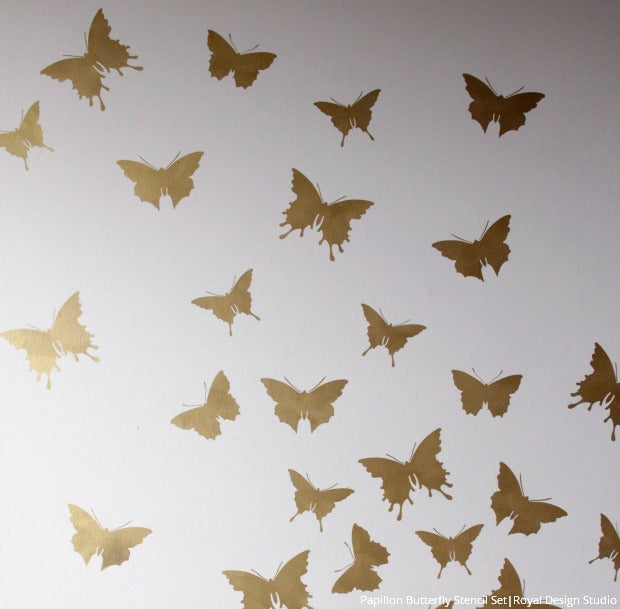
Begin by stenciling the butterfly silhouette layers in Antique Gold Stencil Crème. Use a larger stencil brush to fill in the color quickly and evenly. Be sure to offload excess paint off the brush each time you reload by rubbing in a firm circular motion on paper towels. This helps to avoid having excess paint bleed under your stencil.
Two layer stencil patterns use a pinpoint registration marks to help you line up the second layer perfectly.
To use:
- While the first layer is still in place, mark at least 2 of the cutout triangles with a watercolor pencil or soft pencil.
- Place the second layer, lining up the cutout triangles with the marks placed on the surface.
- Stencil in the color of your choice.
- Remove the marks by simply wiping with a damp paper towel. If you use a regular pencil, simply erase with a clean eraser.
You may find it easiest to stencil ALL the first layers of butterflies first before stenciling the second layers.
PRO TIP! If you want to test out your design arrangement before committing paint to your wall, stencil out the butterflies on copy paper and run off multiple copies. Then you can then tape your “proofs” on the wall to play around until you get an arrangement you like. You can see this stencil planning method used in this how to stencil post!
The beauty of stenciling a random butterfly designs is that you can do as much or as little as you want! You have total creative control over the colors and placement of your butterfly stencils, so BE creative.
Other ideas: Stencil them around your furniture so that the entire design fits perfectly with your space. OR, paint them fluttering out of your doorway or down your hallway… the possibilities are endless!
Are you ready to soar into style yourself? Don’t forget to share your finished project photos with us at projects@royaldesignstudio.com, on our Facebook Page, or Instagram your stencil projects and tag us with #royaldesignstudio.


