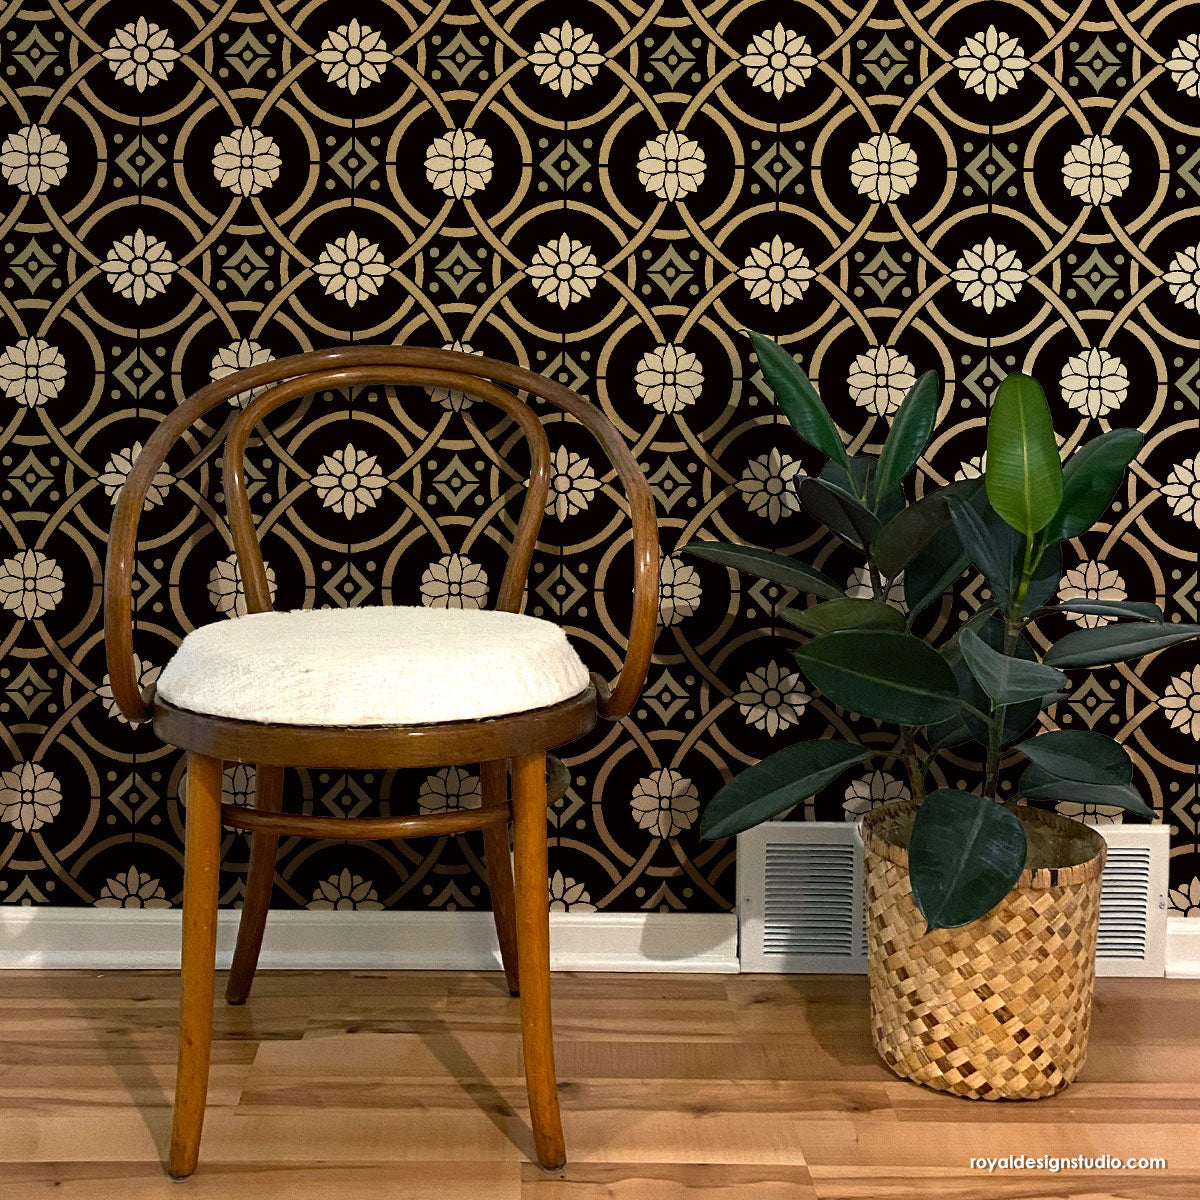
You don’t have to travel the world like a Global Gypsy to search for treasure; create it on your walls instead. For this DIY stencil tutorial, we show you how to use Gold Leaf and Wall Stencils to create a glamorous golden wall finish accented with an ornate damask stencil pattern. You will see how metal leaf can adhere to your wall very quickly while adding a special glam-organic base for your stencil design.
Click play and watch this DIY stencil tutorial to see how to gild an accent wall with gold leaf and Persian-inspired damask wall designs.
Supplies:
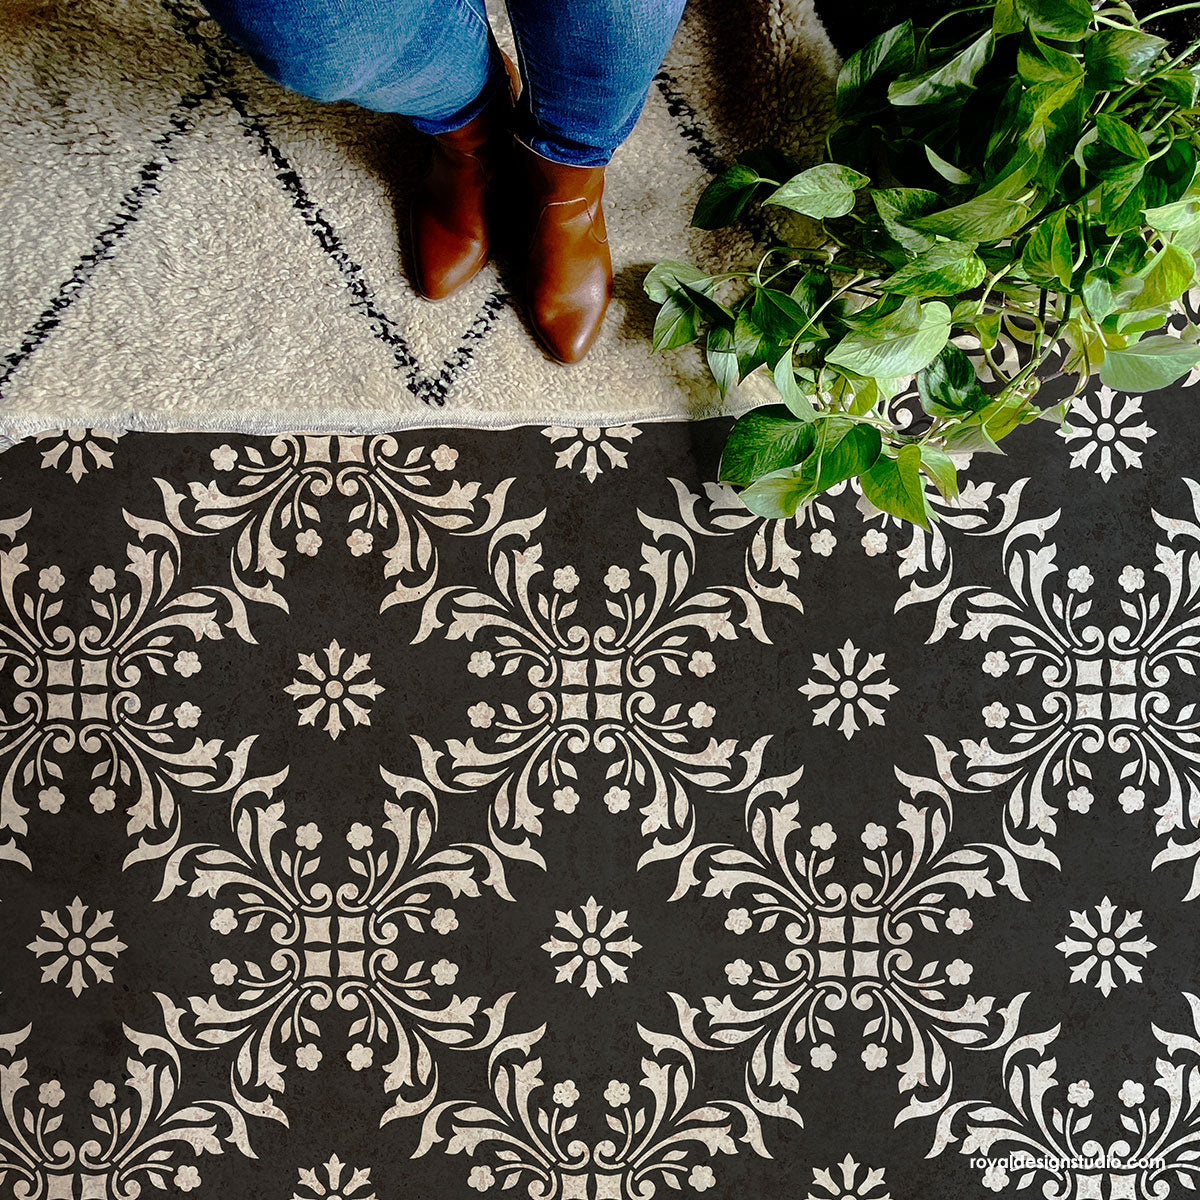
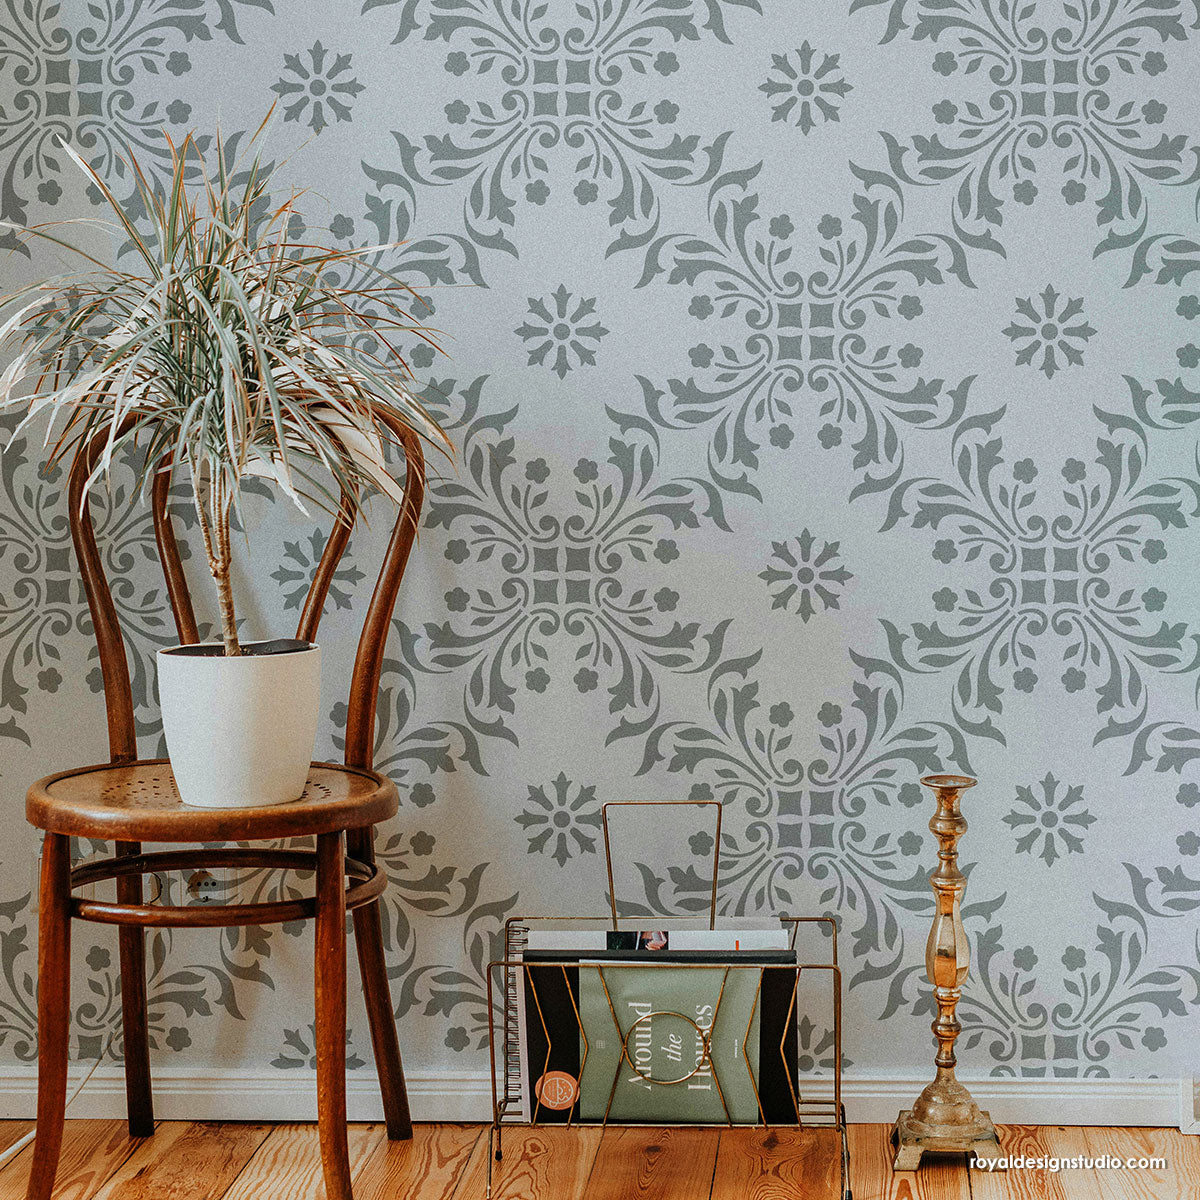
- Damascus Allover Wall Stencil
- 2” Royal Stencil Brush
- Pure White Chalk Paint® by Annie Sloan
- Black Royal Stencil Size
- Gold Metal Leaf
- SoSlow Super Extender and Van Dyke Brown Stain and Seal
- LOW tack Painter’s Tape
- Level, lamb’s wool, foam roller, cheesecloth, chip brush
Basecoat: This finish should be done on a wall surface that has been painted with an Eggshell paint finish. Flat wall paint will be too porous, and will absorb the Royal Stencil Size, not allowing for enough working time on a tacky surface. An alternative to repainting would be to “seal” a flat wall paint surface with a coat of satin water-based urethane.
Step 1: Use a foam roller to apply 2 coats of stencil size to your wall. Allow 15 minutes drying time between coats.
PRO TIP: After the last coat, wait until the size comes “to tack”. Press your knuckle to the surface and pull away quickly. You should feel resistance and hear a “pop”. BEGIN leafing as soon as this happens as the tacky size has a limited time to receive gold leaf. This could be 2-6 hours, depending on environmental conditions.
Step 2: Allow the gold leaf to break up as you apply the pieces randomly to your wall. Leave some areas of black exposed to create an organic, distressed look. Some of these areas will become more filled in when you burnish and you can always add more leaf, if desired.
Step 3: Use a piece of lamb’s wool (paint store) to gently buff and remove any loose leaf from your wall.
Step 4: For a combination toning/sealing layer, mix a 1:1 ratio of SoSlow Extender and Van Dyke Brown Stain and Seal. Apply the mix to the wall using a chip brush. Then use cheesecloth to rub in immediately in the surface in small areas at a time. This will keep it from drying out as you work. Leave a wet edge as you go to avoid overlap lines. Allow to dry.
Step 5: Allow the Chalk Paint® to thicken by pouring some out into a shallow container and leave to dry for a few hours. Since the paint has thickened, it shouldn’t bleed as much, even if you apply a thicker layer than you normally would for stenciling.
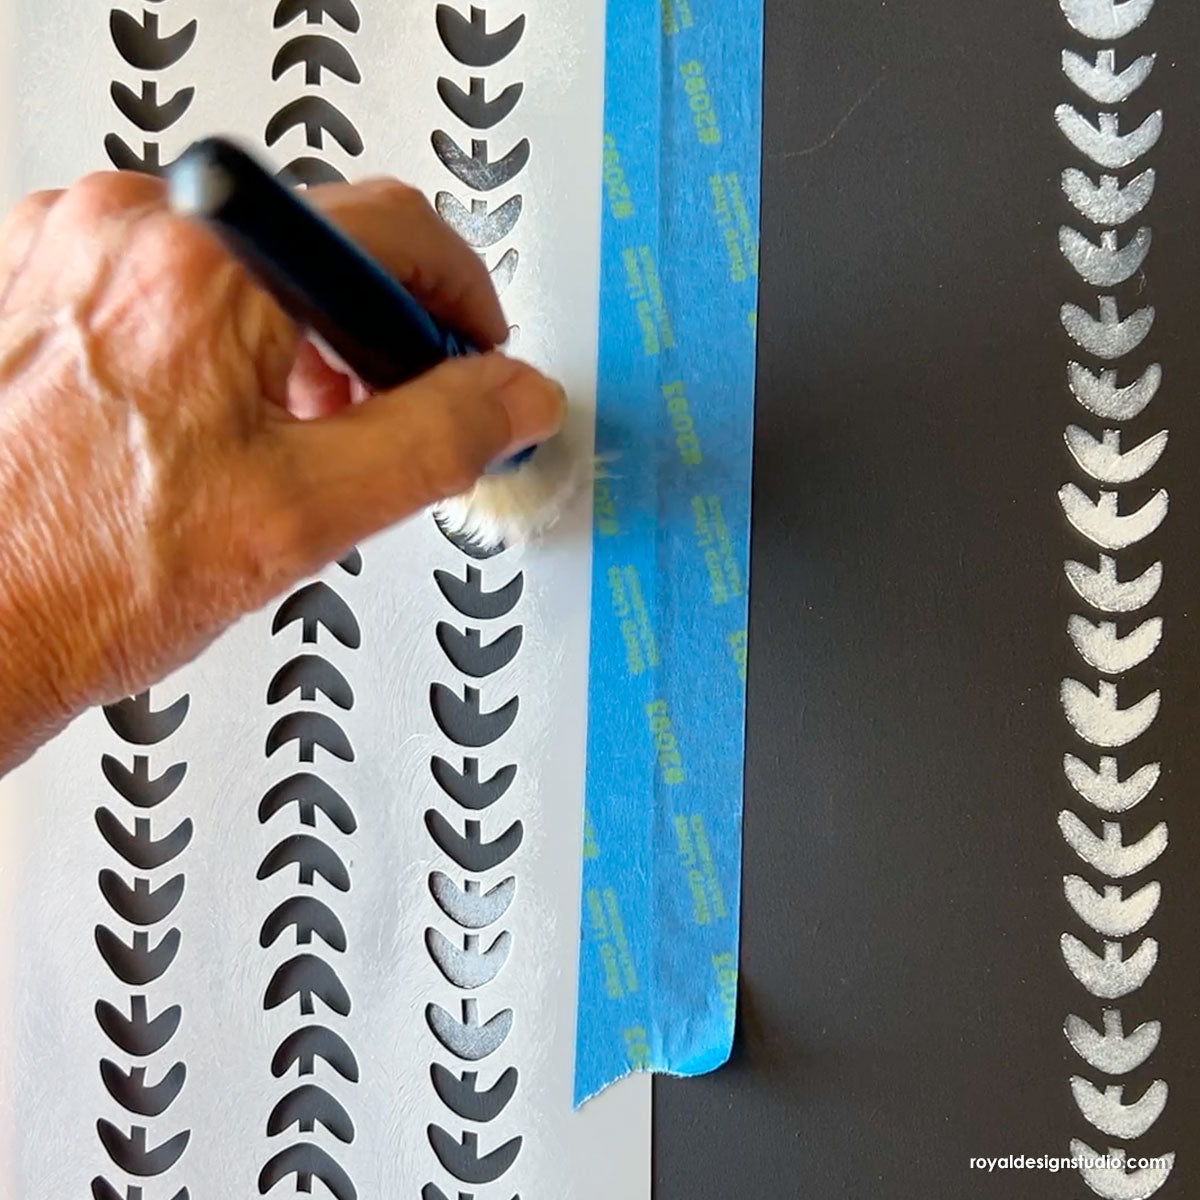
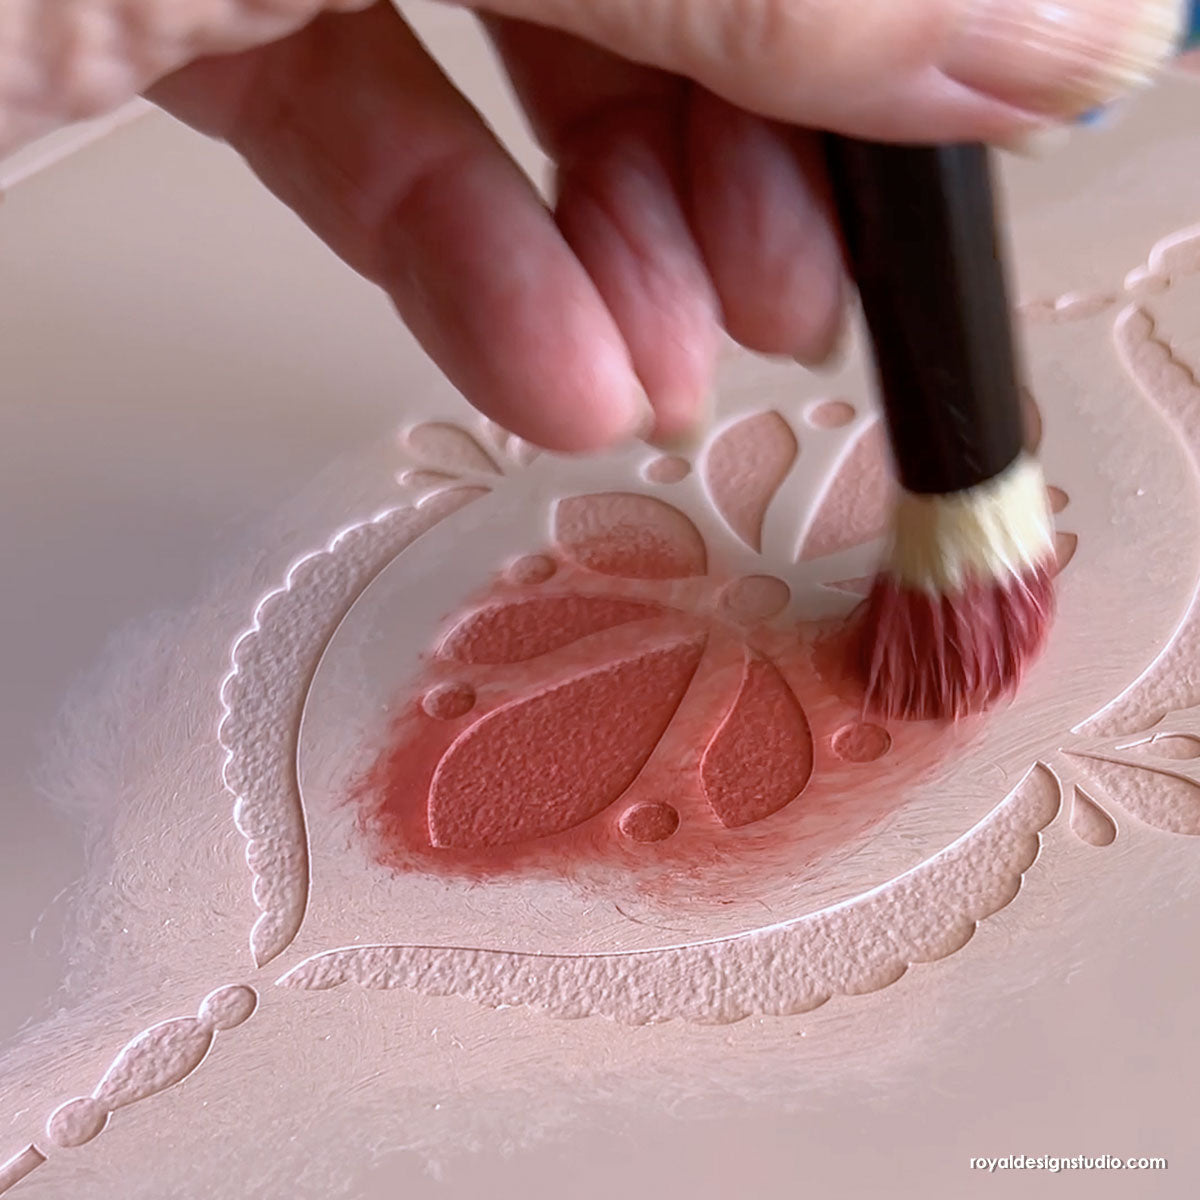
Step 6: Level and secure your damask wall stencil at the top center of your wall with painter’s tape. Load your stencil brush and offload the excess paint onto a paper towel.
Step 7: Stencil the design using different levels of pressure-leaving some areas without paint and stippling in other areas. This painting technique will create a distressed look.
Step 8: Remove the stencil and reposition it using the registration marks.
Step 9: Repeat Steps 5 through 8 until the entire wall is stenciled. Allow to dry.
This rich gilded wall finish is perfect for a feature wall in a bohemian bedroom! Pair this kind of decor layers of different patterns, plush textures, and lush jewel tones to finish off your glam retreat space.
Looking for more Stencil Techniques like this? Check out these other stencil ideas and tutorials:


