Explore your inner Geisha with this Japanese-inspired feature wall finish. Random Japanese fans dance across the wall filled with floral and geometric stencils-all highlighted by shimmery accents of glass beads.
Like all of our Royal Recipe Professional Finishes Stencil Tutorials, this finish is designed for the experienced DIYer or professional decorative artisan. This is not a "beginner" faux finish and a basic understanding of artisan finishing techniques is required.
Supplies:
- Royal Design Studio Stencils: Scallops Allover Stencil, Floral Lattice Stencil, Cane Basketweave Stencil, Oriental Vine Allover Wall Stencil, Chrysanthemum Stencil Set, Cherry Blossoms Stencil, Japanese Flower Garden A Stencils, Oriental Floral & Vine Stencil
- Modello Custom Stencils: Japanese Fans Masking Stencil Set
-
Portofino Products: Jasmine, Amethyst, Chinchilla (or preferred metallic plaster)
- Peacock Blue Lusterstone from Faux Effects®
- Golden Glass Bead Gel
- Tools: Assorted Stencil Brushes, Color Shaper, Japanese Trowel, Japan Blades, Black or Dark Brown Basecoat
Step 1: Trowel a thin, tight coat of Jasmine Portofino overall. Allow 5-10% of the black background to show through. Let dry. Note: Portofino needs to be worked relatively quickly and you cannot go back into it once it starts to set up. Start in one corner and work out from there, using a hard pressure on your trowel.
Step 2: Trowel a second coat of Jasmine Portofino overall, pulling now VERY tightly to burnish it as you work. Allow to dry.

Step 3: A nice option that helps to tie the final finish together is to stencil the Oriental Vine using the same Jasmine Portofino. Due to the reflective nature of the plaster, the pattern will be very subtle and will change across the surface depending on how the light hits it.
Step 4: Place the Japanese Fan Modello Masking Stencils as you wish to create a pleasing, random pattern. Use the other three colors (Amethyst, Chinchilla, and Peacock Blue) randomly amongst the fans. Trowel an initial layer of the chosen color in the pattern using a Japan Scraper held at a very shallow angle. You may want to tape off parts of the fan, such as the handles, so that you can use a contrasting color there. Note: For this project demonstration example, the Japanese Fans have been placed fairly close together. On an actual room finish you may want to scatter the patterns farther apart.
Step 5: Trowel a second or third layer of the various plaster colors in the fans until you get the desired coverage. On your last layer, pull the plaster thin and tight so that you get a nice burnish.
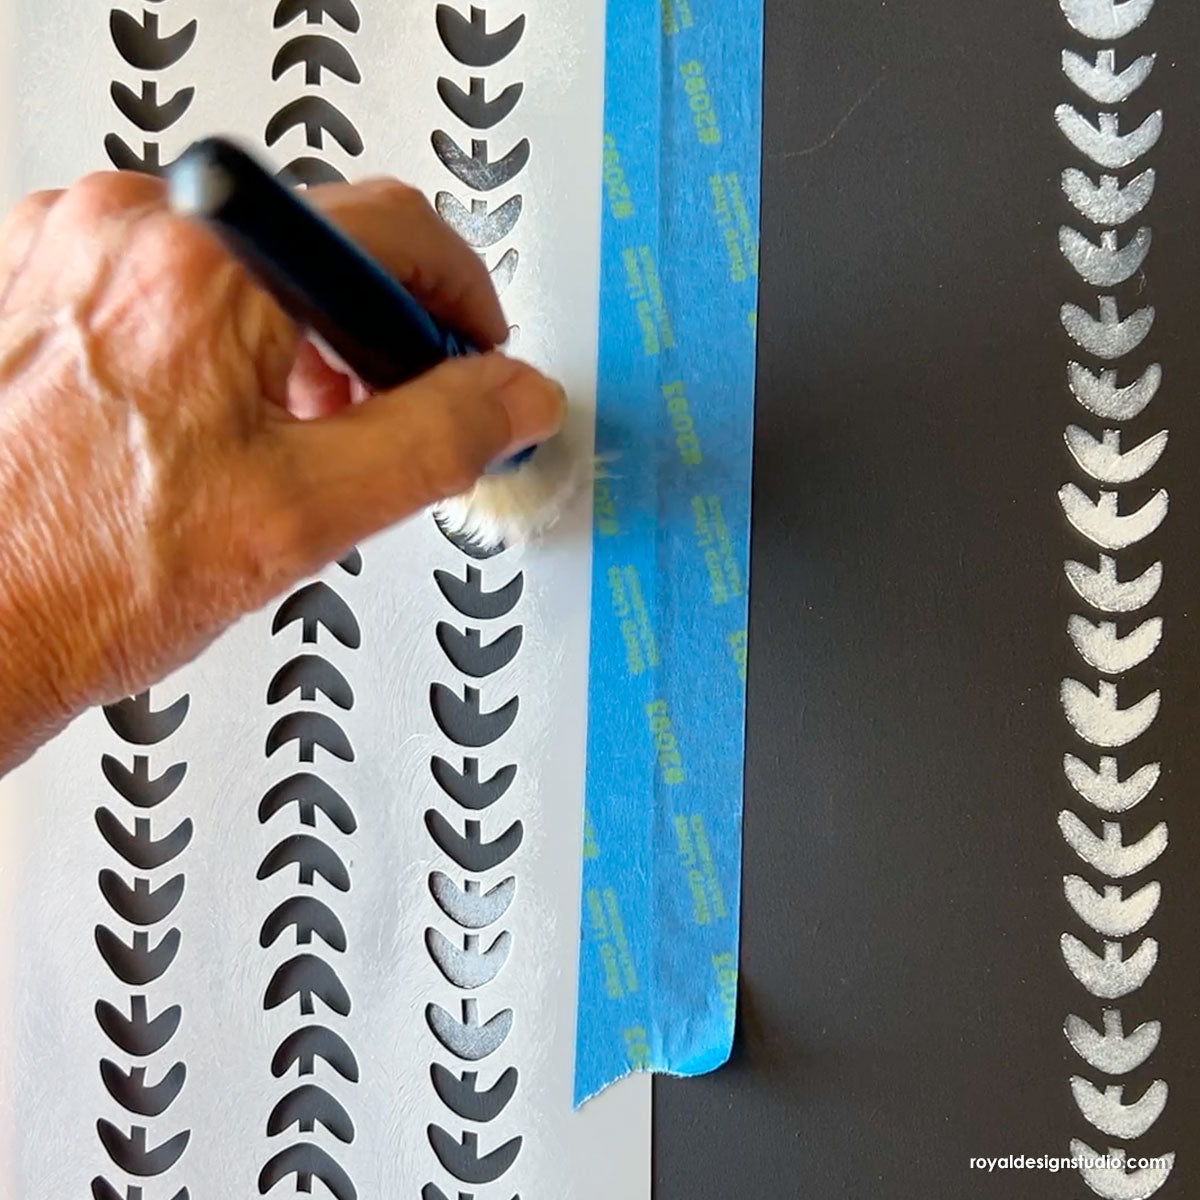
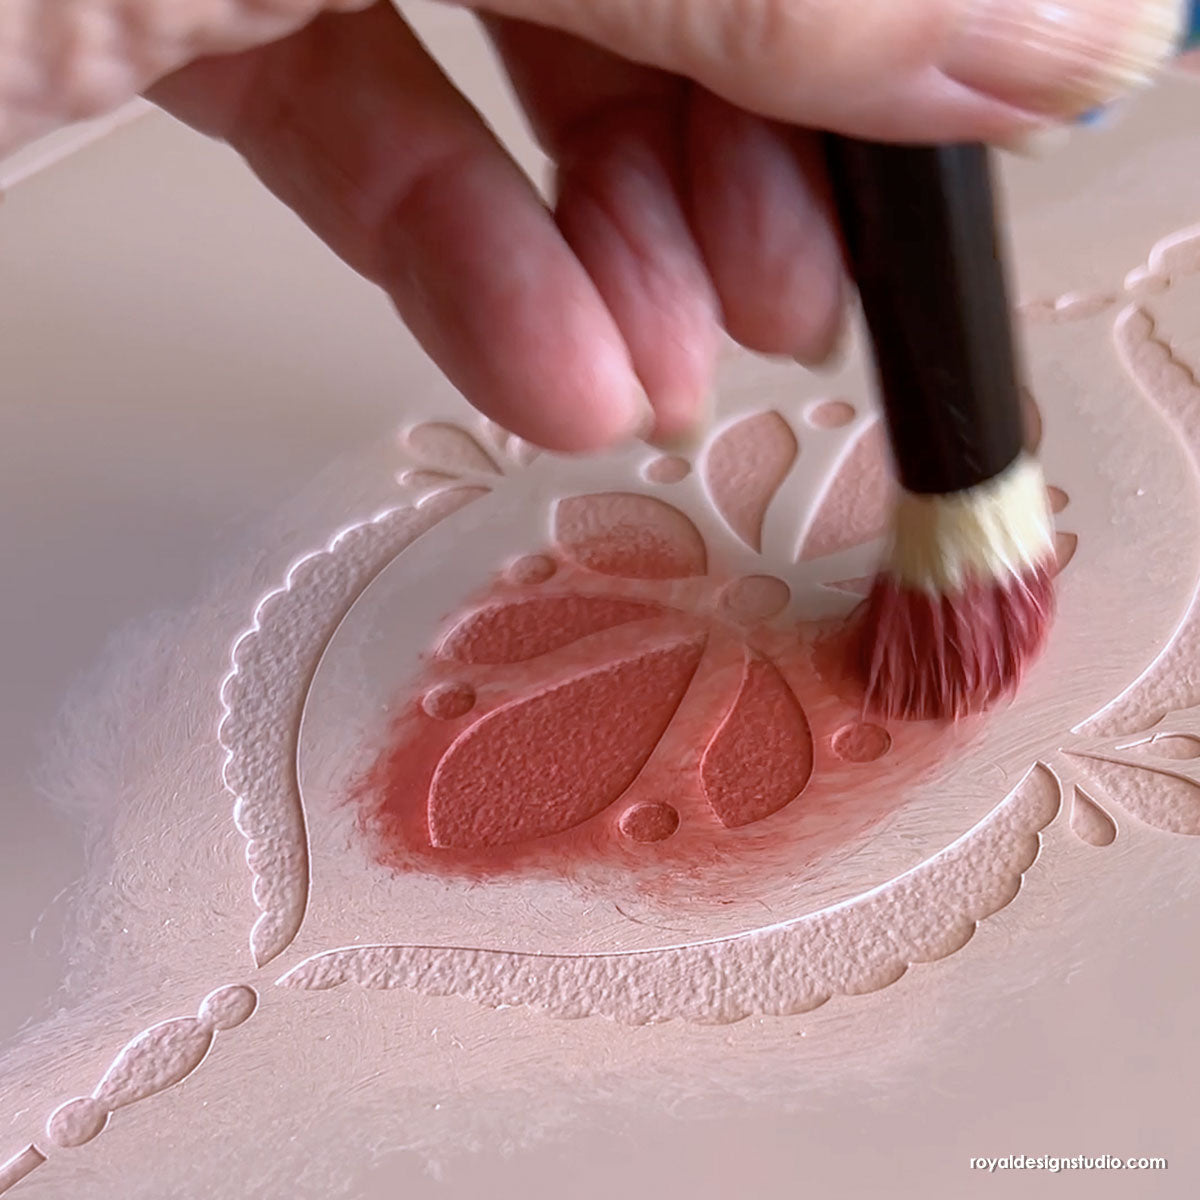
Step 6: Use the same plaster colors what were used in the background for the stenciling detail. These plasters provide fairly good coverage when stenciled, but you may want to build up a couple of layers to achieve the desired depth of coverage. Stencil using a “dry-brush” method, where you load just the tips of the brush with plaster and offload the excess by swirling the brush on paper towels. This will prevent the plaster from seeping under the stencil and give you a nice clean “print”.
PRO TIP: The stencil patterns within the fans can be done any number of ways: Allover pattern with randomly placed elements on top, just an allover pattern done in one or multiple colors, or just random elements. You will want to plan this ahead so that you get a nice mix of options throughout your entire project.
Step 7: For added depth, you can also use multiple colors of plaster within one design, as shown here.
Step 8: Use a Colour Shaper to apply a thin layer of Golden Glass Bead Gel though selected stencils. You will not want to apply this everywhere, just as accents here and there which create a nice added dimension and shimmer. Take care not to apply the Glass Bead Gel too thickly as it may “frost”. Just apply the gel to the thickness of the clear glass bead aggregate that it contains. We recommend that you do some samples with this product before tackling your final project!


