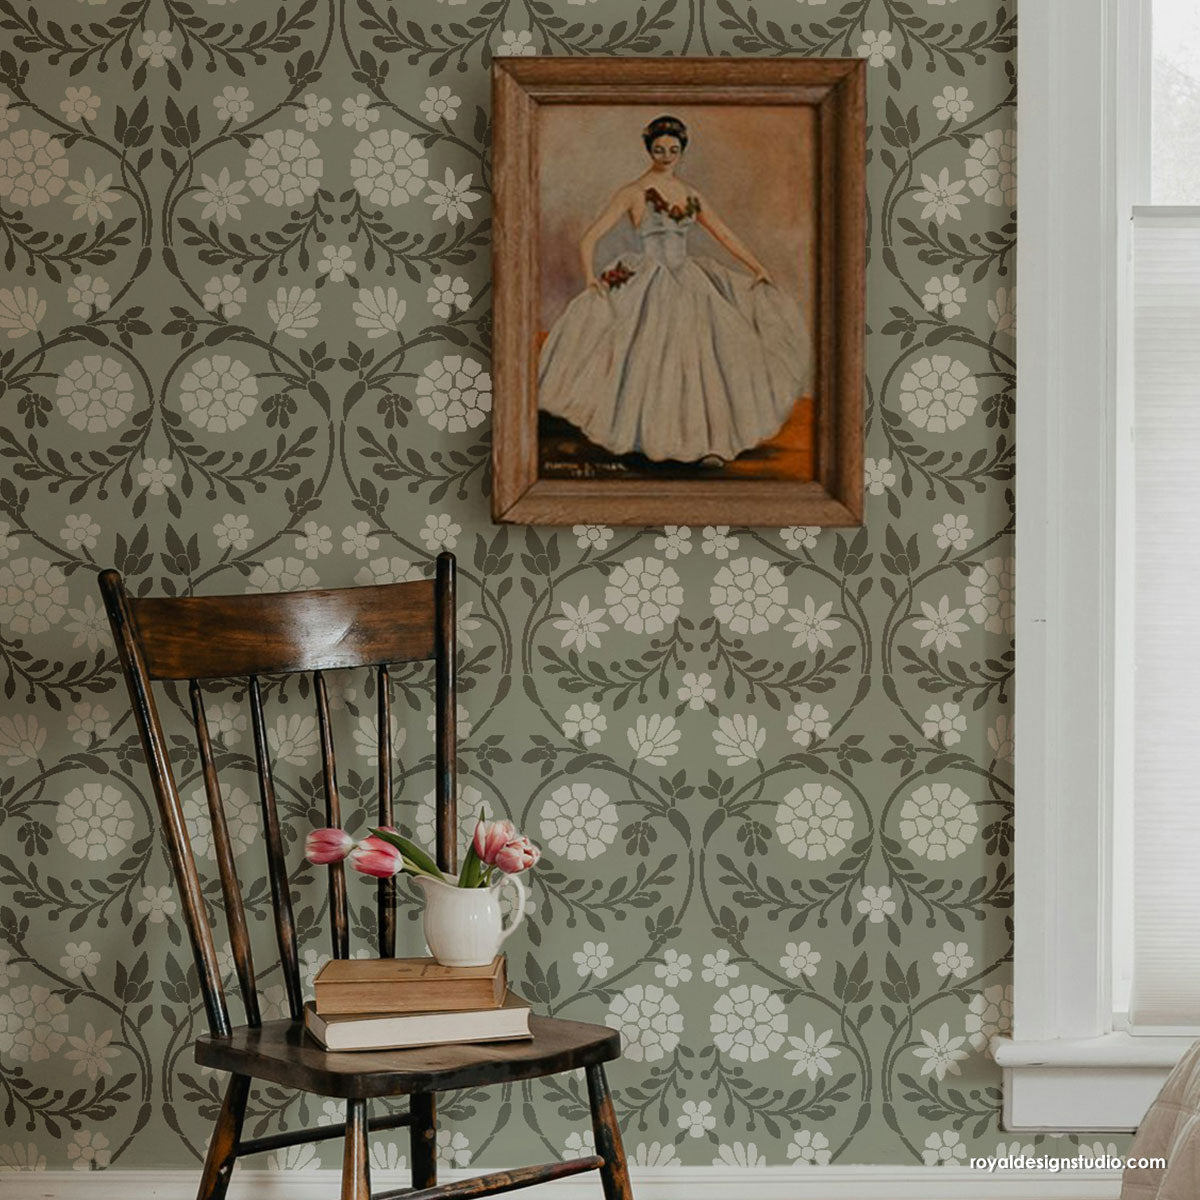
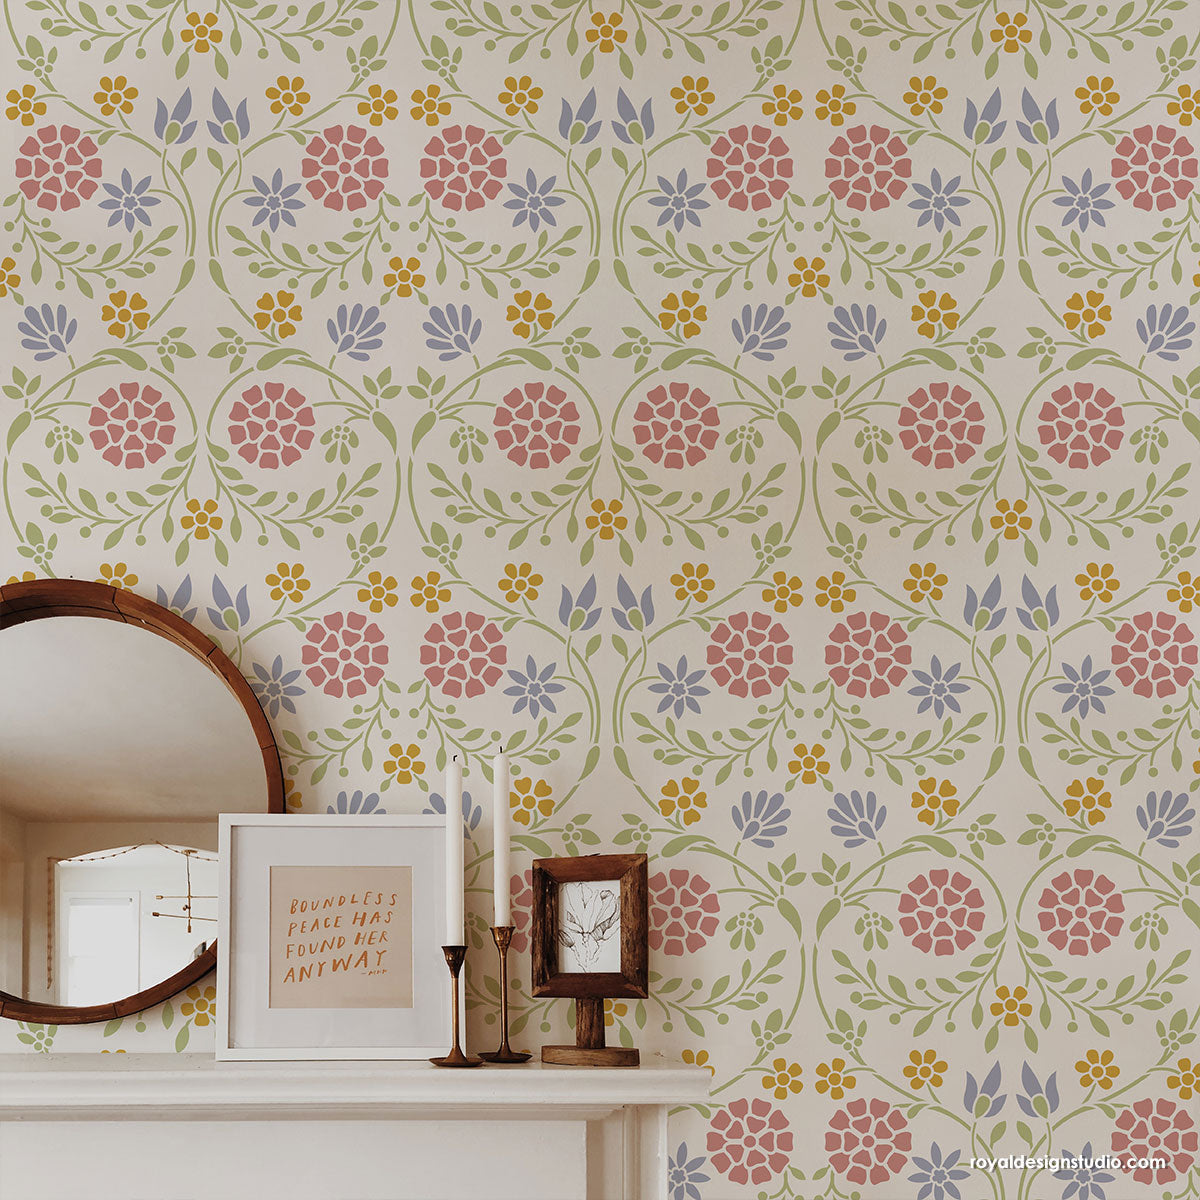
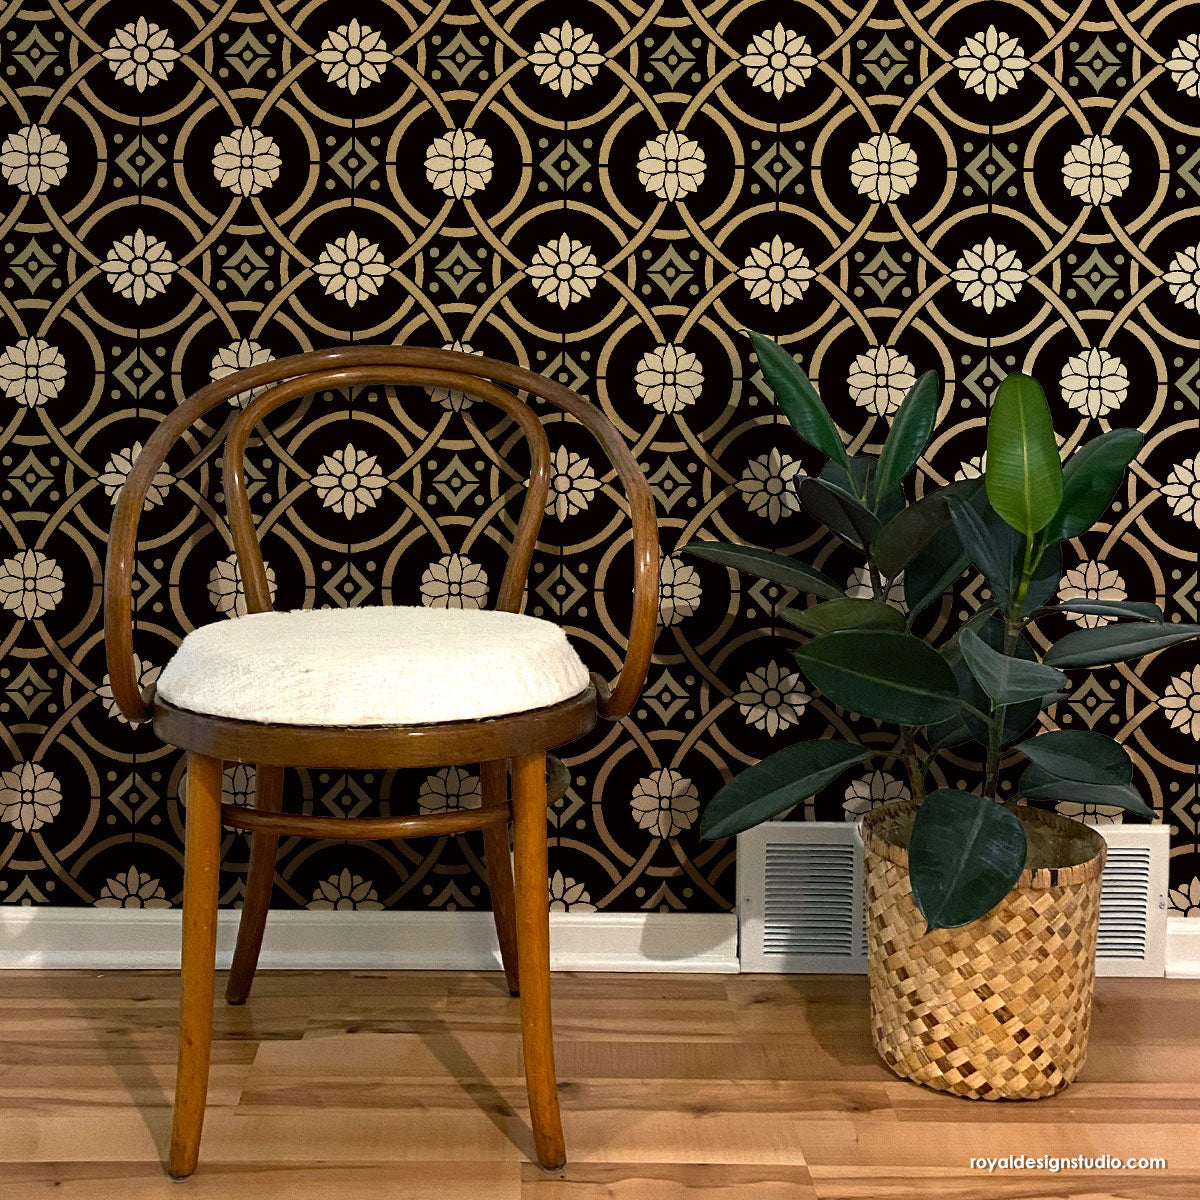
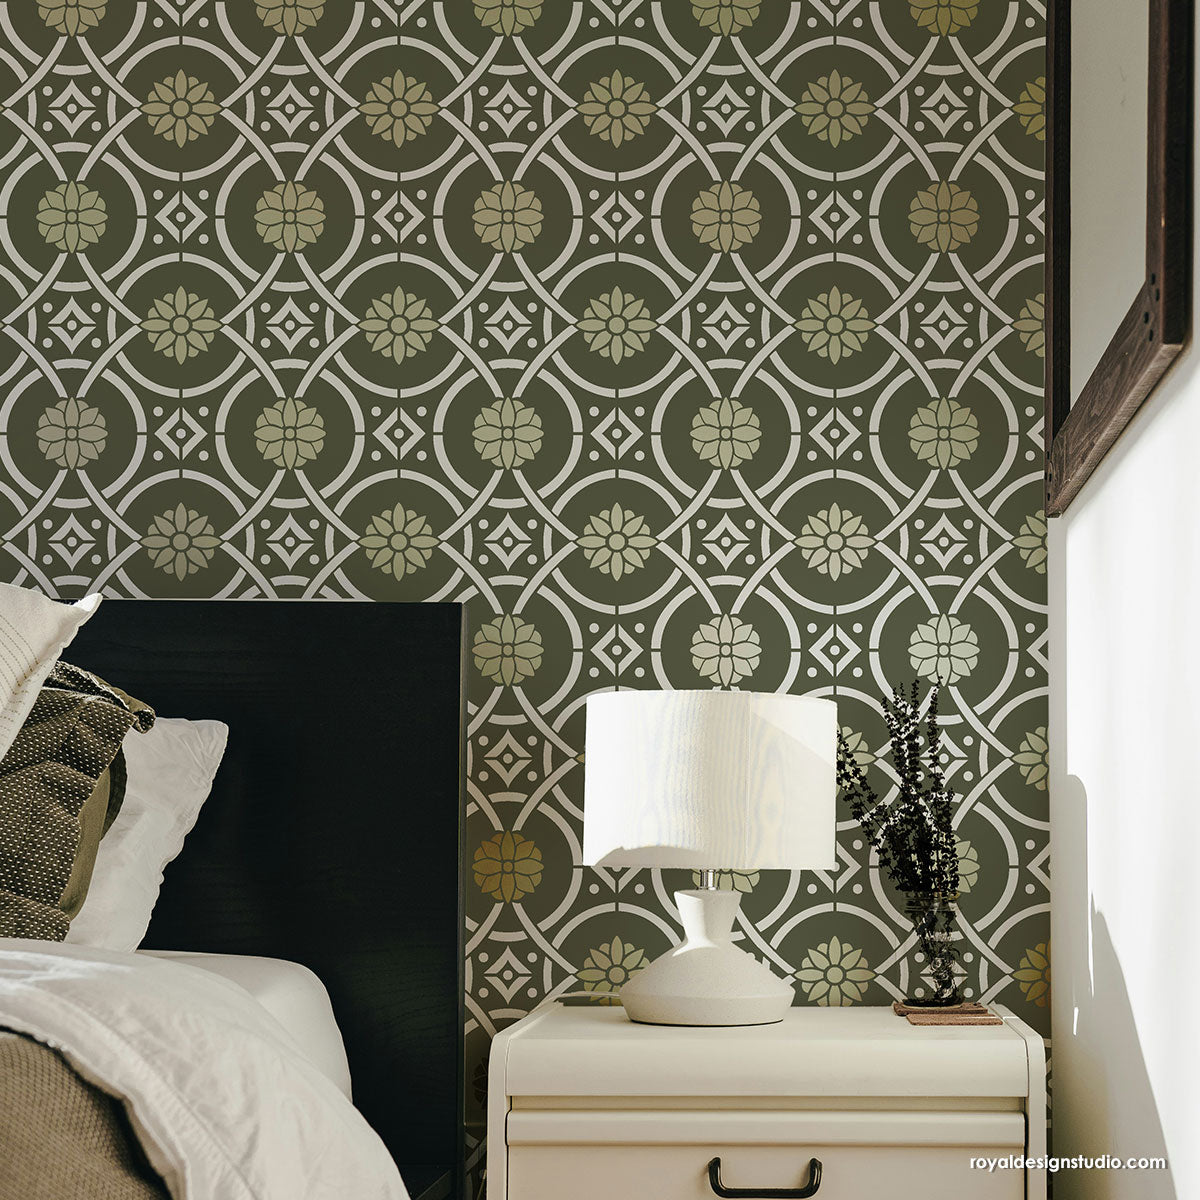
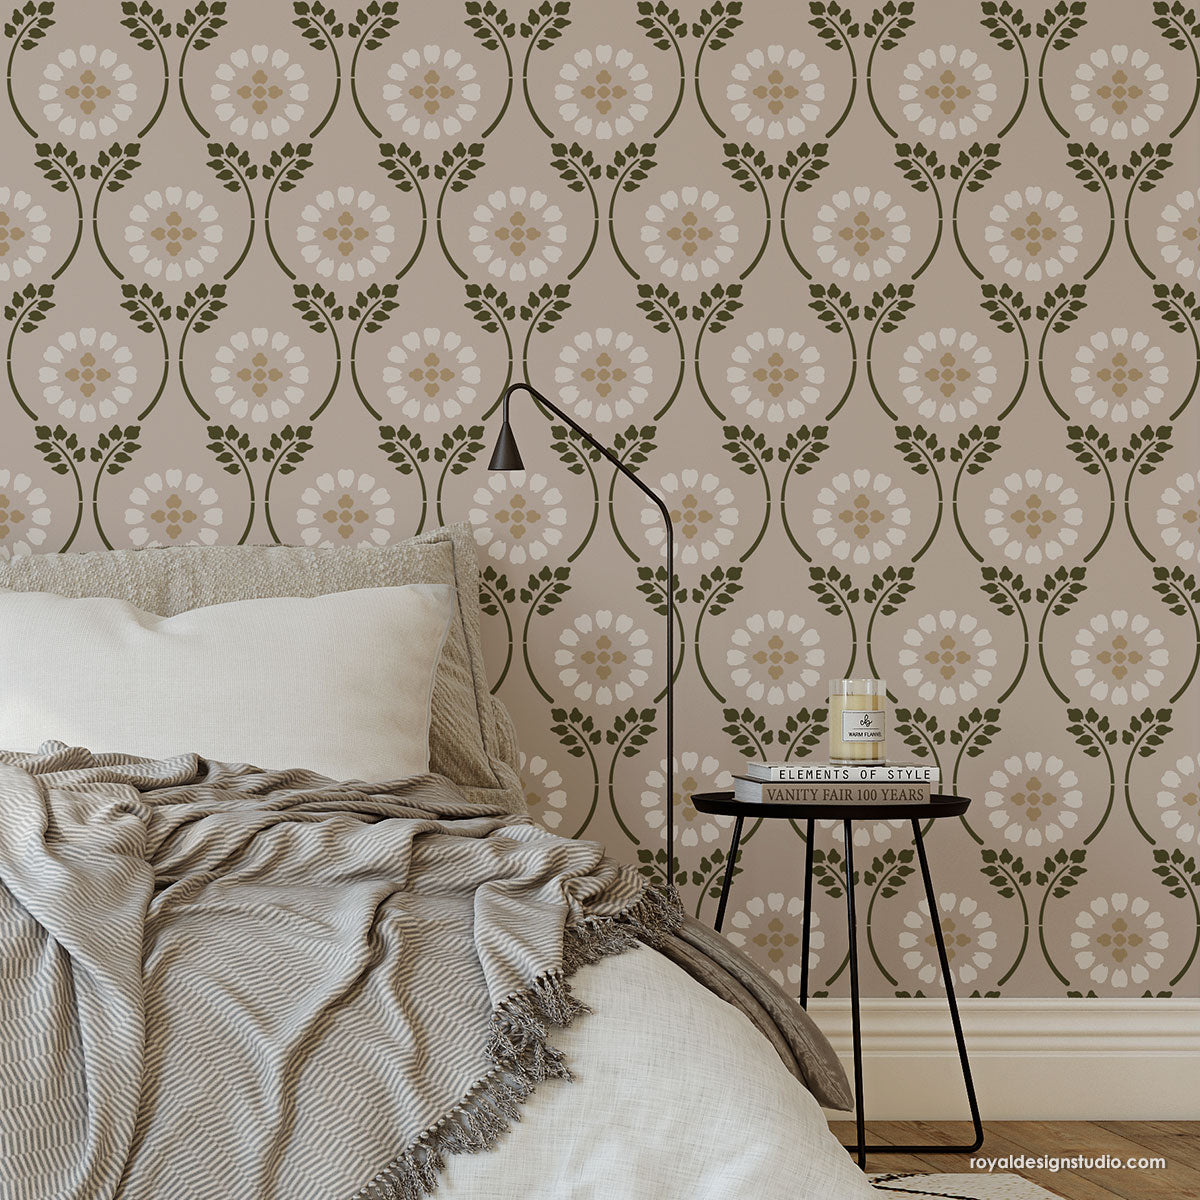
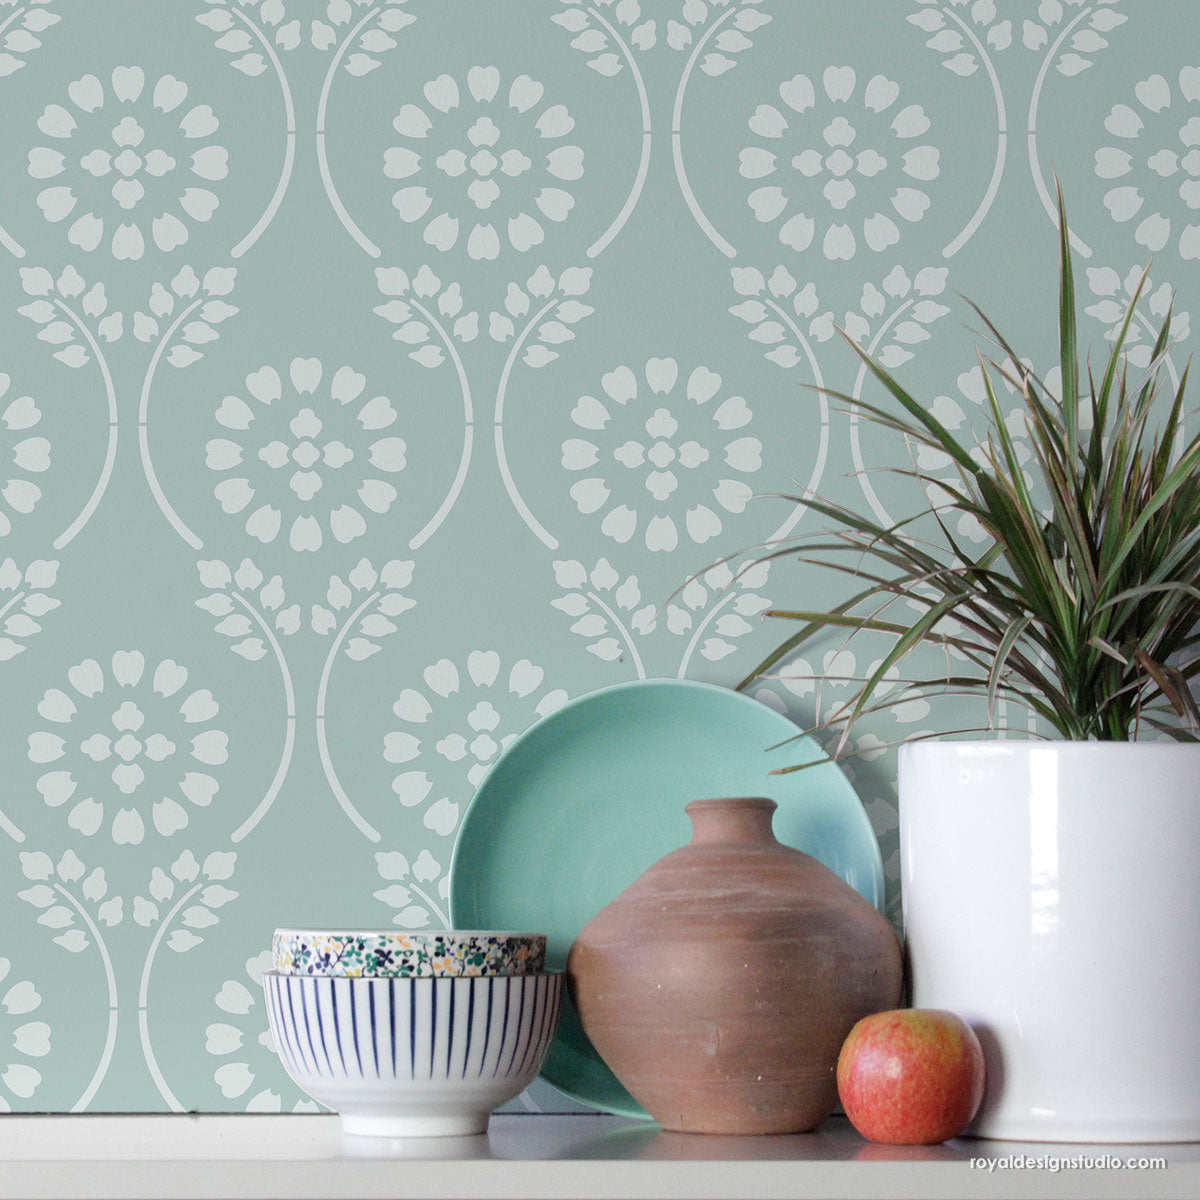
Fab Flower Alert! Here's a helpful stencil how-to for using the zinnia flower stencils that we call BLOOMERS from the lovely Bonnie Christine Stencil Collection from Royal Design Studio. The Bloomer Stencil Sets each feature 2 different sized flower stencils that come in 3 simple-to-use layers and offer maximum design and color combinations. We wanted to show you how easy it is to use these stencils and to "layer" them for a completely custom effect. For this project we used the Big Bloomers Flower Stencil Set as well as the Medium Bloomers Flower Stencil Set for even more pattern variety.
Paint Colors and Stencil Supplies:
You can choose any paint colors you want for your Bloomers stencils, of course, but we recommend a colorful garden variety. We find that the blog Design Seeds is a perfect place for color inspiration and loved the combination of bright colors in the color set shown above/left. We matched them up with some Behr color chips and had some Premium Plus Ultra sample paint pots mixed up in these colors: Luscious Mango GLO06, Japanese Koi P210-7, Glitterati P120-7, Optimum Blue M540-7, Explorer Blue M470-5. We love these Behr paints for roller stencil, as we outlined in this basic Roller Stencil How-to, and we HIGHLY recommend using our 4" Flocked Foam Stencil Roller for the best stencil results! Use one of our quality Stencil Brushes to add some detailing at the end.
First, let's get acquainted with the Bloomer flower stencils!
These are flower stencils with a difference. They feature multiple layers that allow you to create more flower variety as you wish. On the left you see the Silhouette/Shield layers. On the the right is the Flower Petal Detail layer-which you can easily use ALONE or in combination OVER the Silhouette later if you want to create a more solid looking flower and add a contrasting color. The Shield layer can be used when you want to create the look of layered flowers, as you will place it over a finished flower to "shield" it while you stencil your "behind" flower OVER it. Get it? Well, read on then.....but first-note that we labeled each stencil with a letter, number and UP arrow. This will help you keep track of what goes with what when using multiple flowers for your stencil project.
2 Layer Bloomers:
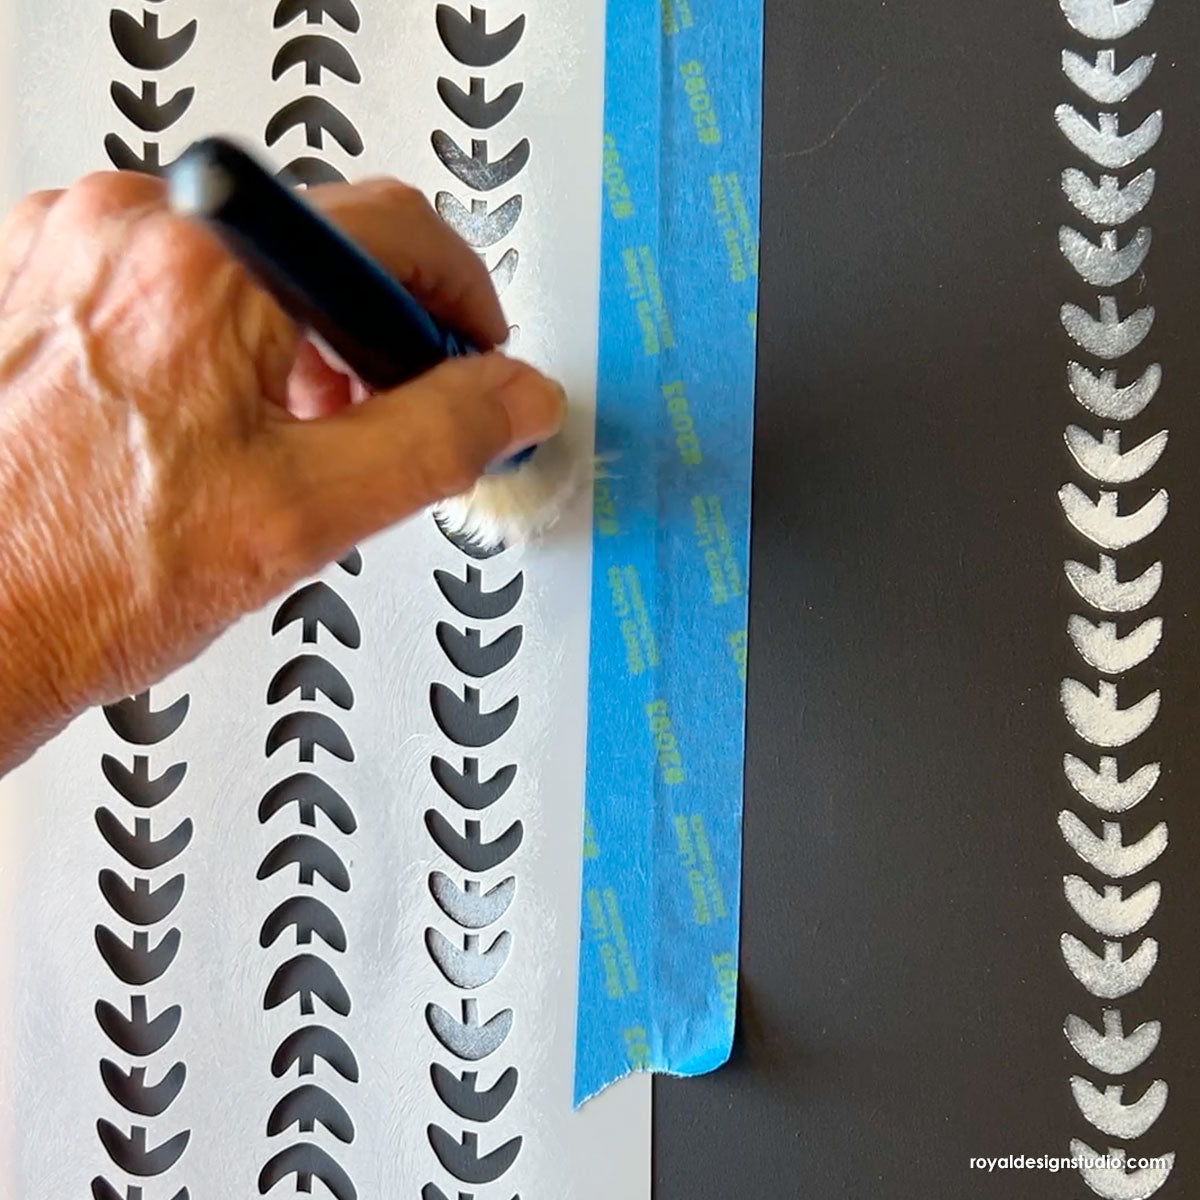
Start with the Silhouette layer first and use the Flocked Foam stencil roller to roll on a full-coverage coat or two of the color you have chosen for the background. Note that the Behr Ultra Premium paints offers great coverage and dries quickly-making it ideal for roller stenciling. The heavy body of the paint combined with the superior roller GREATLY reduces the chance of having paint seep under your stencil-AS LONG AS you remove the excess paint from the roller on paper towels before stencils (not shown-see this Stencil How-to)
Use the built in registration marks to align the Flower Petal Detail layer over the Silhouette layer correctly and roller stencil on your contrasting color. Easy Peasy!
Creating Layers Bloomers:
It's super easy to create layered stenciled flowers by using the corresponding Shield layer over a previously stenciled flower-whether you did it in one layer or two. With the shield in place, simply position and tape a Bloomer layer of choice over it, then stencil. The Shield will protect your first flower from the paint, and you will end up with a much more interesting layout with some flowers layered here and there.
A NOTE on Design Layout:
Aim for a nice balance of size, scale, and spacing between flowers. Don't bunch TOO many together or you will get an overcrowded look. Start stenciling towards the middle of your wall and tape your different flower layers up in a small arrangement to get a good visual of how they will look before you start. Then simply work out from there-creating as you go. Alternatively, you might want to draw up a quick sketch of your wall to help you with pattern placement.
Details, Details:
Use a Stencil Brush to put a contrasting paint color in the flower centers on some or all of your Bloomers flower stencils. This is a great way to add some color PUNCH, and also to help pull and balance the colors in your flower wall stencil project!


