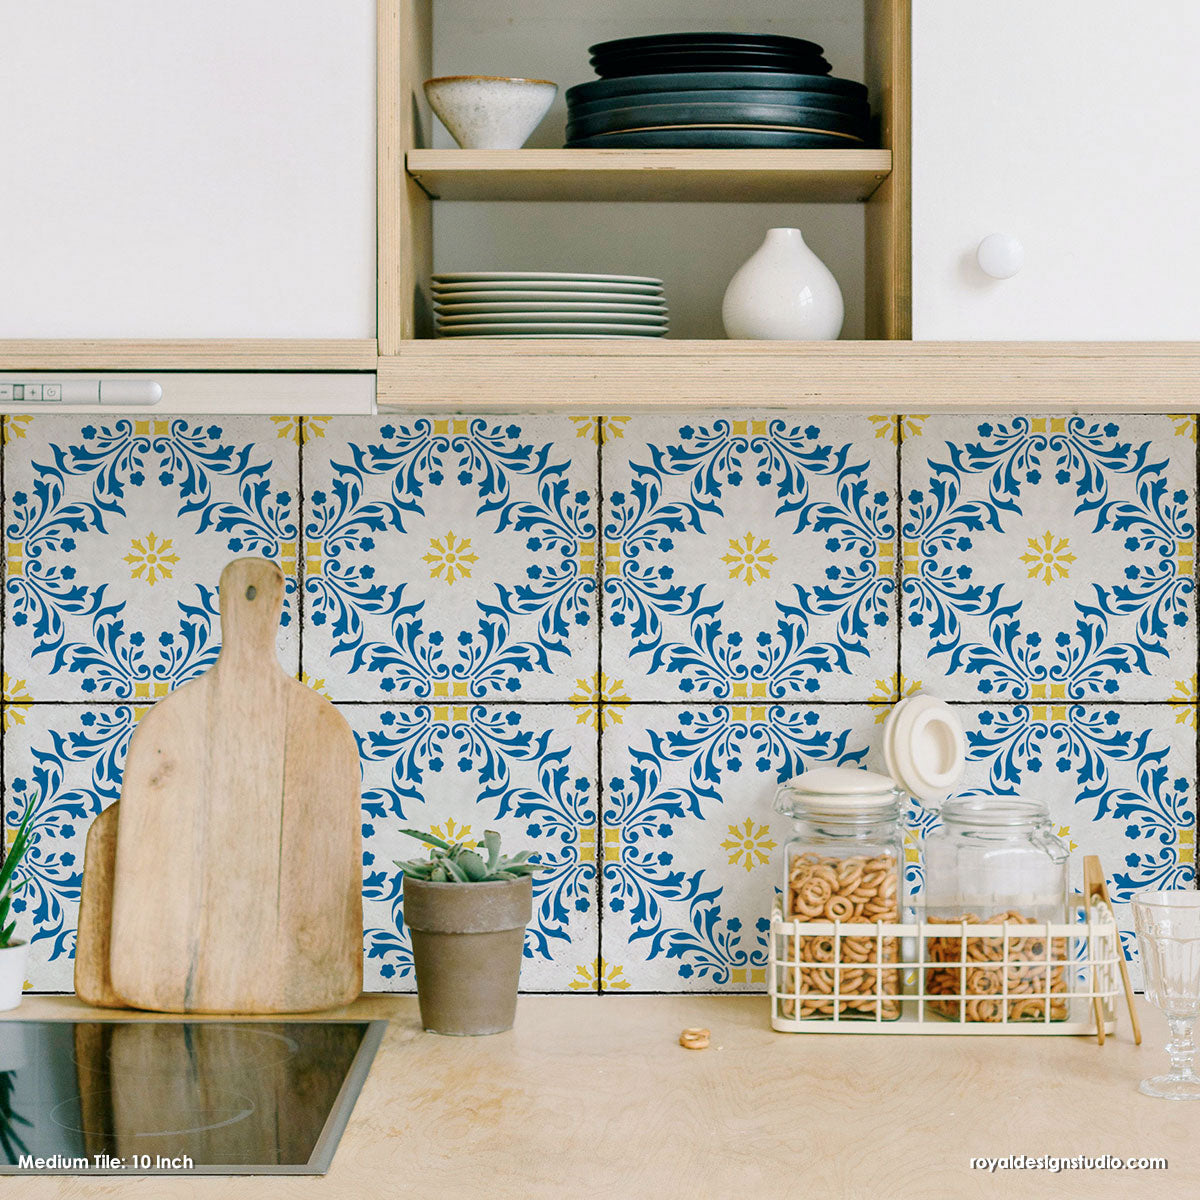
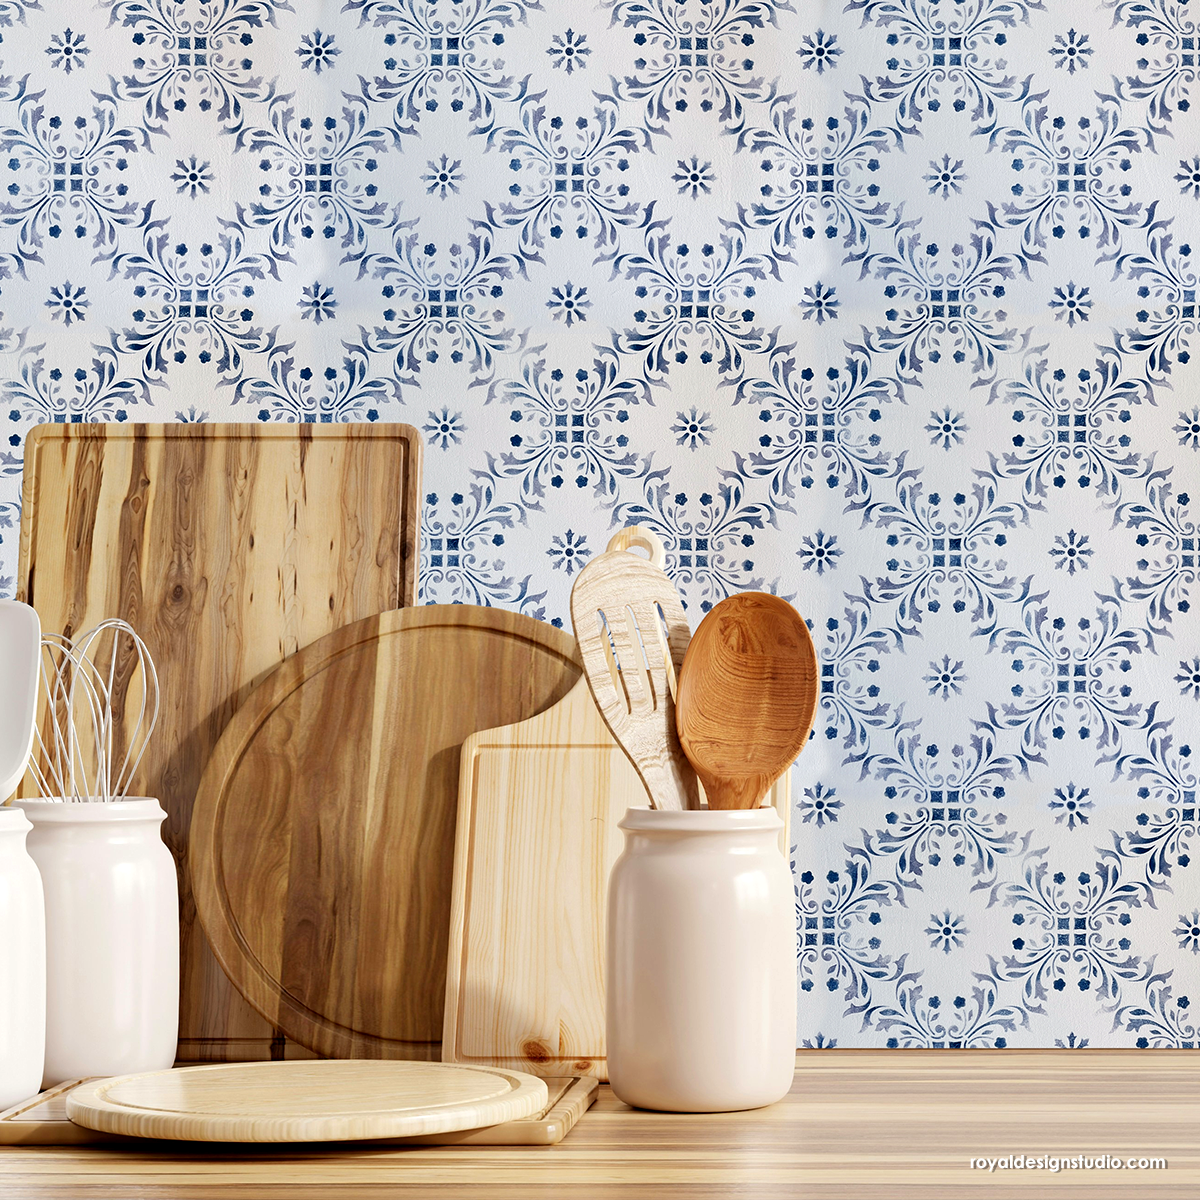
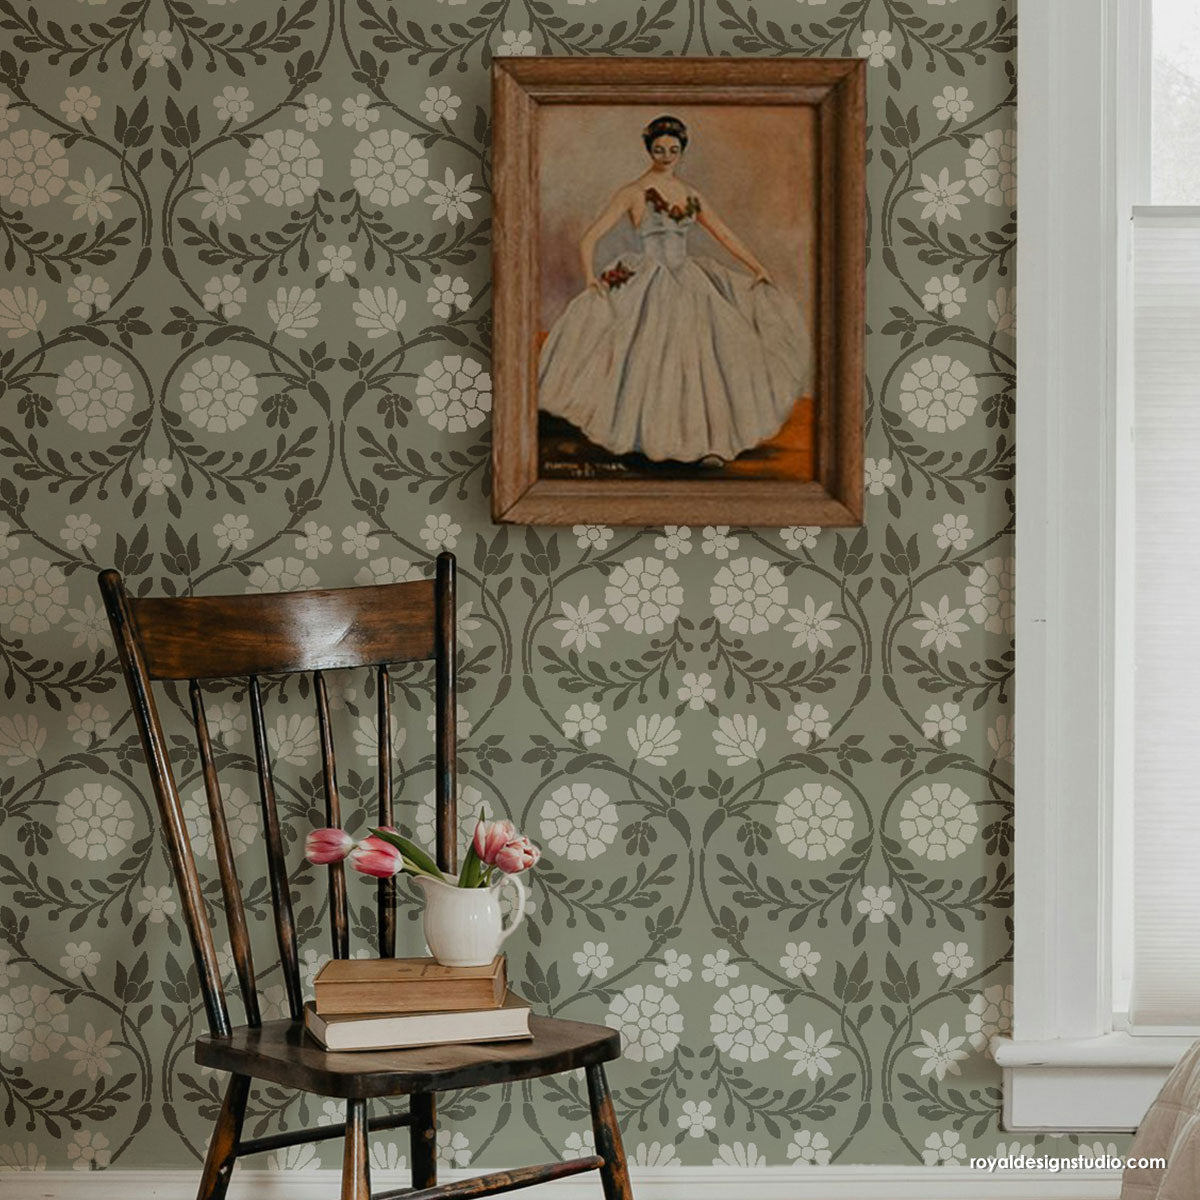
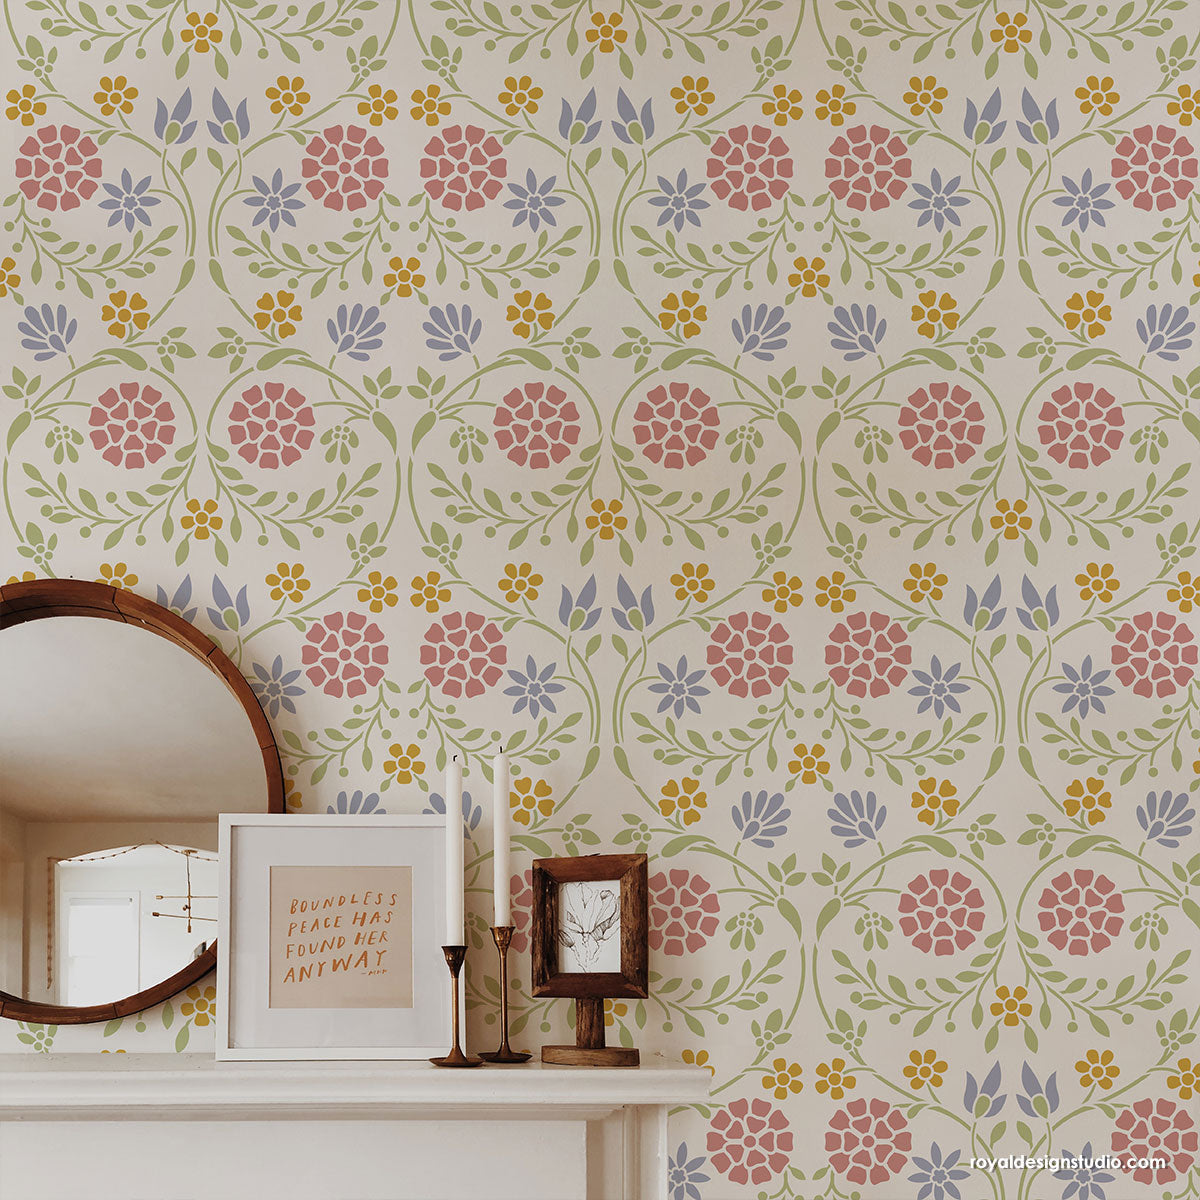
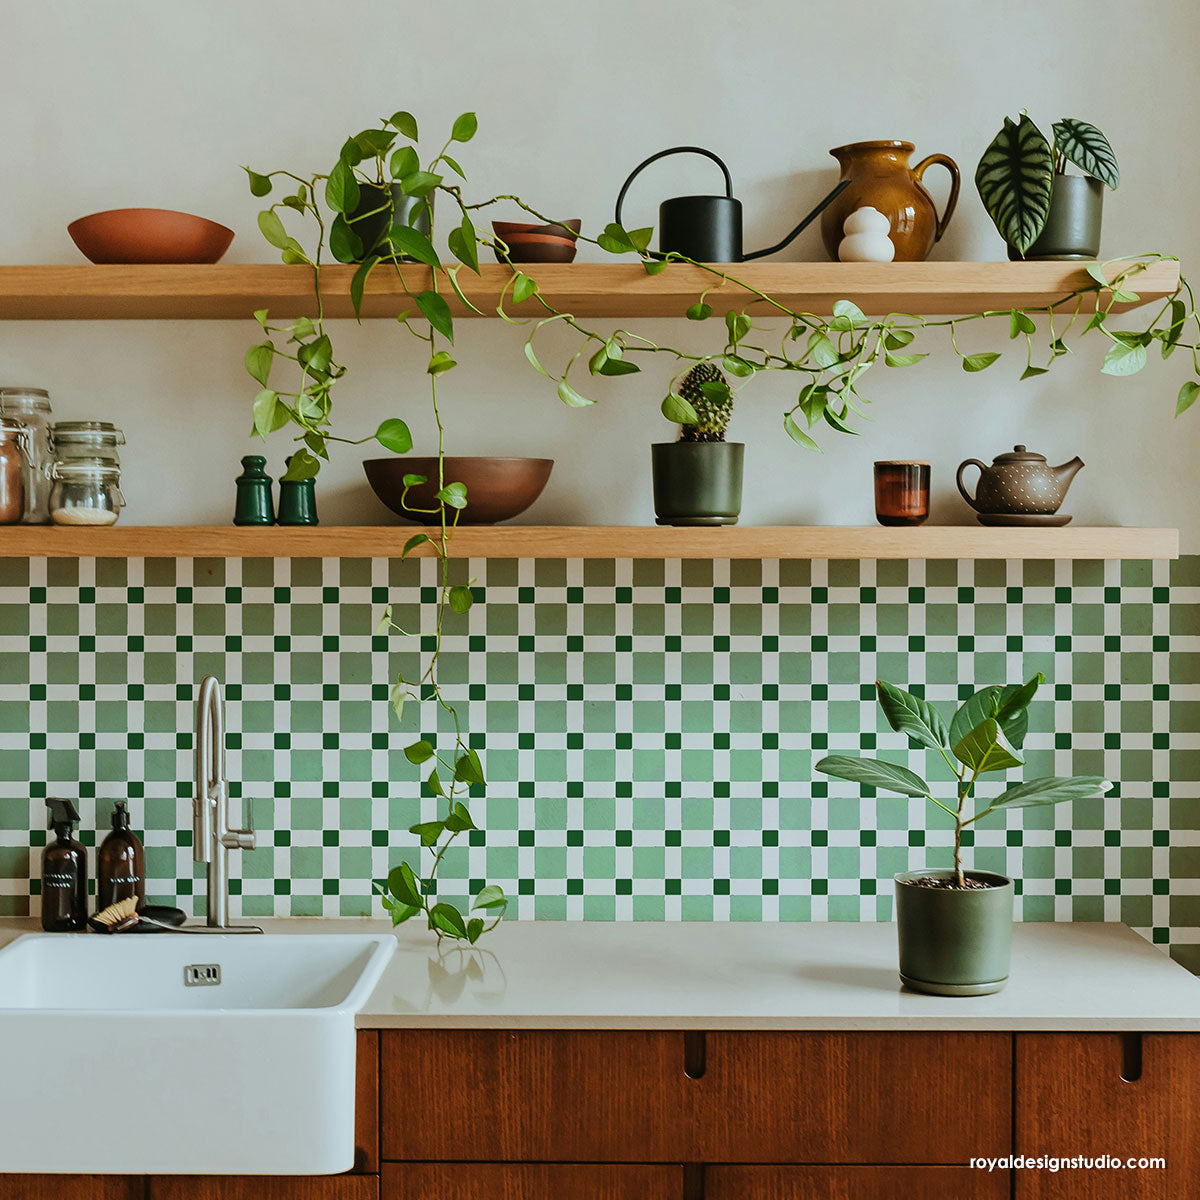
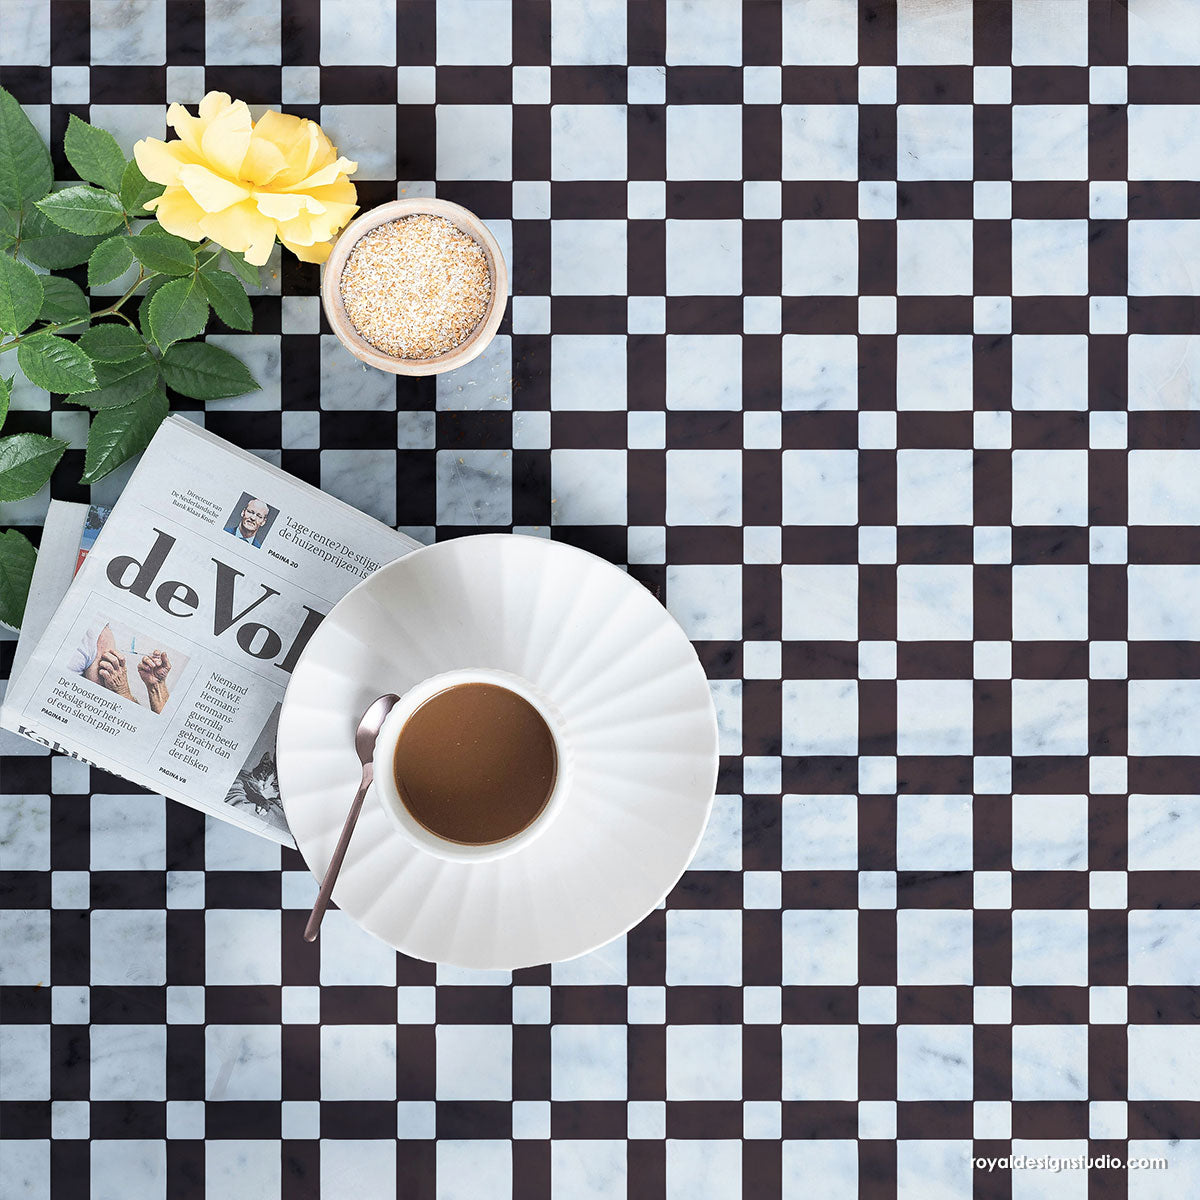
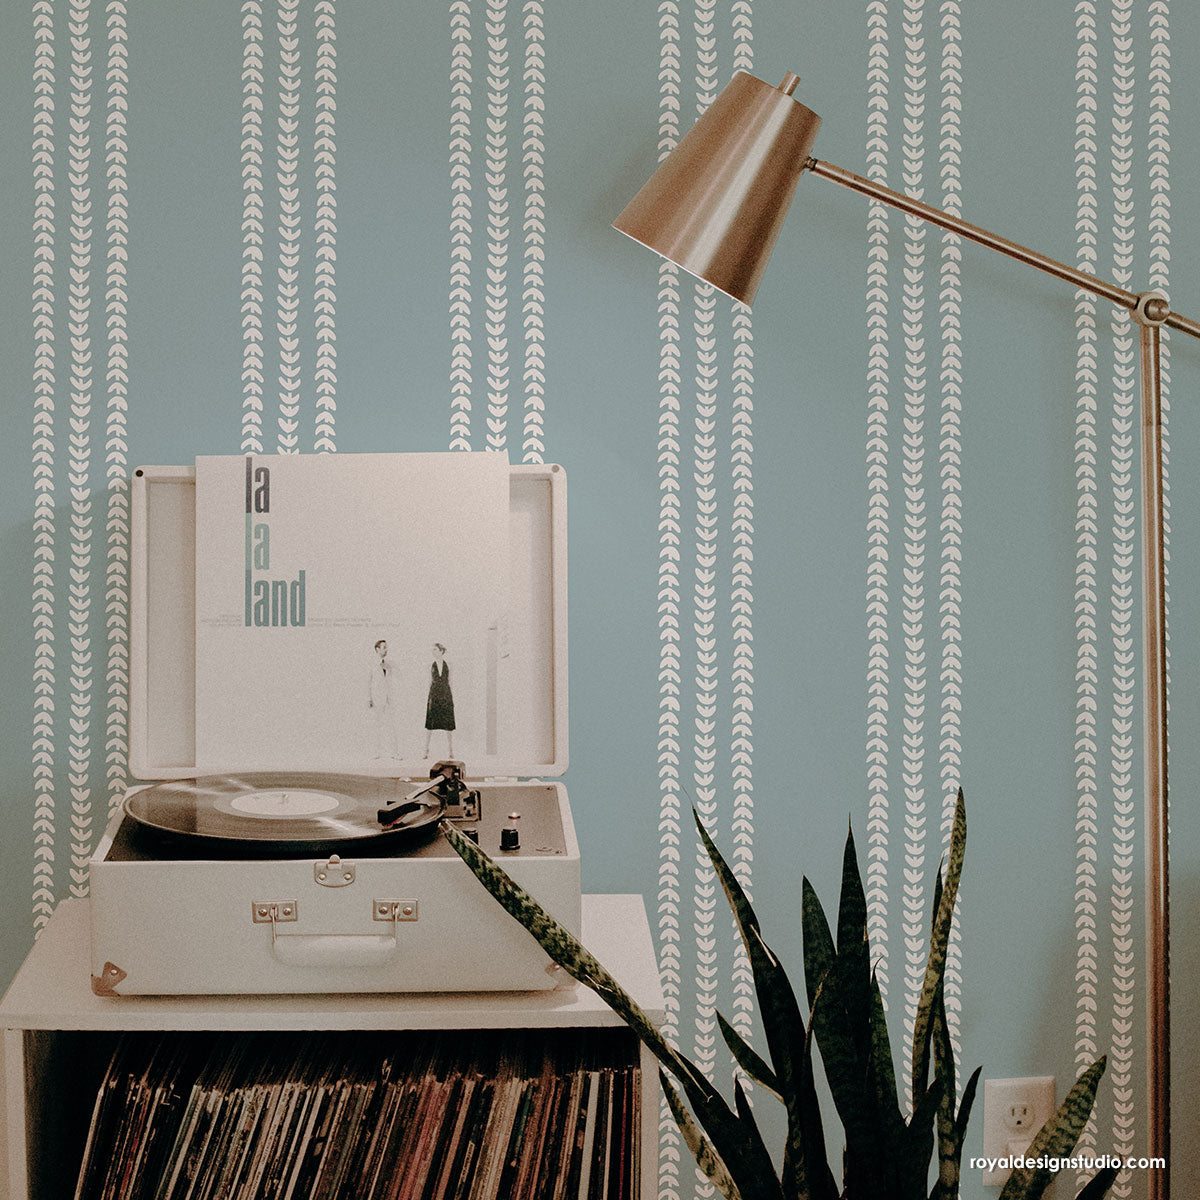
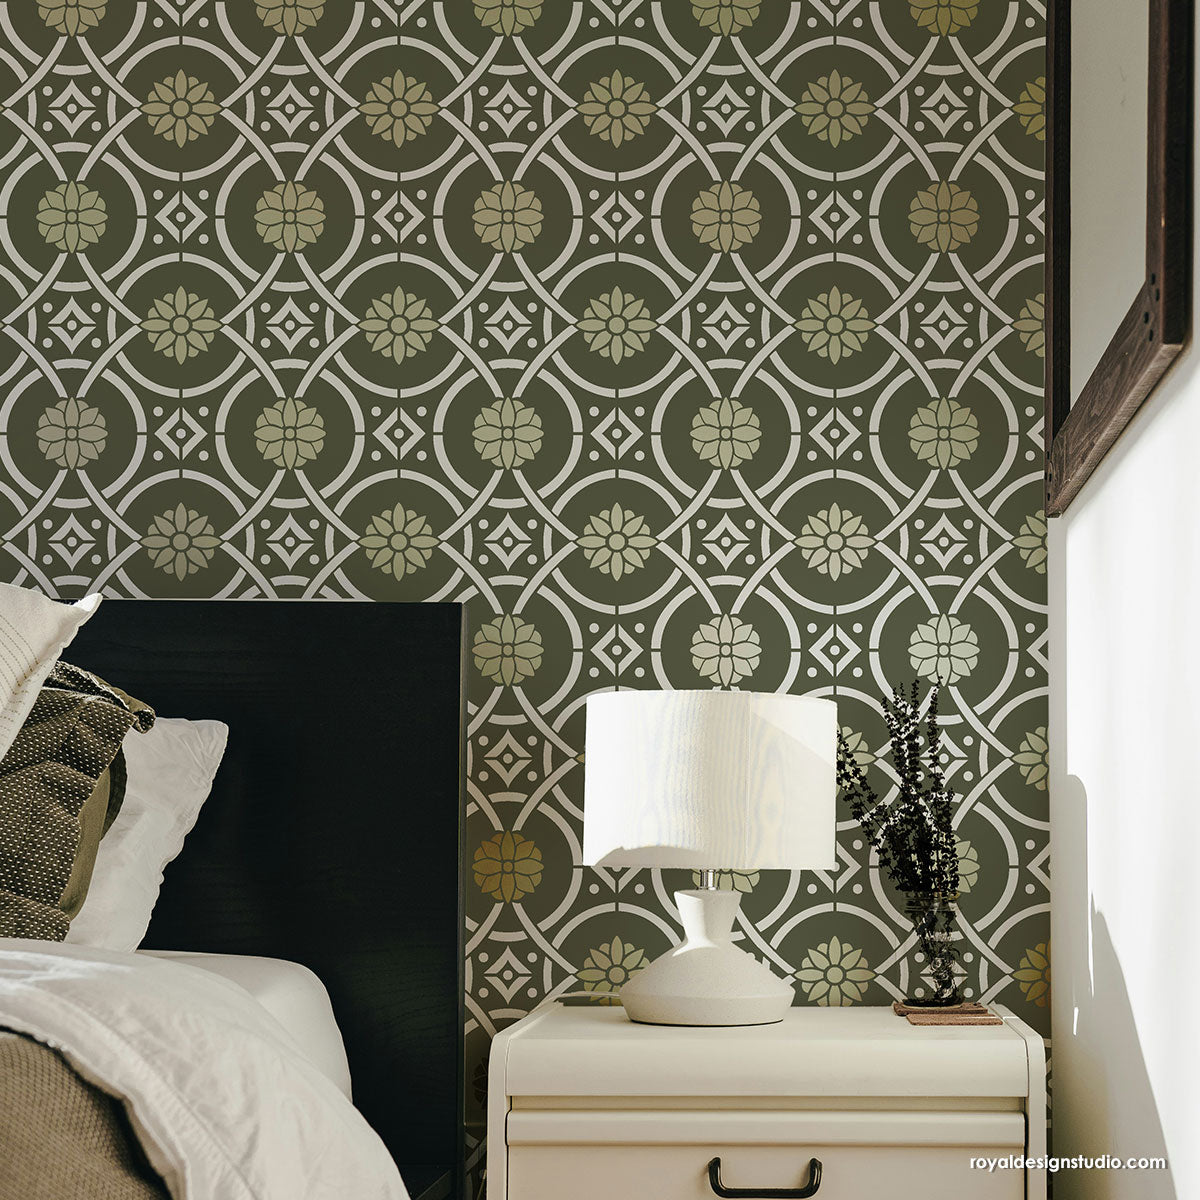
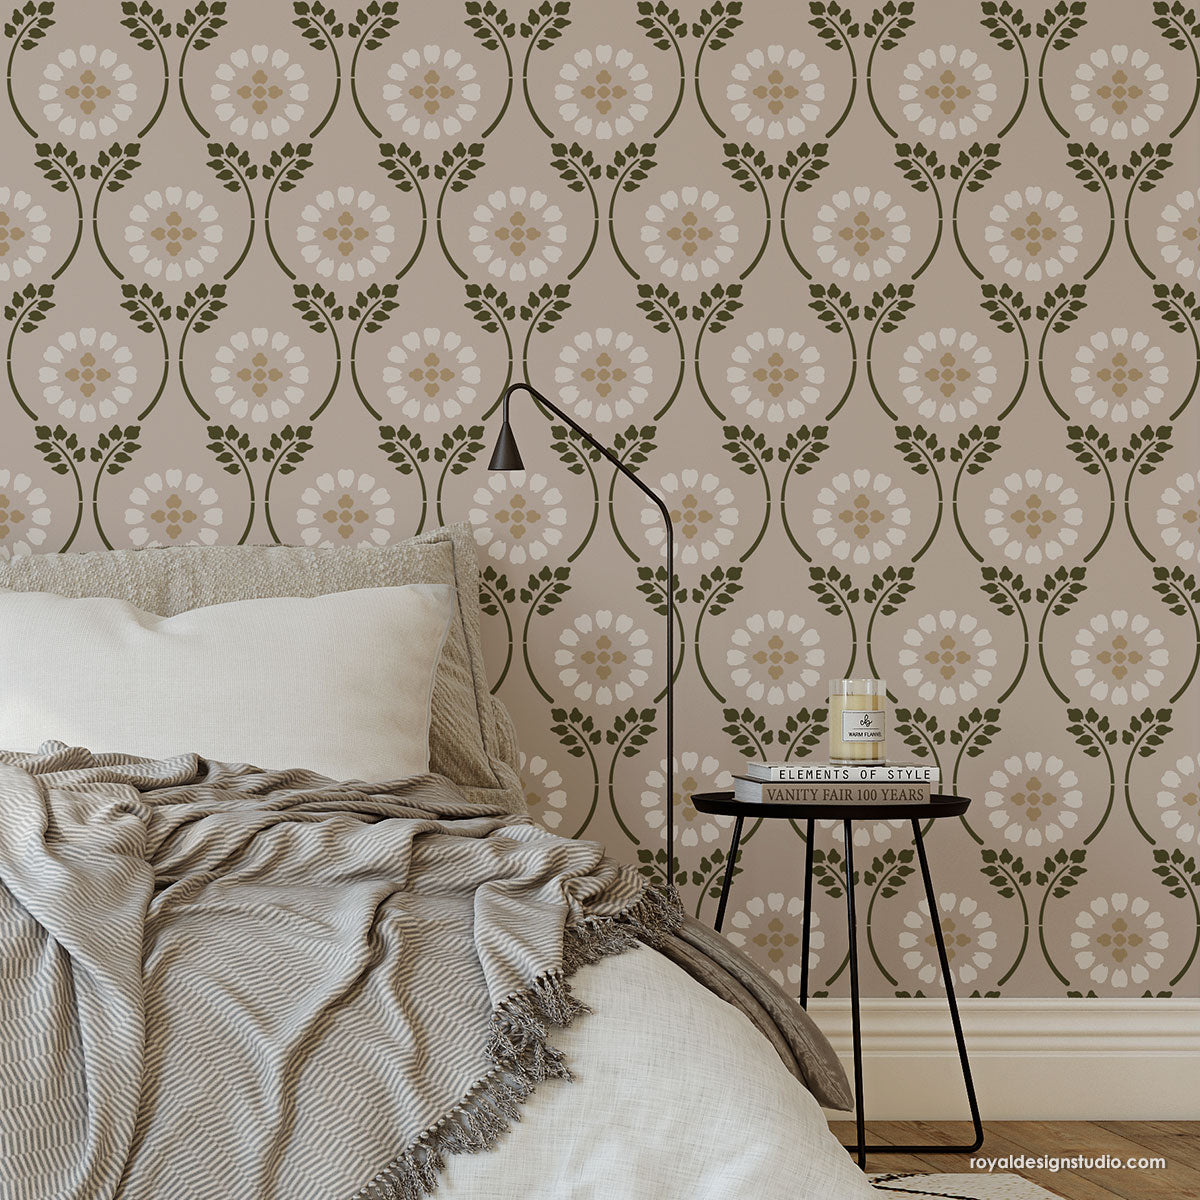
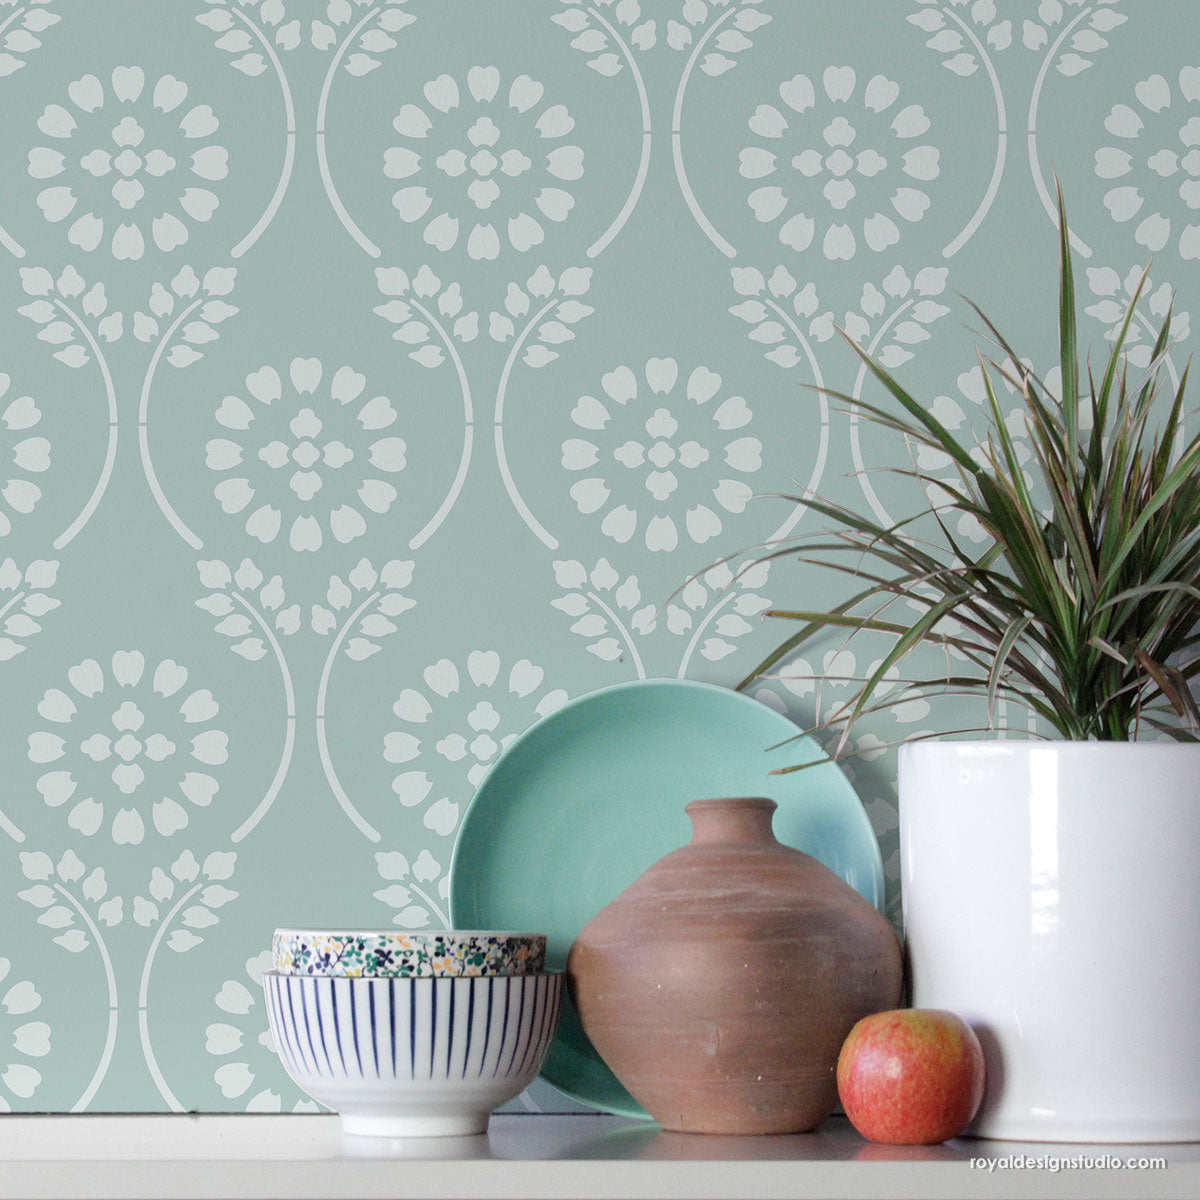
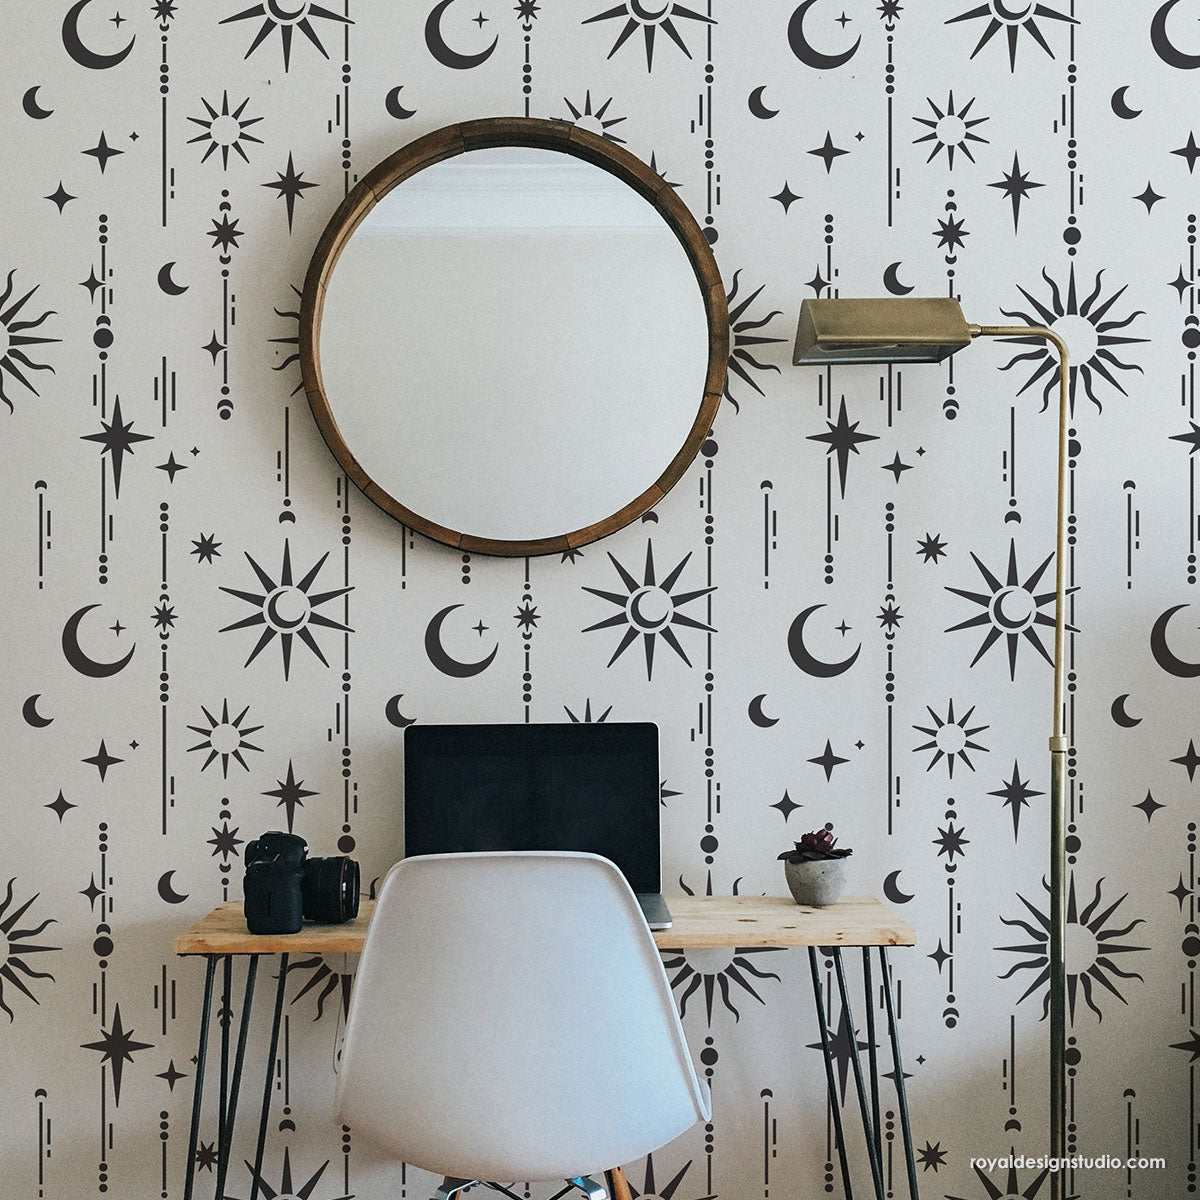
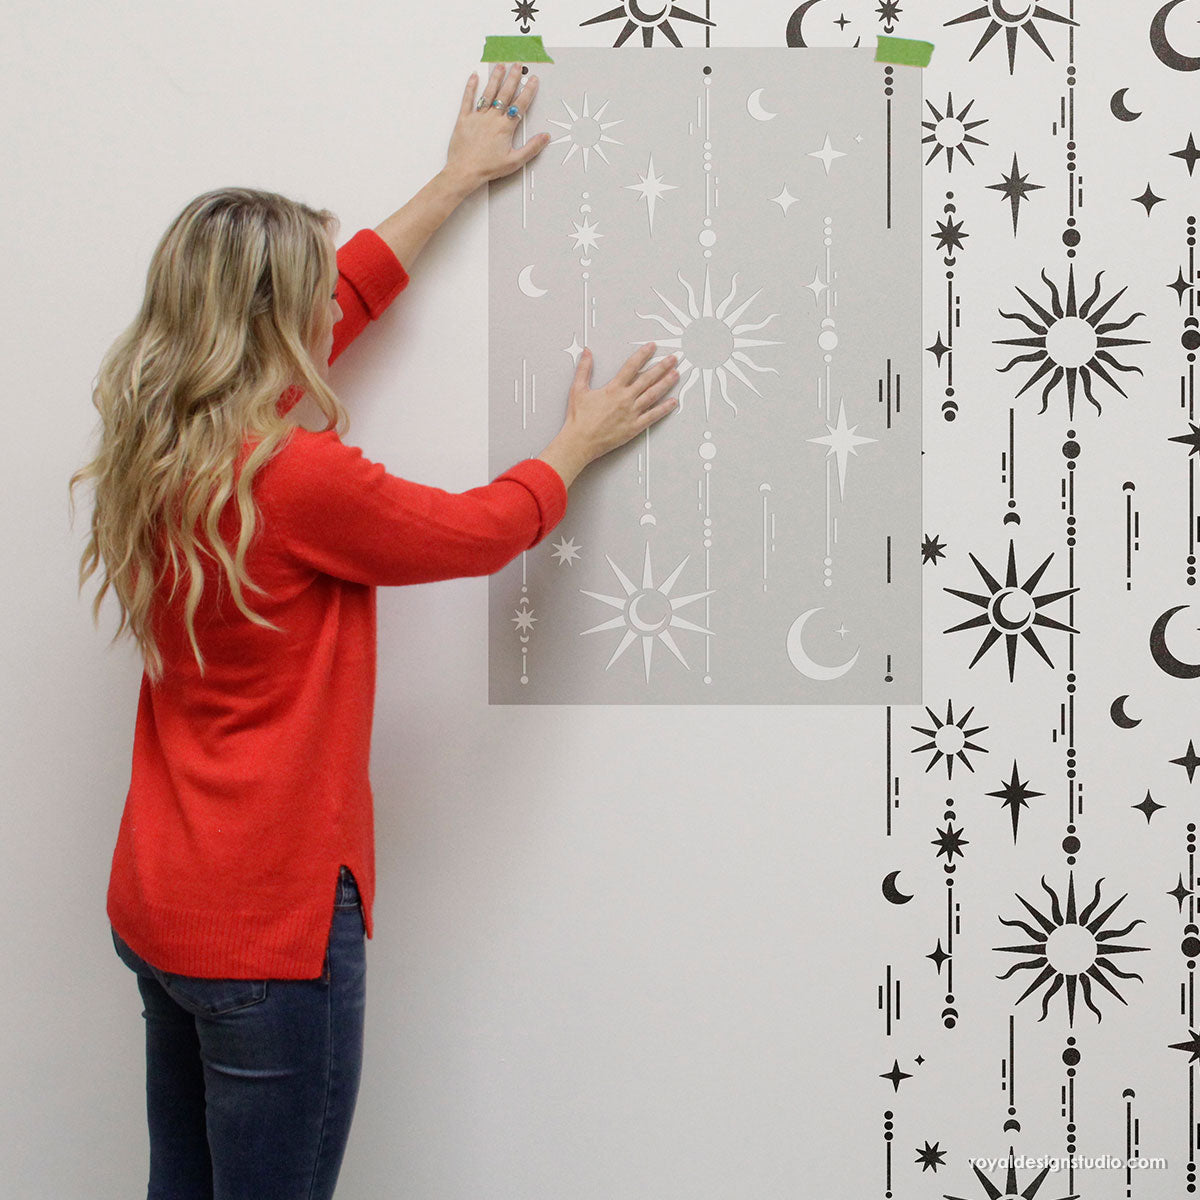
Stencils are a great choice for budget-conscious decorators! For a small investment of time and money you can create one-of-a-kind home décor that fits both your style AND your budget….
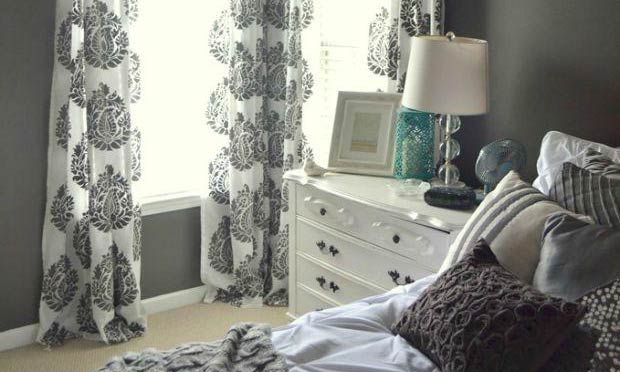
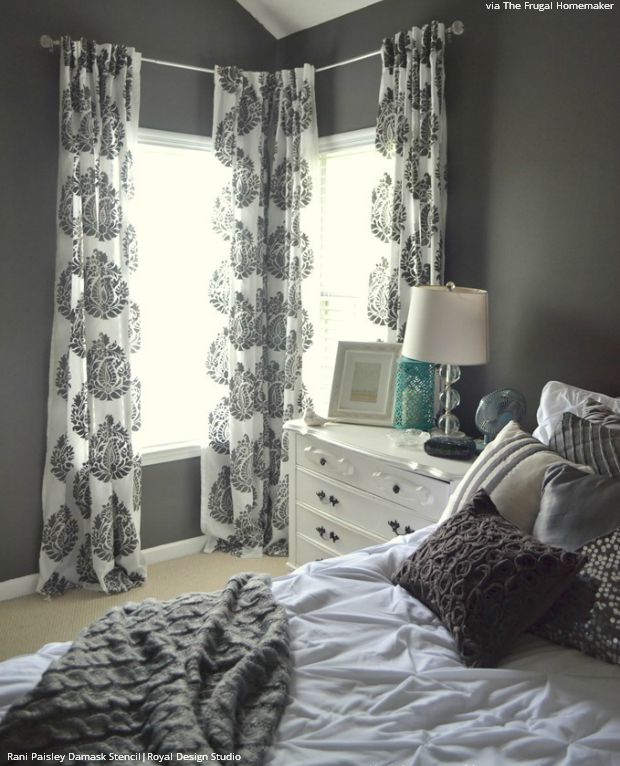
Christina from The Frugal Homemaker wanted to give her master bedroom a little more pattern pizzazz. Curtains are a great way to do just that, but she found that all the curtains that she liked were too expensive for her budget. One style that she liked was $75 for each panel, making the total of the 6 panels that she needed to buy to be a whopping $450! Luckily, she found a better alternative to the expensive designer curtains – DIY curtains decorated with stencils by Royal Design Studio! She fell in love with the Rani Paisley Damask Stencil and how it would perfectly suit her decor needs. Let’s see how she made these curtains herself and saved a bundle:
Supplies you will need:
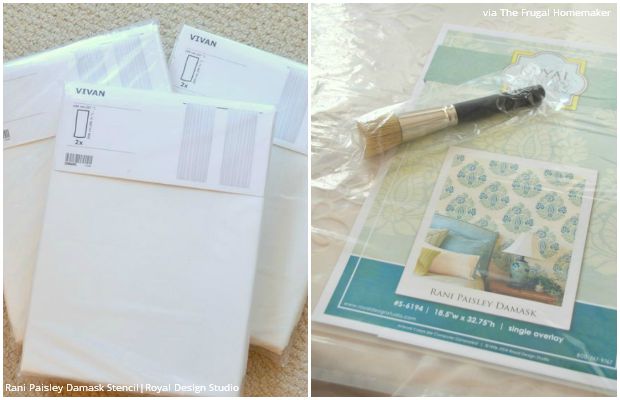
- Vivan curtain panels from Ikea
- Rani Paisley Damask Allover Wall Stencil
- Stencil brush or foam roller and pan
- Latex paint
- Tape
- Paper or Drop Cloth
- Large flat surface to stencil on
Step 1: Prep your fabric or curtain panel.
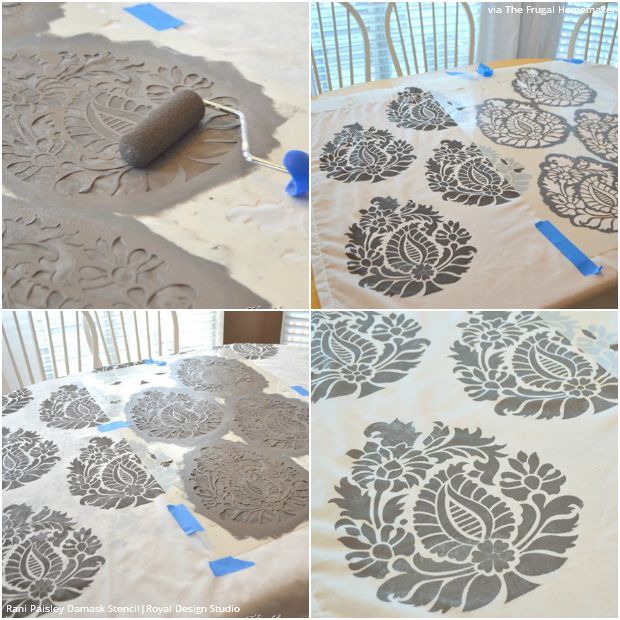
Wash and dry your curtain panels with fabric softener to get rid of any package creases and take care of shrinkage. Find a large, flat surface that you can stencil your curtains on. Basement floors or kitchen tables are a few examples. Cover your work surface with paper or a sheet or drop cloth that you don’t mind getting paint on.
Step 2: Stencil your curtain panel.
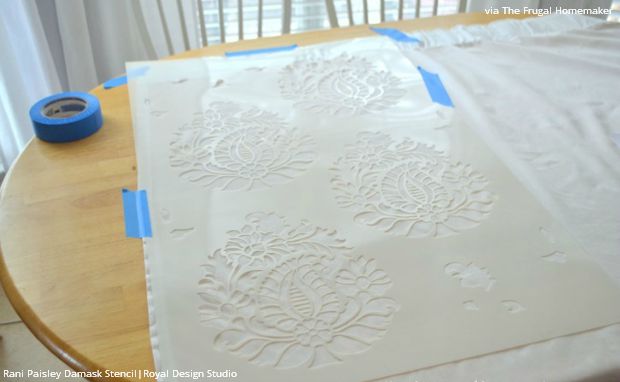
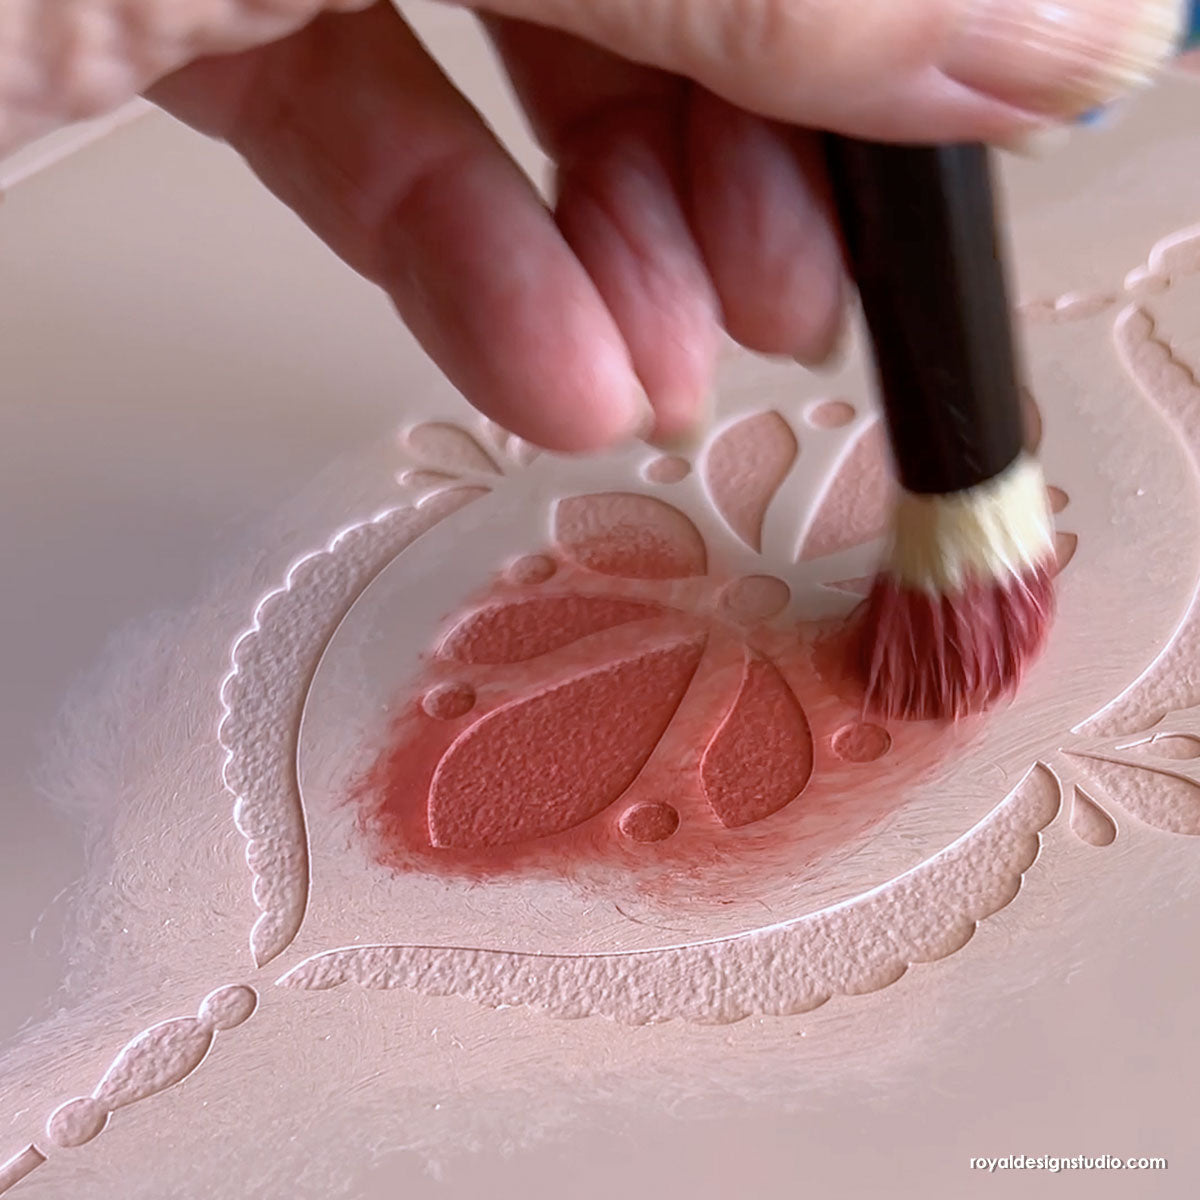
Center the stencil on a curtain panel and tape it in place. Use a stencil brush or foam roller to stencil the design onto your panel. A sure-fire way to prevent bleeding and create crisp, clean lines is to “off-load”. Off-loading is a painted technique that includes applying paint onto your brush and wiping the excess off onto a paper towel. This way, excess paint will not seep past the edges of the stencil.
Step 3: Continue stenciling.
Royal Design Studio allover stencils come with an easy-to-use registration system that helps you match up the stencil when you move to a new section. Just line up the marks of the stencil with the previously stenciled portion of your panel, and begin stenciling again!
Step 4: Clean your stencil frequently.
Make sure to wash your stencil after stenciling each panel. Christina soaked hers in the bathtub with warm water and scrubbed the old paint off. You can also use Motsenbackers Lift-Off 5 for easy cleaning.
Step 5: Enjoy!
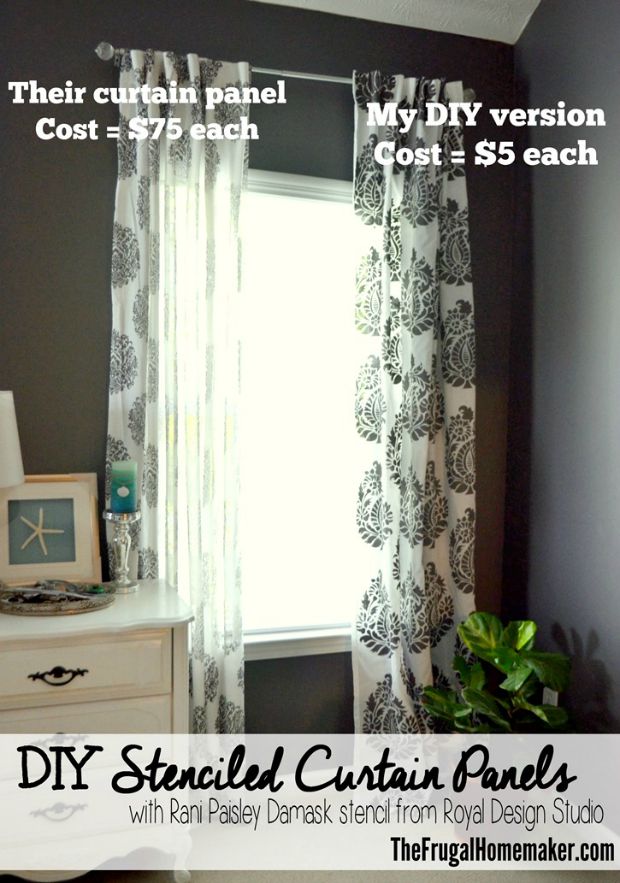
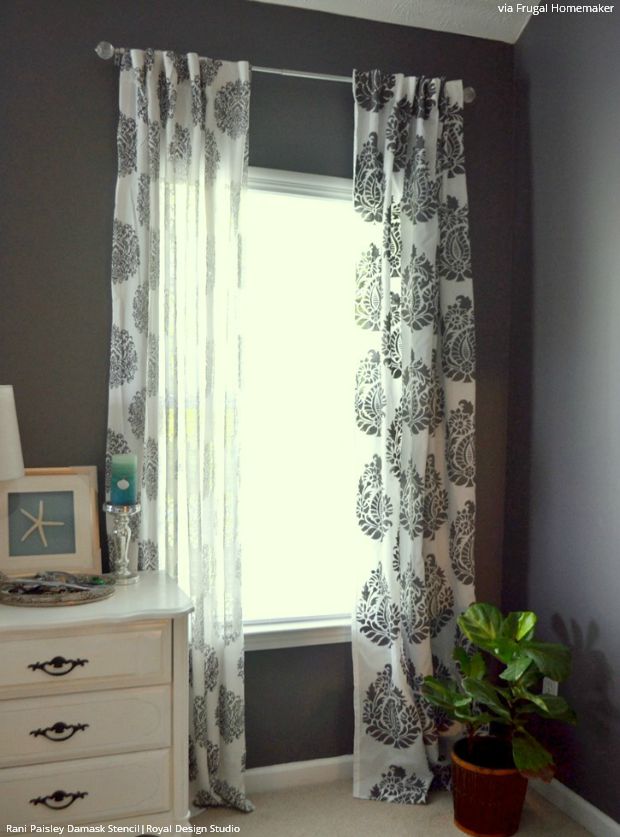
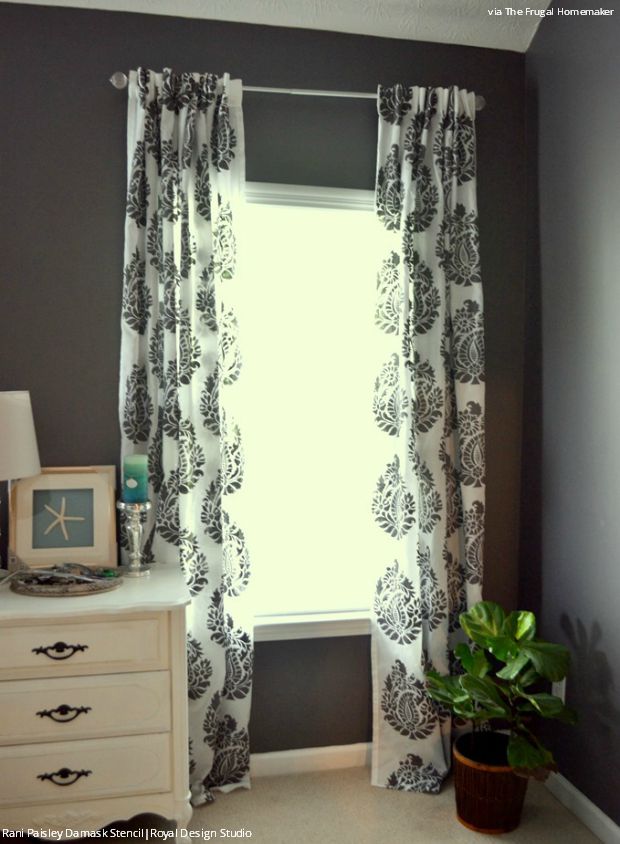
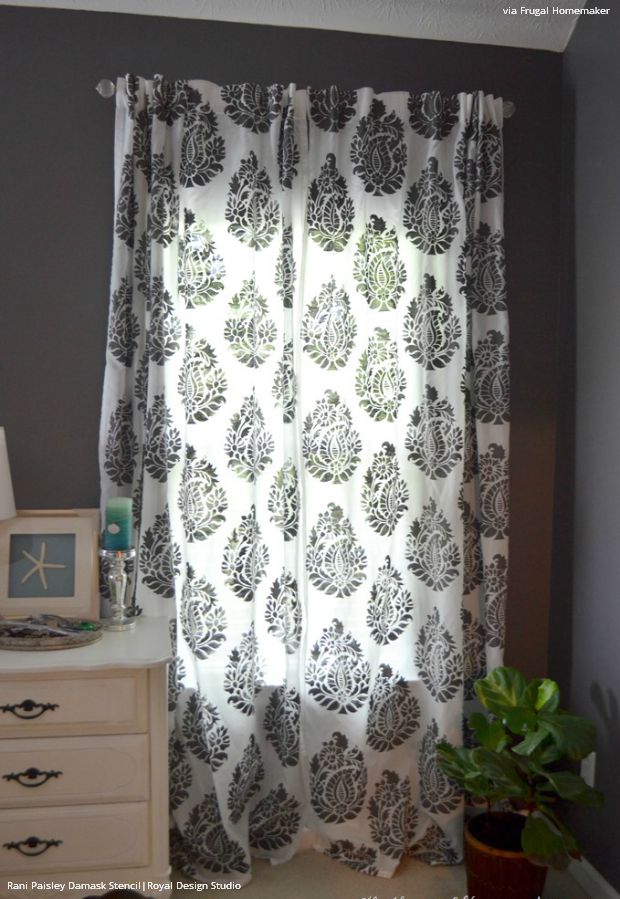
So here’s the $75 version on the left and Christina’s $5 version on the right. A short afternoon of stenciling gave Christina a designer look without the designer price tag. Plus, now she gets to have just the look she wanted, AND bragging rights!
After this project, Christina said, “I found a new love – STENCILING! I want to stencil everything in sight now. Would love to try a stenciled accent wall one day and have a feeling these won’t be the last curtain panels I stencil either. This same stencil would be so fun to make yellow or coral or navy stenciled curtains – the possibilities are endless and absolutely affordable.”
Are you now inspired to use stencils for your own DIY curtains? We’d love to see how your DIY stencil projects turn out! Email us at projects@royaldesignstudio.com, share them on our Facebook Page, or you can even Instagram your projects and tag us with #royaldesignstudio


