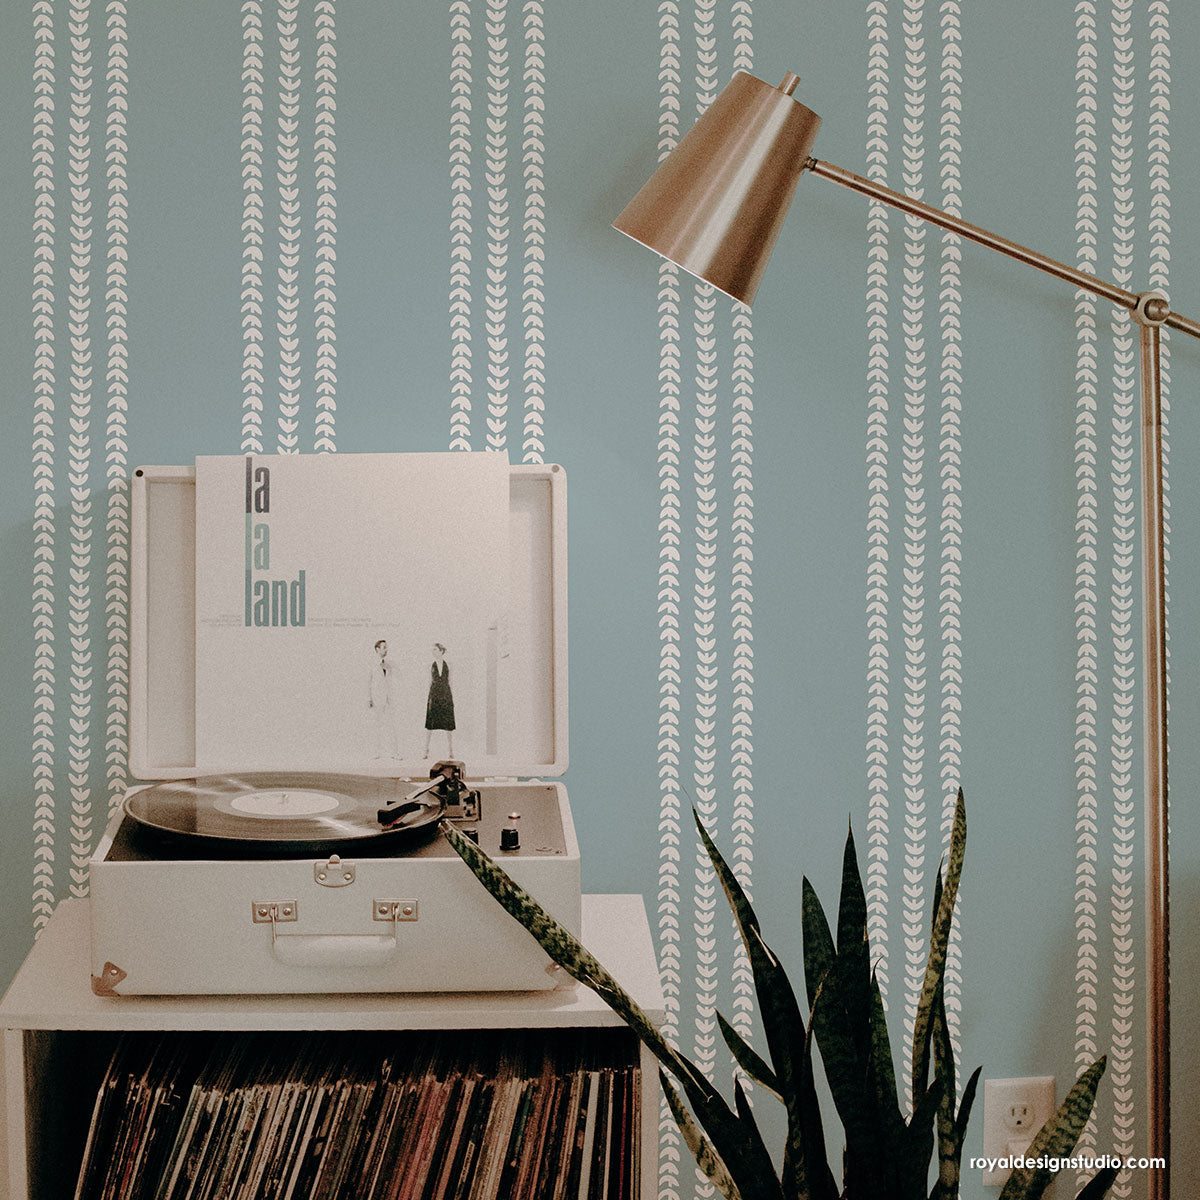
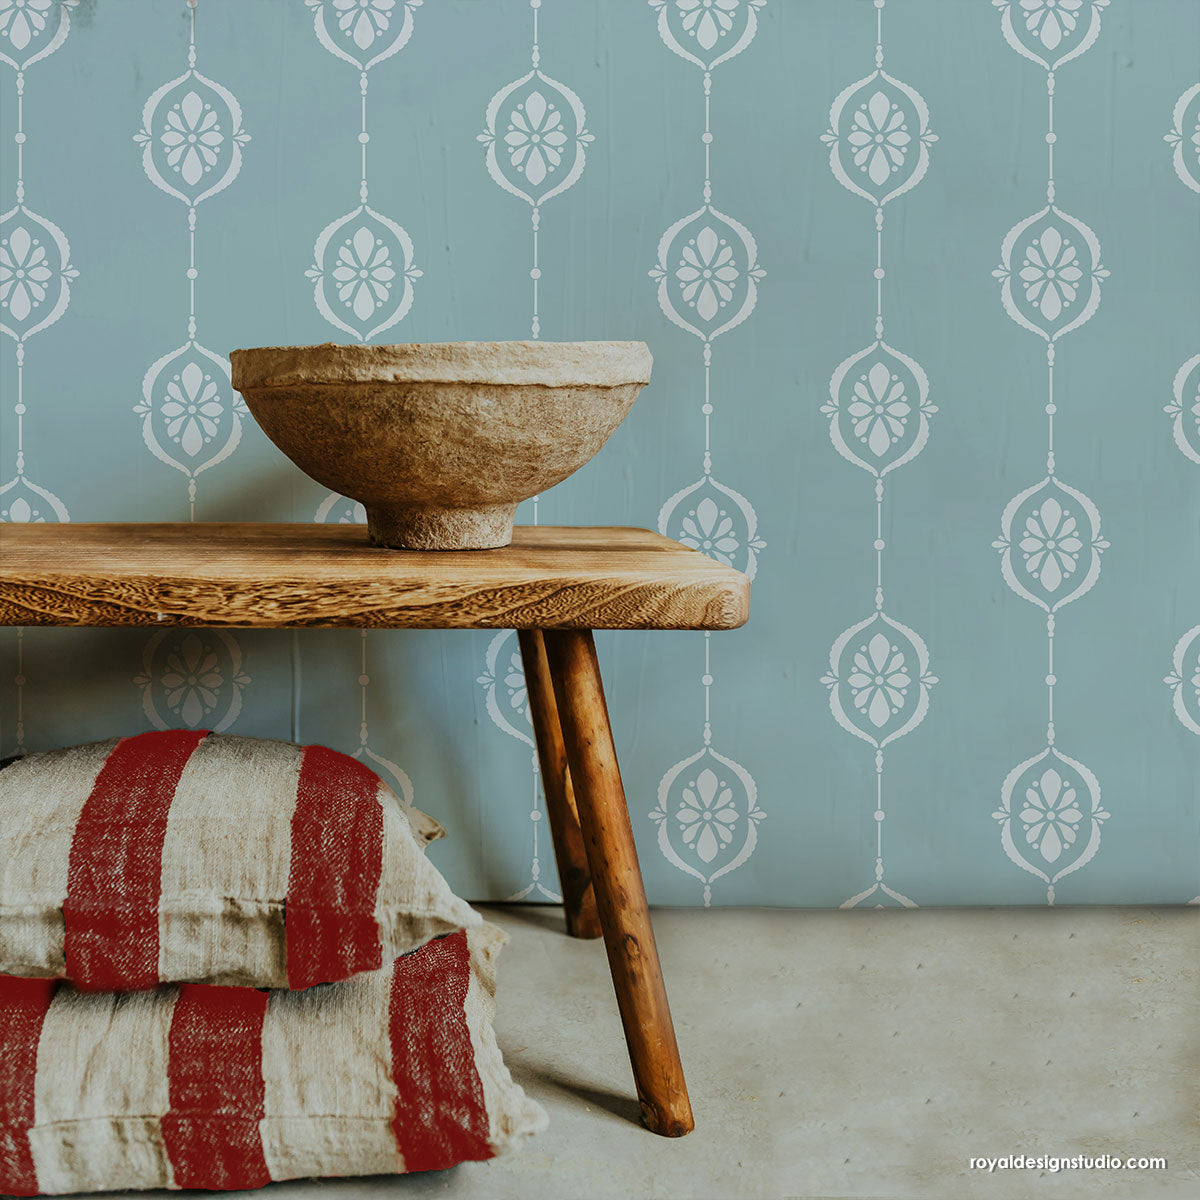
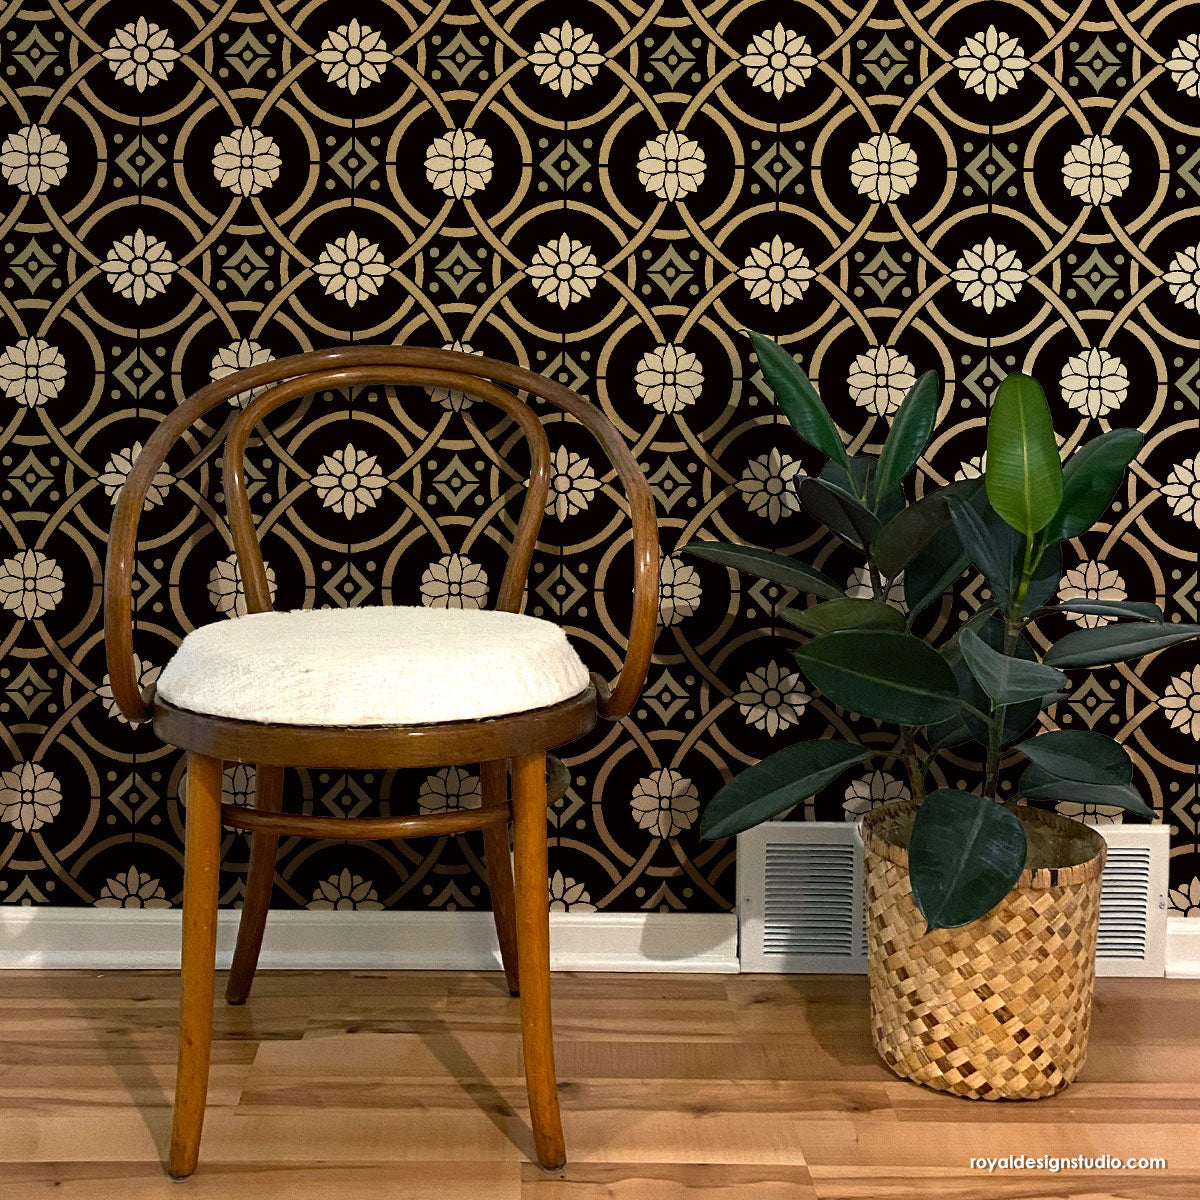
The most affordable-and beautiful-alternative to expensive designer home decor is Wall Stencils. Wall Stencils help you create the exact pattern style you want, but without the high price tag of a store bought statement piece. You CAN have a beautiful room makeover on a small budget. Redecorating for cheap is as simple as these 3 letters: D.I.Y.! And we’ll show you how with Wall Stencils from Royal Design Studio: Here’s a simple DIY tutorial that puts the stencil brush in your hand and keeps your money in your wallet. Watch the video and read the instructions below to learn how to stencil an amazing accent wall for ONLY $50!
Supplies:
- Firefly Bonnie Christine Wall Stencil from Royal Design Studio
- Antique Gold Royal Stencil Creme
- 1” Royal Stencil Brush
- Glidden Diamond Paint in Pebble Grey Eggshell with Primer Tester
- Paper towels, level, and painter’s tape
Supplies:
- Firefly Bonnie Christine Wall Stencil from Royal Design Studio
- Antique Gold Royal Stencil Creme
- 1” Royal Stencil Brush
- Glidden Diamond Paint in Pebble Grey Eggshell with Primer (Tester size-cheaper!)
- Paper towels, level, and painter’s tape
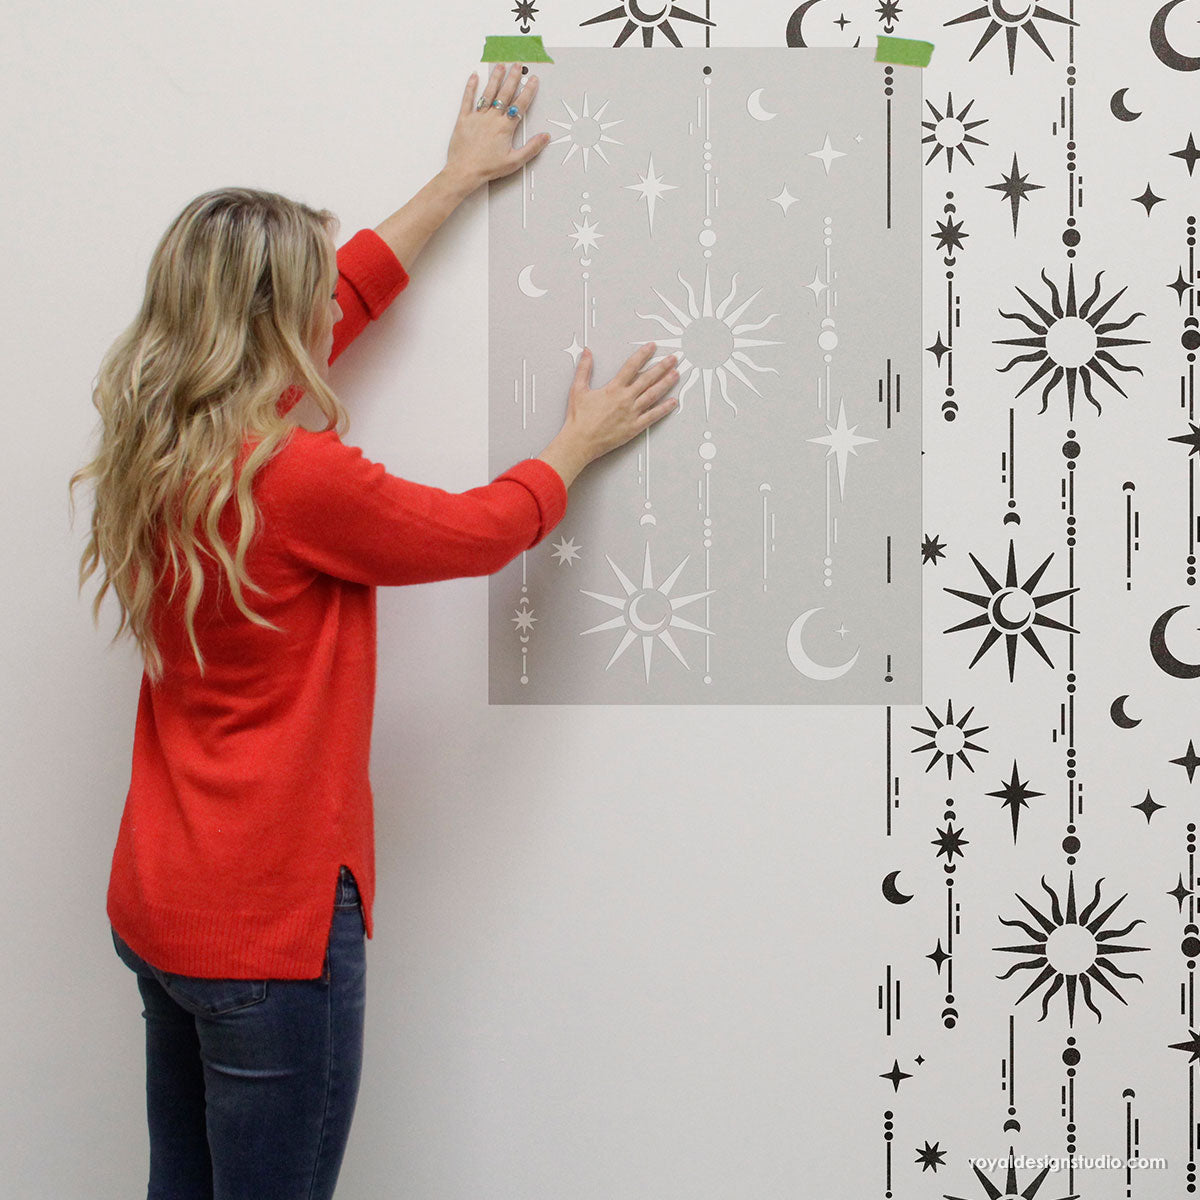
Step 1: We suggest using a bubble level to place the polka dot wall stencil straight on your wall at the ceiling line. Use painter’s tape to secure it.
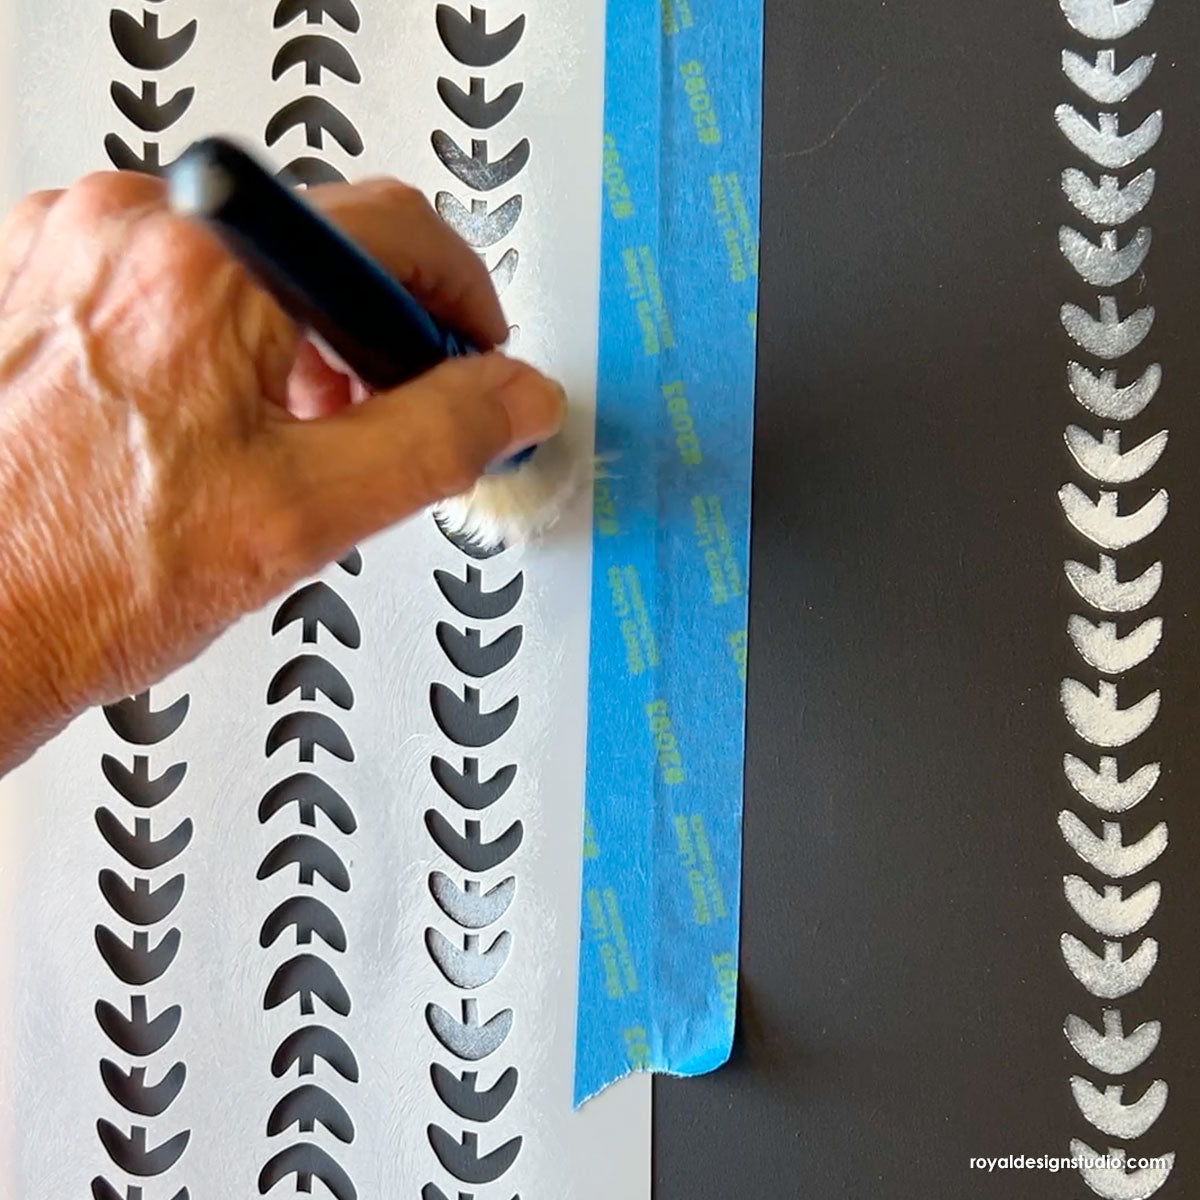
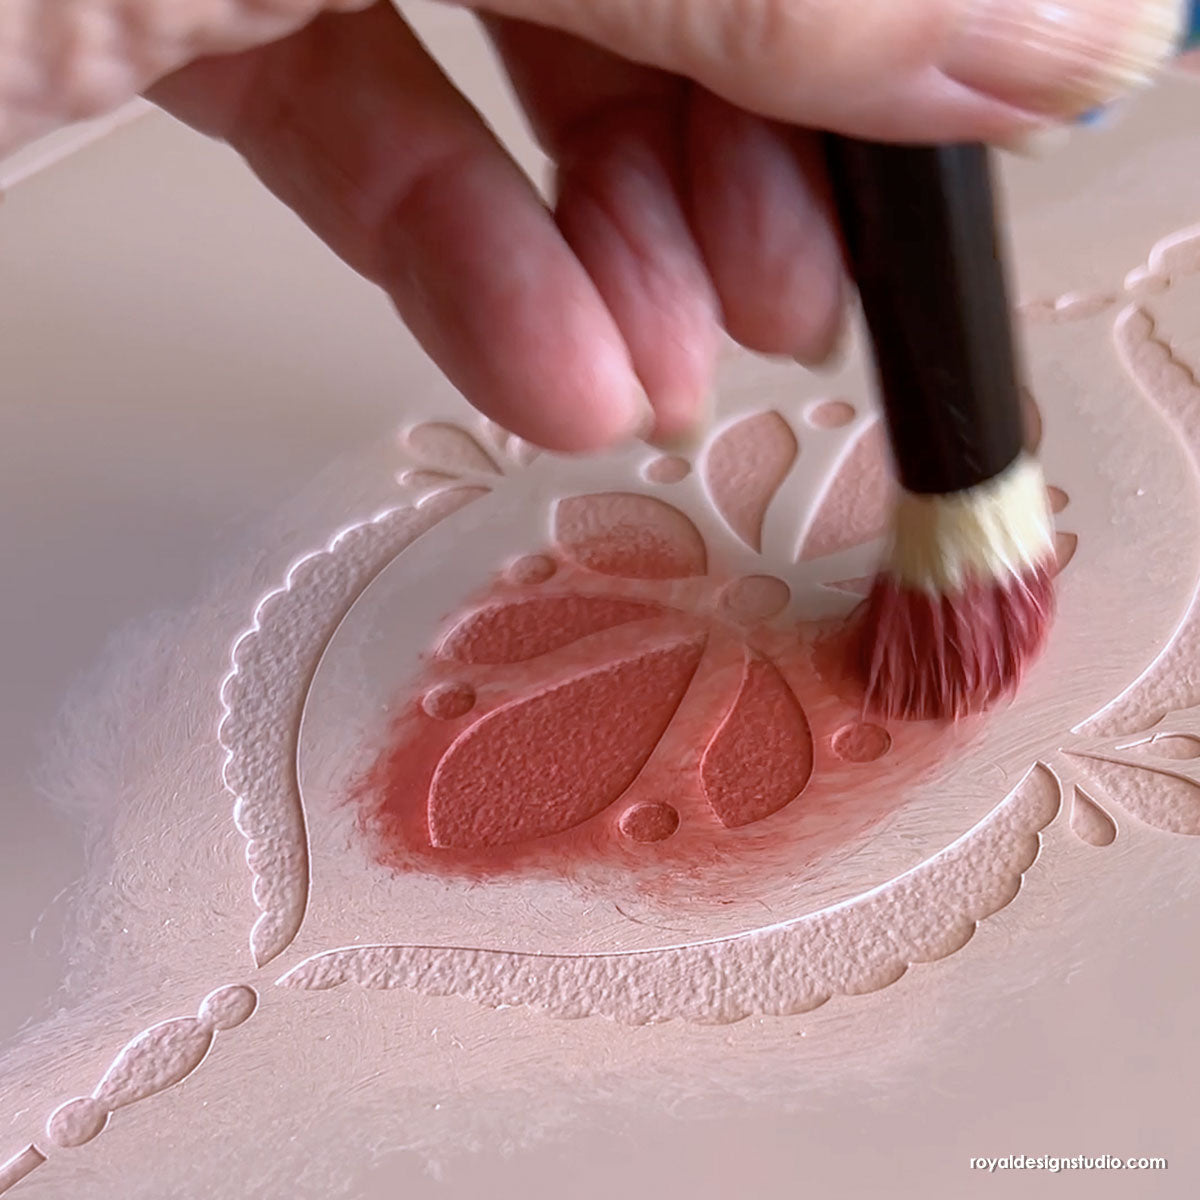
Step 2: Load the 1” stencil brush with grey paint and then offload the excess paint onto a paper towel. Offloading prevents you from using too much paint, which is the #1 reason why paint bleeds under a stencil. Using minimal paint is the best way to create the perfect stenciled designs.
Step 3: Once you’ve stenciled the first repeat, remove the stencil and reposition the stencil directly underneath the first repeat. The built-in registration marks on our stencils make it easy to match up each repeat for the perfect pattern. Continue stenciling and repositioning the stencil until the entire wall is stenciled.
Step 4: To stencil the corners of your accent wall, mask off the adjacent wall with painter’s tape. Only secure the side of the stencil onto the wall that you are stenciling with painter’s tape. Use your free hand to push in the bending and durable stencil into the corner. Stencil the design with your other hand using a small stencil brush.
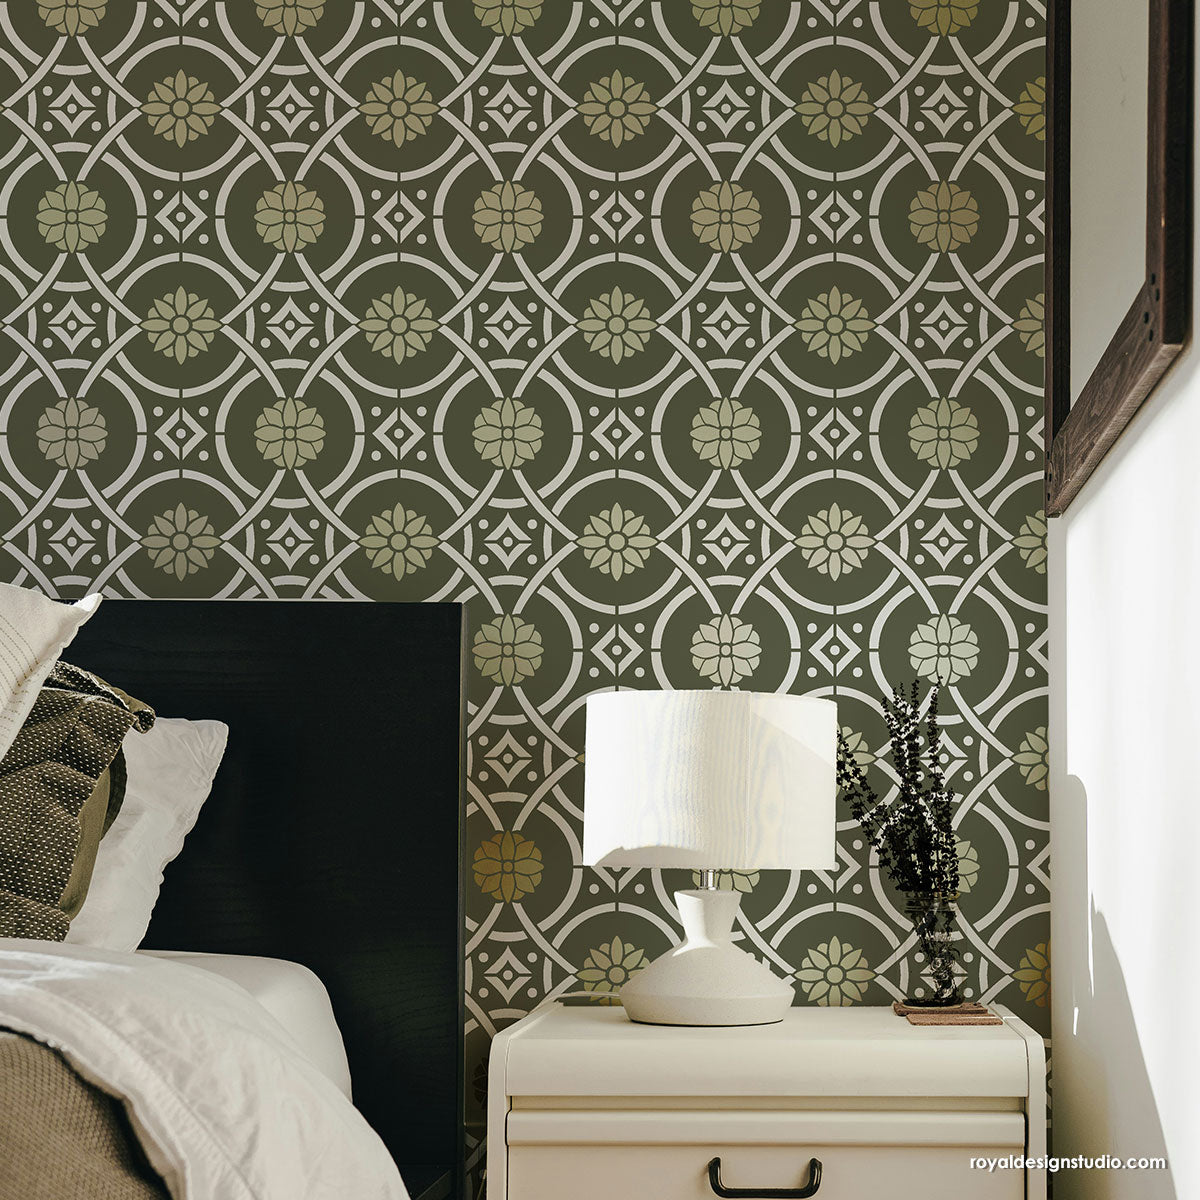
Step 5 (Optional): We wanted to add some extra personality to this polka dot wall stencil, so we stenciled additional dots with a second color. Place and secure the wall stencil sideways over the first repeat. Repeat Steps 2 through 4 using metallic gold paint.
Ta da! Look at that: A cheap room makeover that looks like a million bucks! Are you now super inspired to use Wall Stencils to decorate on a budget? We’d love to see how your DIY stencil projects turn out! Email us at projects@royaldesignstudio.com, share them on our Facebook Page, or you can even Instagram your projects and tag us with #royaldesignstudio. Looking for more Stencil Techniques like this? Check out these other stencil ideas and tutorials:


