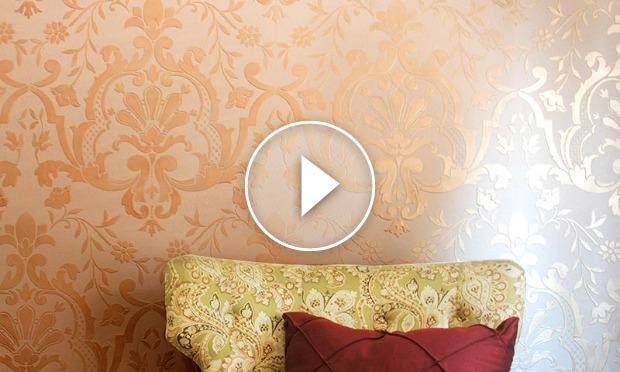
![[VIDEO DIY TUTORIAL] How to Stencil a Beautifully Raised Embossed Wall Designs with Joint Compound Plaster - Royal Design Studio Wall Stencils](http://cdn.shopify.com/s/files/1/0094/1122/files/global-gypsy-compound-bookcover.jpg?v=1506036015)
This DIY decorating tutorial is easy as cake… or frosting a cake that is! If you can smear frosting on the top of a cake, you can trowel plaster onto a wall to create a raised design. The easiest way to do this technique for both beginners and professions is to use premixed joint compound plaster and Royal Design Studio Wall Stencils. Click play and watch this video tutorial to see how to emboss wall designs from our Global Gypsy Stencil Collection, and raise your home decorating to the next level…
Supplies:
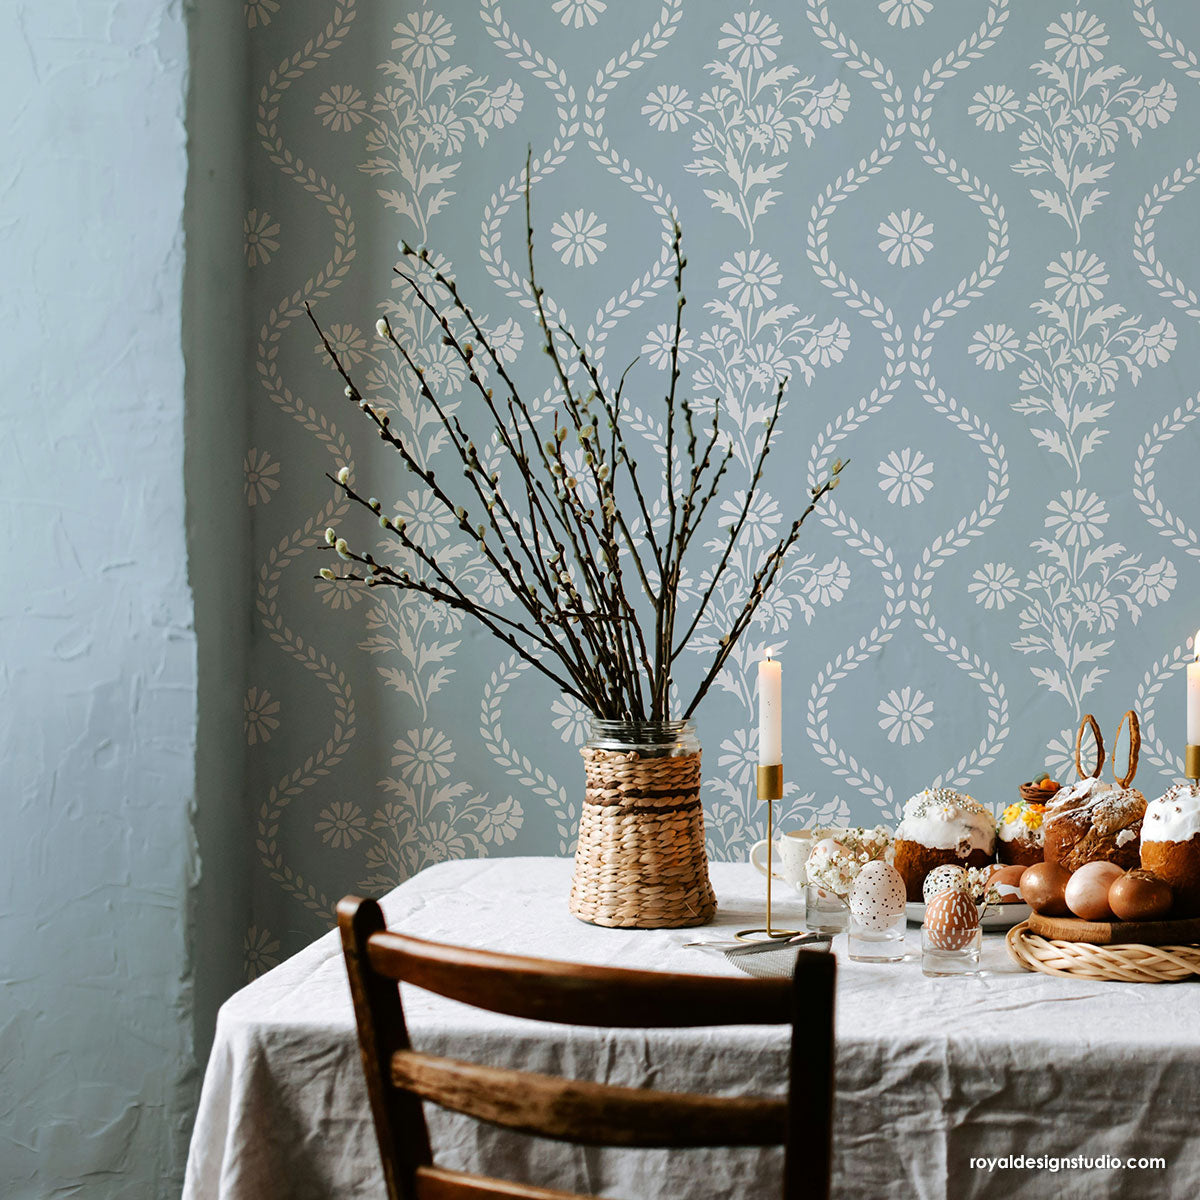
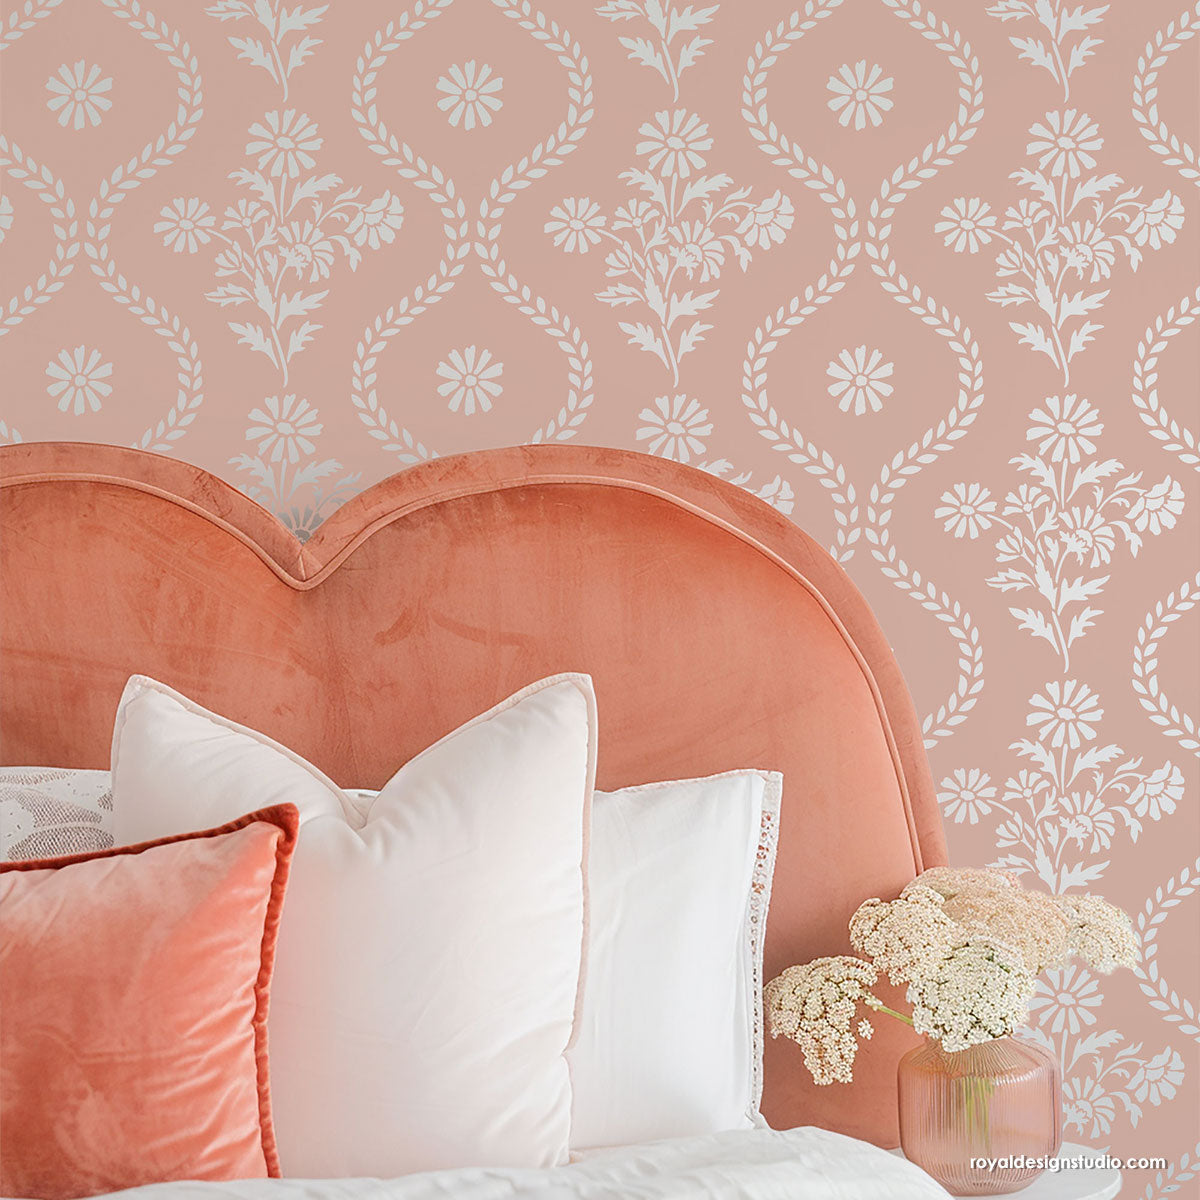
- Alcazar Lace Damask Wall Stencil by Royal Design Studio
- Royal Stencil Cremes in Bright Gold, Pearl, Oyster, and Smoked Oyster
- Behr Ultra Premium Plus Paint in High Style Beige
- White latex paint
- Joint compound plaster
- Folk Art Paint Extender
- Japanese Trowel
- 2” Royal Stencil Brush
- Spray adhesive, sanding block, painter’s tape, paper towels, and level
![[VIDEO DIY TUTORIAL] How to Stencil a Beautifully Raised Embossed Wall Designs with Joint Compound Plaster - Royal Design Studio Wall Stencils](http://cdn.shopify.com/s/files/1/0094/1122/files/painting_stencil_design_elements.JPG?v=1506016270)
Step 1: To create this embossed wall finish, you have to first mark all the stencil repeats on your wall before you start embossing. Place and secure the wall stencil on your wall centered at the ceiling line using painter’s tape. Load your stencil brush with white latex paint and offload the excess paint onto a paper towel. Stencil only the repeat registration marks that are included with the stencil. These painted elements will help you follow the pattern path when you are troweling later.
![[VIDEO DIY TUTORIAL] How to Stencil a Beautifully Raised Embossed Wall Designs with Joint Compound Plaster - Royal Design Studio Wall Stencils](http://cdn.shopify.com/s/files/1/0094/1122/files/joint_compound_plaster_trowel_wall.JPG?v=1506016344)
Step 2: Remove and reposition the stencil to the next repeat by matching up the painted elements with the registration marks. Note that this is a “half-drop” pattern, so you will shift the stencil over on every other row. Continue until the entire wall is stenciled with only registration marks.
Step 3: Place the clean wall stencil directly on top of the first painted repeat. Use spray adhesive to secure the stencil onto the wall instead of painter’s tape.
Spray Adhesive Tip: Lay the stencil down (backside up) on a well-covered surface. Spray just a light mist of adhesive, holding the can about 12” from the surface. Spray only with good ventilation. You may need to respray the stencil from time to time after cleaning as your complete your surface.
![[VIDEO DIY TUTORIAL] How to Stencil a Beautifully Raised Embossed Wall Designs with Joint Compound Plaster - Royal Design Studio Wall Stencils](http://cdn.shopify.com/s/files/1/0094/1122/files/raised_design_embossing_wall_stencils.JPG?v=1506016374)
Step 4: Load a Japanese or other Metal Trowel with Joint Compound and trowel the material lightly through the stencil design. You don’t want to apply a too-thick layer, just enough to create a raised image. Also take care that the joint compound is troweled at the same thickness throughout the stencil repeat and as you repeat it in other areas on the wall.
Step 5: Remove the wall stencil carefully to avoid disturbing the wet plaster. Skip one repeat and reposition the stencil using the previously painted registration marks. Continue skipping every other repeat to prevent the joint compound from smearing. Make sure to clean the wall stencil of joint compound buildup every couple repeats using running water and a scrub brush.
![[VIDEO DIY TUTORIAL] How to Stencil a Beautifully Raised Embossed Wall Designs with Joint Compound Plaster - Royal Design Studio Wall Stencils](http://cdn.shopify.com/s/files/1/0094/1122/files/plaster_into_corners_stenciling_design.JPG?v=1506016400)
Step 6: Once dry to the touch, go back and trowel the skipped repeats. When you are stenciling near the corners, secure only the part of the stencil onto to the wall you are stenciling and leave the other part hanging loose. Use the trowel vertically and get really close to the corner of the wall. Allow the joint compound wall to dry completely.
Step 7: Wear a dust mask and use a sanding block to remove any ridges or uneven areas of joint compound. Use a cloth or brush to remove any sanding dust from the wall.
![[VIDEO DIY TUTORIAL] How to Stencil a Beautifully Raised Embossed Wall Designs with Joint Compound Plaster - Royal Design Studio Wall Stencils](http://cdn.shopify.com/s/files/1/0094/1122/files/joint_compound_wall_stencils_tutorial.JPG?v=1506016416)
Step 8: Paint the entire wall with a good quality flat latex paint. We used Behr Ultra Premium Plus in High Style Beige and a nylon roller.
![[VIDEO DIY TUTORIAL] How to Stencil a Beautifully Raised Embossed Wall Designs with Joint Compound Plaster - Royal Design Studio Wall Stencils](http://cdn.shopify.com/s/files/1/0094/1122/files/how_to_stencil_designs_wall.JPG?v=1506016440)
![[VIDEO DIY TUTORIAL] How to Stencil a Beautifully Raised Embossed Wall Designs with Joint Compound Plaster - Royal Design Studio Wall Stencils](http://cdn.shopify.com/s/files/1/0094/1122/files/raised_pattern_wall_stencils_tutorial.JPG?v=1506016454)
Step 9: Mix 1 part Folk Art Paint Extender + 1 part Bright Gold + 1 part Pearl Oyster +0.5 parts Smoked Oyster Royal Stencil Cremes. Place the wall stencil directly on top of the first raised design repeat. Stencil the raised design with the custom mix and a stencil brush. Remember to offload the excess paint onto a paper towel before stenciling to avoid bleed under the stencil. Continue to stencil the entire wall until your project is completed.
![[VIDEO DIY TUTORIAL] How to Stencil a Beautifully Raised Embossed Wall Designs with Joint Compound Plaster - Royal Design Studio Wall Stencils](http://cdn.shopify.com/s/files/1/0094/1122/files/elegant_damask_wall_stencils_diy_bohemian_decorating.jpg?v=1506016528)
Enjoy your beautiful 3D textured wall finish! Looking for more Stencil Techniques like this? Check out these other stencil ideas and tutorials: