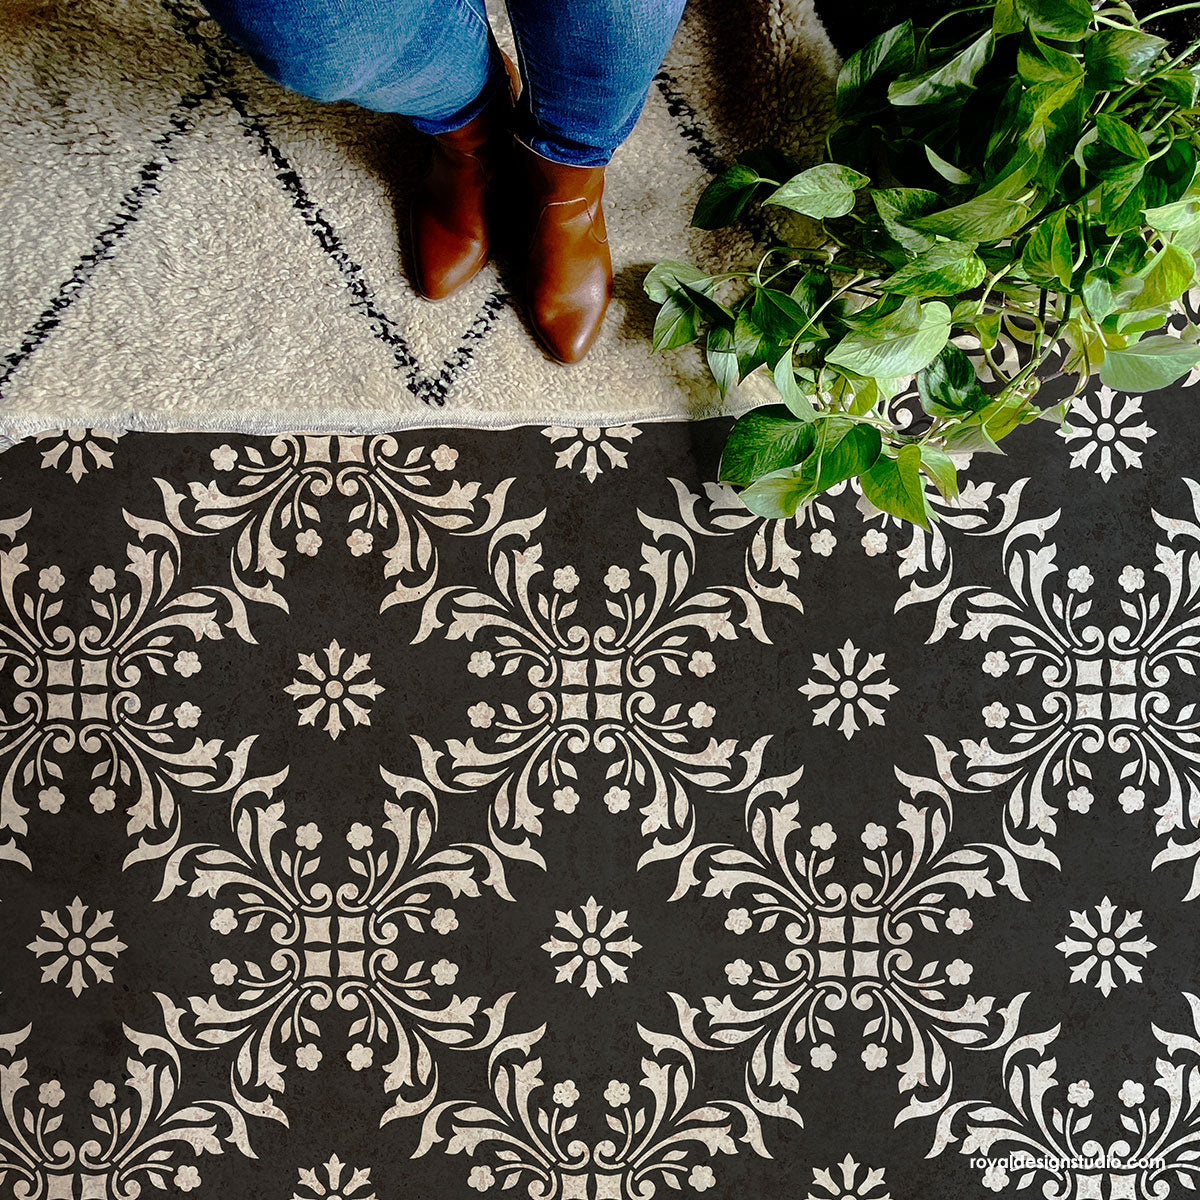
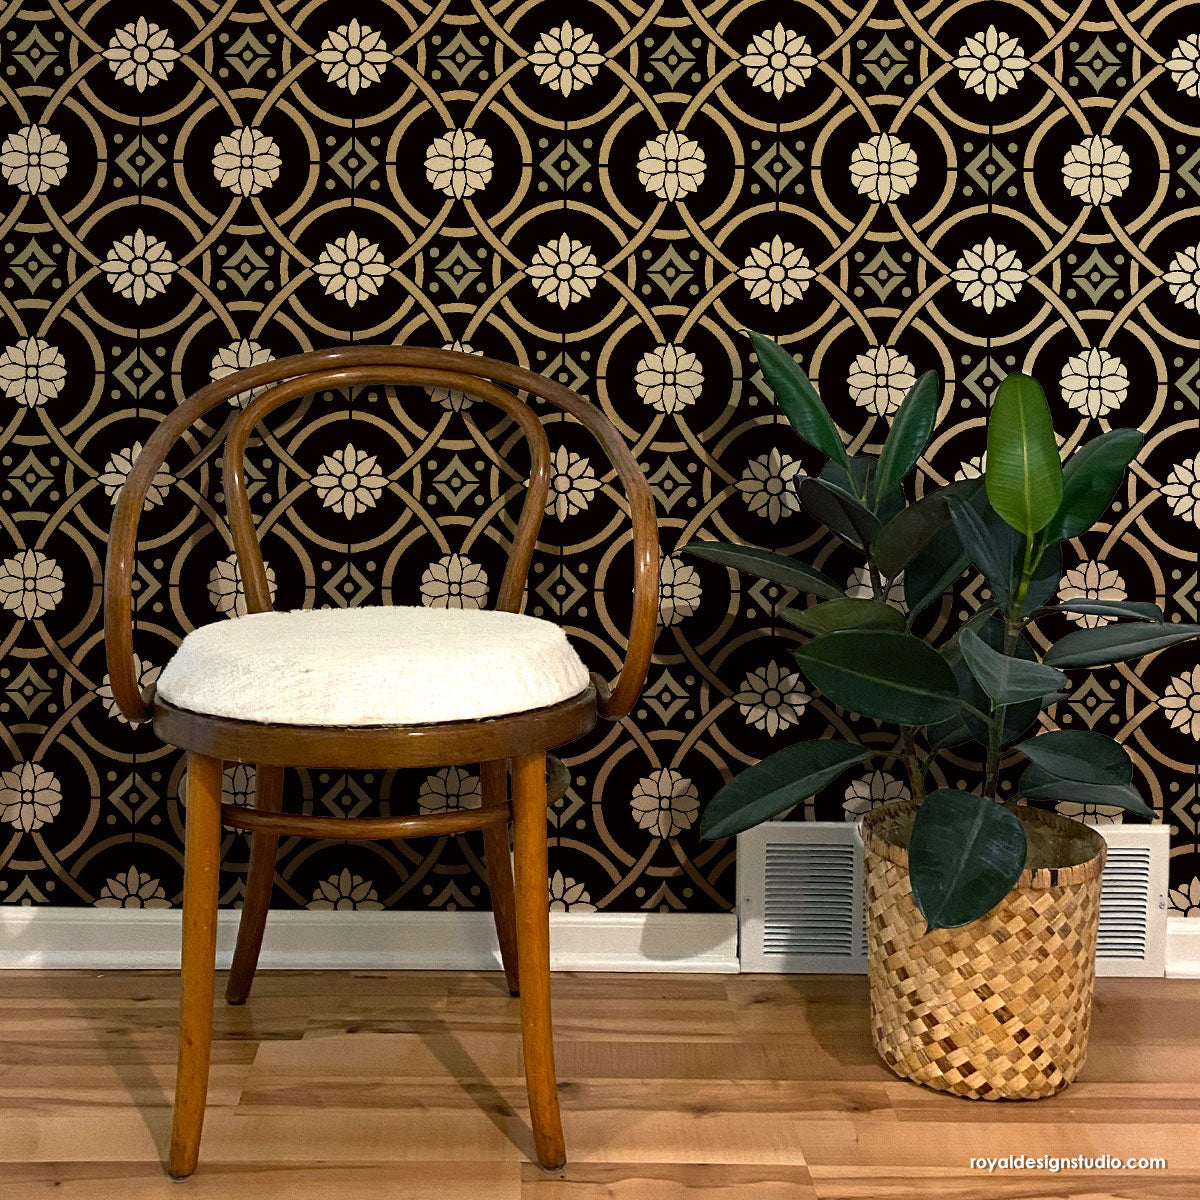
Floor patterns are BIG, BIG, BIG right now in the decorating world… but there is one floor pattern that we are just crushing so hard on! Dabito of Old Brand New shared his stenciled patio floor and the bohemian blue tiles just about knocked us out cold. He gave his backyard a makeover, but wasn’t pleased with how grimy his concrete floor got. Rugs were not an option because of the rain, so instead, he says, “I decided to Do-It-Yourself by painting floor tiles using the All The Angles Tile Stencil. Doesn't it look like a million bucks?” Now, his patio floor looks like real boho tile AND will hold up for years even with the crazy New Orleans weather! Check out his modern Mediterranean escape…
Now that we have you obsessing over this look too, we wanted to share how to stencil this look onto your own floor at home. Below, we show how to paint bold blue floor tiles directly on your floor using the All The Angles Tile Stencil from Royal Design Studio. This DIY idea works great on concrete, vinyl, linoleum, plywood, hardwood, and ceramic tile!
Supplies:
- All The Angles Tile Stencil from Royal Design Studio
- Paint roller or Royal Stencil Brushes
- Primer
- Flooring, porch, or patio friendly paints in sky blue and dark navy blue
- Water-based polyurethane sealant
Step 1: Place and secure the large tile stencil onto your floor with spray adhesive or painter’s tape. We recommend placing your stencil in the middle or top middle of your floor so that your completed design looks symmetrical to your space.
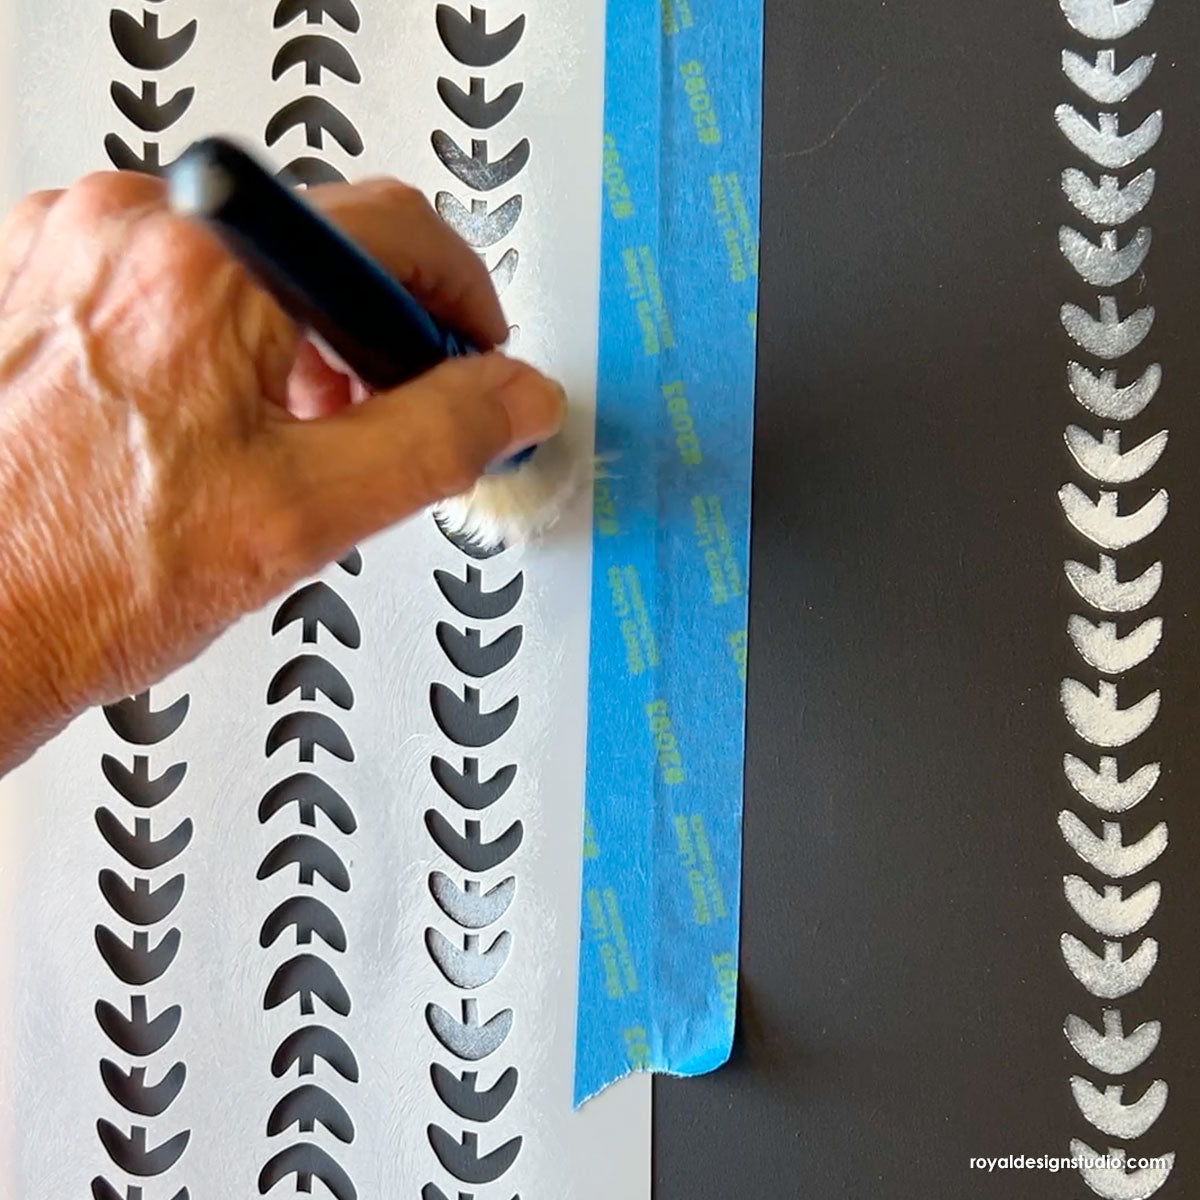
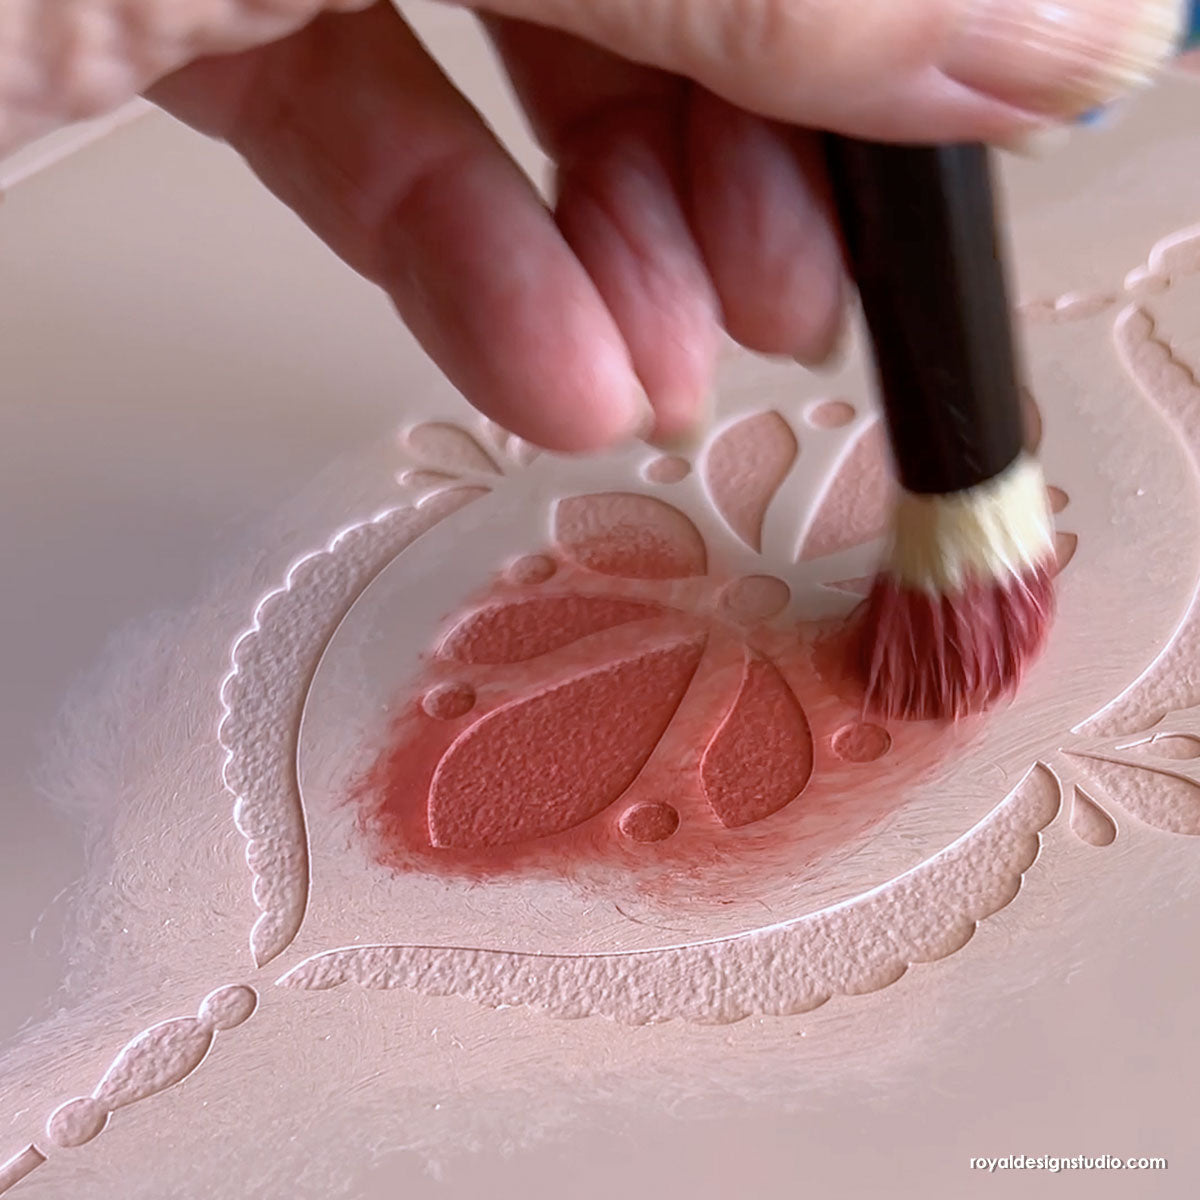
Step 2: Load a roller or stencil brush with navy blue floor paint that you can find at your local paint store. Offload the excess paint from the roller or brush onto a paper towel or contractor’s paper. This will disperse the paint evenly on the roller or brush as well as make sure you are using minimal paint. Using minimal paint is essential for preventing bleed under the stencil. Stencil the tile design using light to medium pressure. Repeat this step with sky blue floor paint.
Step 3: Remove the tile floor stencil and reposition it using the registration marks that are built right into the stencil. Continue stenciling the next repeat and repositioning the stencil up, down, and around the first repeat you stenciled until you have stenciled your entire floor.
Step 4: [optional] Since we have used floor specific paints in this tutorial, we chose not to prime or seal it. However, if you used different paints or wish to further protect your stenciled floor design, you will need to prime the floor before stenciling and seal the floor after stenciling. We recommend using water-based polyurethane to seal floors.


