Jenna Sue Design is no stranger to DIY projects and affordable home decor hacks. She loves finding ways to renovate homes without the costly expense of a professional. Her “biggest” project to date… was actually one of her easiest! She had a BIG concrete patio floor that needed some BIG help. Just look at the before... YIKES!

Instead of hiring an expensive contractor, she opted to renovate the patio herself… while pregnant! Keep reading to see how she used Floor Stencils & Tile Stencils from Royal Design Studio to add some BIG pattern to a BIG space without needing a BIG wallet…
Jenna removed the cracked and flaking layers of old paint with a power washer and putty knife. She then used concrete crack seal on the multiple cracks she found.
To paint the stripped and prepped concrete, she used Behr Concrete & Garage Floor Paint in a gray color and a nap paint roller made for textured surfaces.
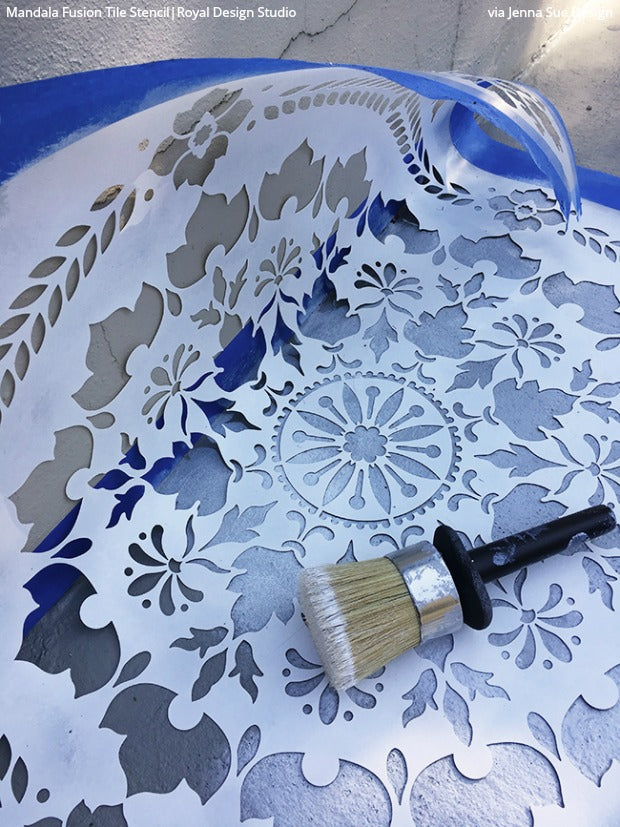
After spotting the Mandala Fusion Tile Stencil from Royal Design Studio, she knew she had to have it. Jenna says, “How gorgeous is this stencil? It reminded me of tile, which was the look I wanted, and it’s a large stencil, making it perfect for larger spaces like walls and floors.”
Jenna began by positioning the large stencil on the center of the patio floor and securing it with painter’s tape. She then loaded Behr Concrete & Garage Floor Paint in a white color on a large 3” Royal Stencil Brush and then offloaded the excess paint onto a paper towel. Offloading ensures that she was not using too much paint… because too much paint can create bleed underneath the stencil, which she definitely didn’t want! Using a stencil brush gave her much more control and better coverage, making it essential for stenciling a crisp design on a textured surface.
After stenciling the first repeat, she removed the floor stencil and repositioned it by aligning the built in registration marks. These registration marks aligns the stencil perfectly every time! This can be done rather quickly as the paint dried since she used minimal paint to begin with.
When she reached a wall, she simply covered the wall edge with painter’s tape and pushed the concrete floor stencil down into the edge with one hand while she painted the floor edge. It’s helpful to use a smaller stencil brush for these tight corners.
She continued stenciling and repositioning the large stencil until the entire concrete patio was completely stenciled. Since she used concrete paint, it wasn’t necessary to seal. Just to be sure, she sealed the deal with two layers of water-based polyurethane sealant for exterior concrete and paint roller.
She still can’t believe that her stenciled DIY patio floor cost her only a couple hundred dollars! That’s a steal compared to a patio renovation and real tiles! It was completely worth it!
Check out Jenna’s other DIY renovation projects using Royal Design Studio Stencils...


