Supplies:
- Royal Design Studio Stencil: Tailfeathers Allover Wall Stencil
- Modern Masters Metallic Paints: Tequila Gold, Brick, Sapphire
-
Golden Oak and Rich Brown Stain & Seal, Medium Oak Liberon Wax, So Slow Extender, Premixed Joint Compound
- Faux Effects® Products: Chamois and Sand Venetian Gem Bellisimo
- Tools: Assorted Stencil Brushes, Chip Brushes, Japanese Trowel, Cheesecloth, Leon Neon Nylon Brush, Plastic Wallpaper Smoother, Lambswool Mitt, soft Rubber Trowel, Spray Bottle
- Any Neutral Acrylic Latex Paint Color for Base coat
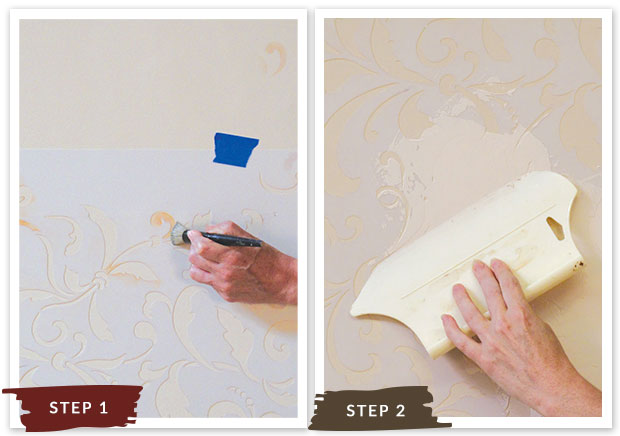
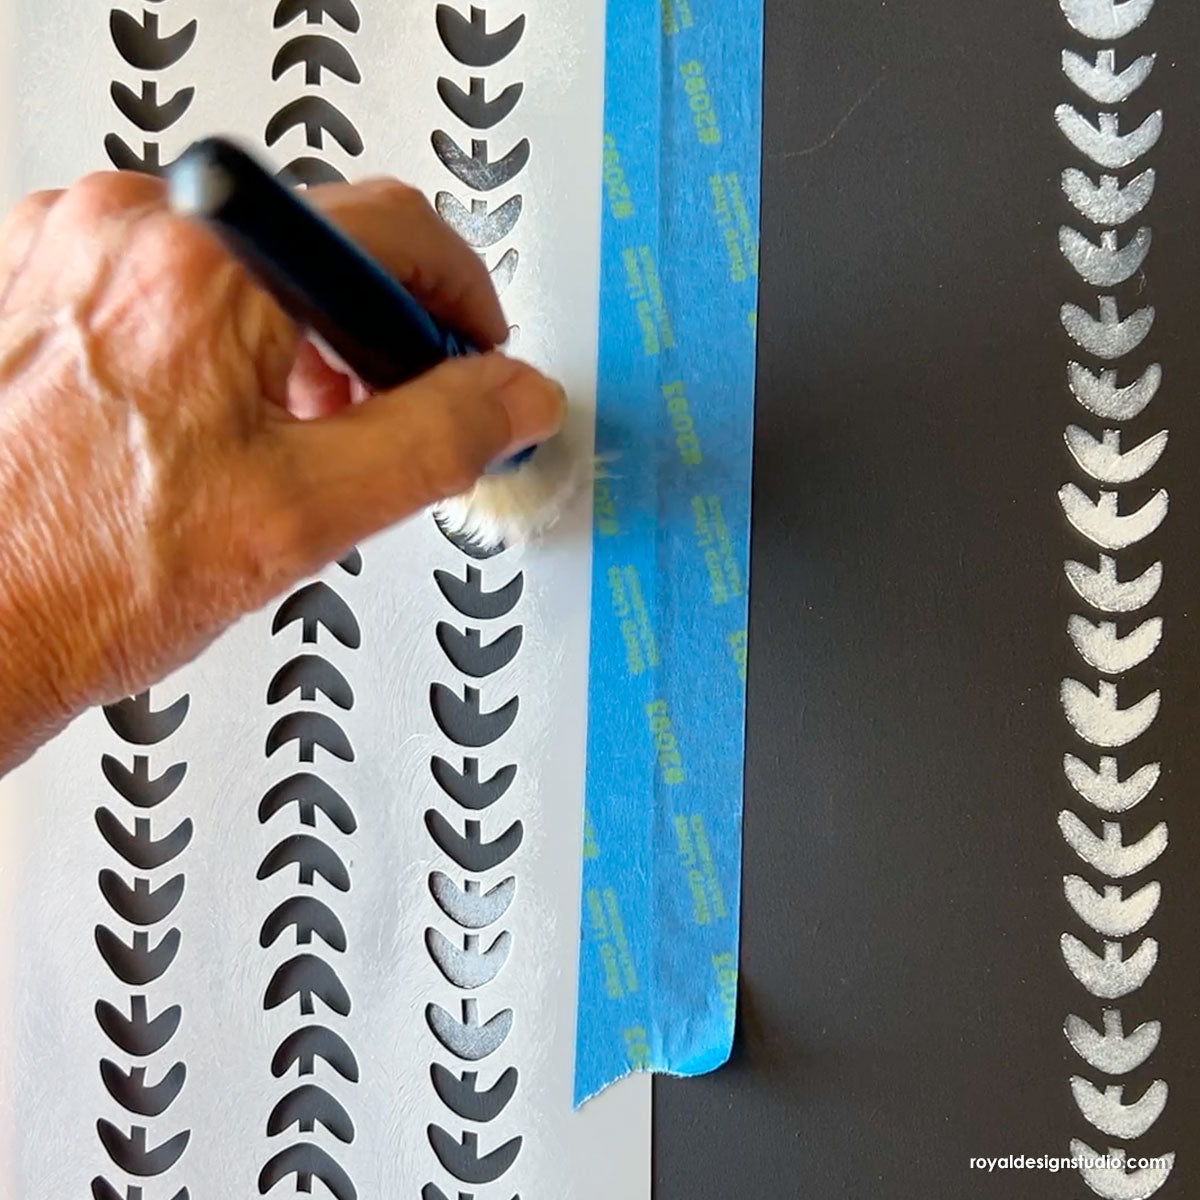
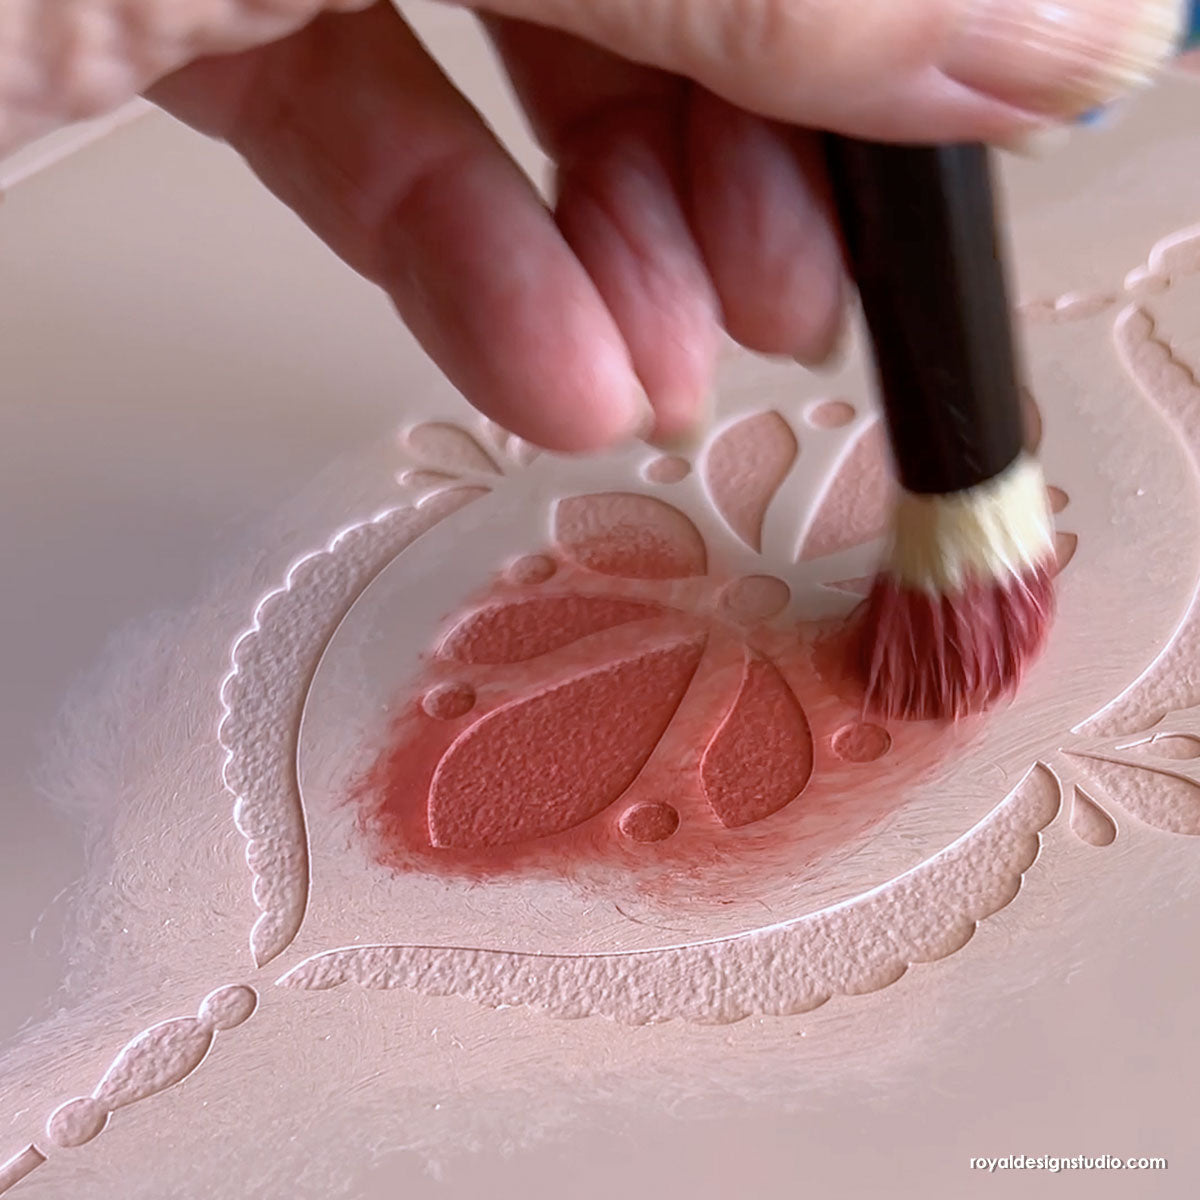
Step 1: When stencil embossing an allover pattern, it is important to first mark out the stencil repeat on your wall surface. This will allow you to “hopscotch” around the wall, stenciling new areas without disrupting still-wet areas that you’ve just embossed. As areas dry, you can go back and “fill in” the pattern repeat next to them. Use a light color to stencil in key areas of the pattern registration which you use to line the stencil repeats up with on the next step.
Step 2: Add about 20% of a light neutral latex paint color (eggshell sheen is fine) to premixed Joint Compound and mix well. (As an alternative, you could substitute Faux Effects® Venetian Gem Basecoat or a similar material for the stencil embossing) Use this to stencil emboss the Tailfeathers Allover pattern across the wall. A Plastic Wallpaper Smoother works well to apply the material broadly and evenly, without creating trowel lines. Allow to dry.
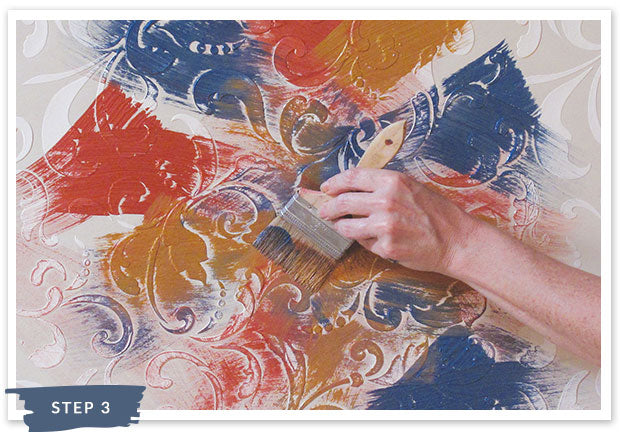
Step 3: Use large chip brushes to brush on random swatches of all three Modern Masters Metallic in a workable size area. Notice that there are open areas left. You do not need or want full coverage of the paint at this point.
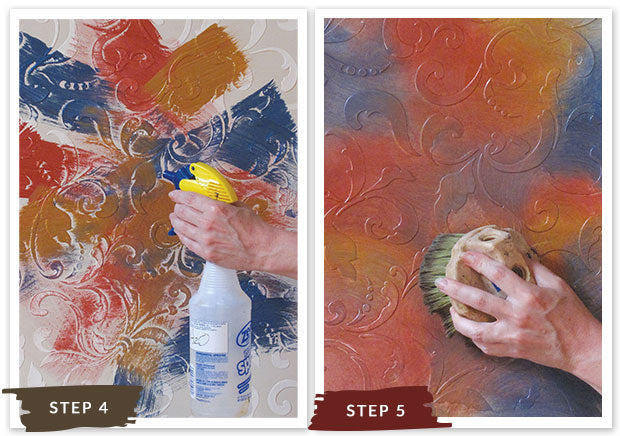
Step 4: Spritz the paint with a spray bottle filled with water. This will help to both dilute it and make it more spreadable.
Step 5: Use a Neon Leon nylon brush to swirl the colors together and blend them slightly. Don’t over blend, which will be the tendency as it will not be looking very “pretty” in this step! Don't worry....we'll fix that!
Step 6: Use a Japanese Trowel to trowel on Chamois colored Venetian Gem Bellissimo to partially embed the embossed stencil pattern. Pull this very tightly and thinly. Leave random open areas that reveal bits and pieces of the metallic background. Your amount of coverage here will depend on the level of distressing you would like to end up with. Generally about 80% coverage is desirable.
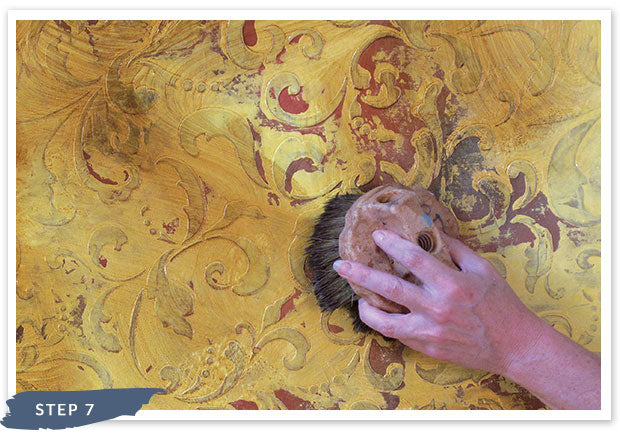
Step 7: Mix Golden Oak Stain and Seal 1:1 with water and add about 25% So Slow Extender. Spritz surface with water and blend and scrub the stain into the surface with a Neon Leon. Mix Rich Brown Stain and Seal with 25% So Slow Extender and brush over still wet Golden Oak layer. Blend and soften with cheesecloth. Add and remove additional layers of the stain colors as you go to achieve your desired color depth. Allow to dry.
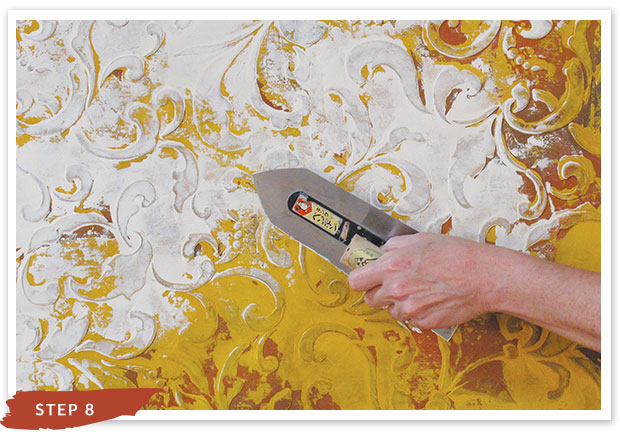
Step 8: Use Sand colored Venetian Gem Bellisimo now to skip trowel over the entire surface again. Pull the material tightly and allow both some of the original painted background AND the previously troweled plaster background to show through. This way you are seeing through to bits and piece of each previous layer. Allow to dry.
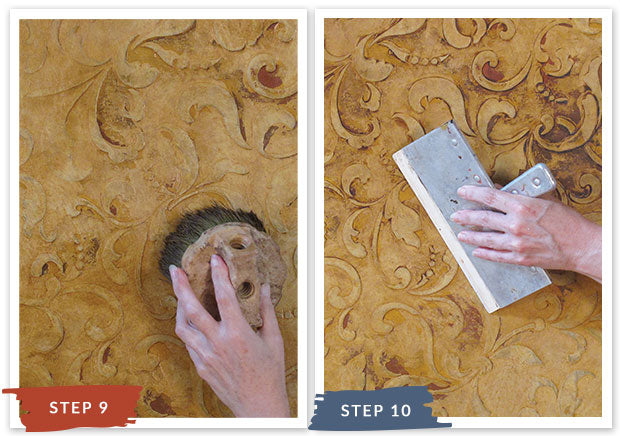
Step 9: Spritz the surface again with water and reapply the Rich Brown Stain/Extender mix. Rub with Neon Leon and remove excess with cheesecloth. Allow to dry.
Step 10: Use a Soft Rubber Trowel to trowel on a thin layer of Liberon Medium Oak Wax, allowing it to settle in all of the nooks and crannies of the finish. Please note that this is a petroleum-based wax and take care disposing any cheesecloth or paper towels used for cleanup.
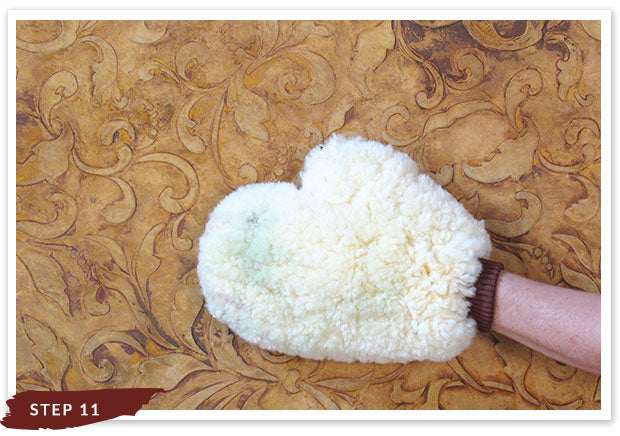
Step 11: If desired, buff the wax to a soft sheen when dry (approx. 1 hour) with a lambswool mitt or mechanical buffer. This will give the finish protection, as well as a soft glow and the feel of smooth, buttery leather.
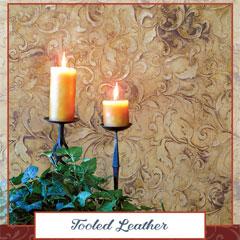
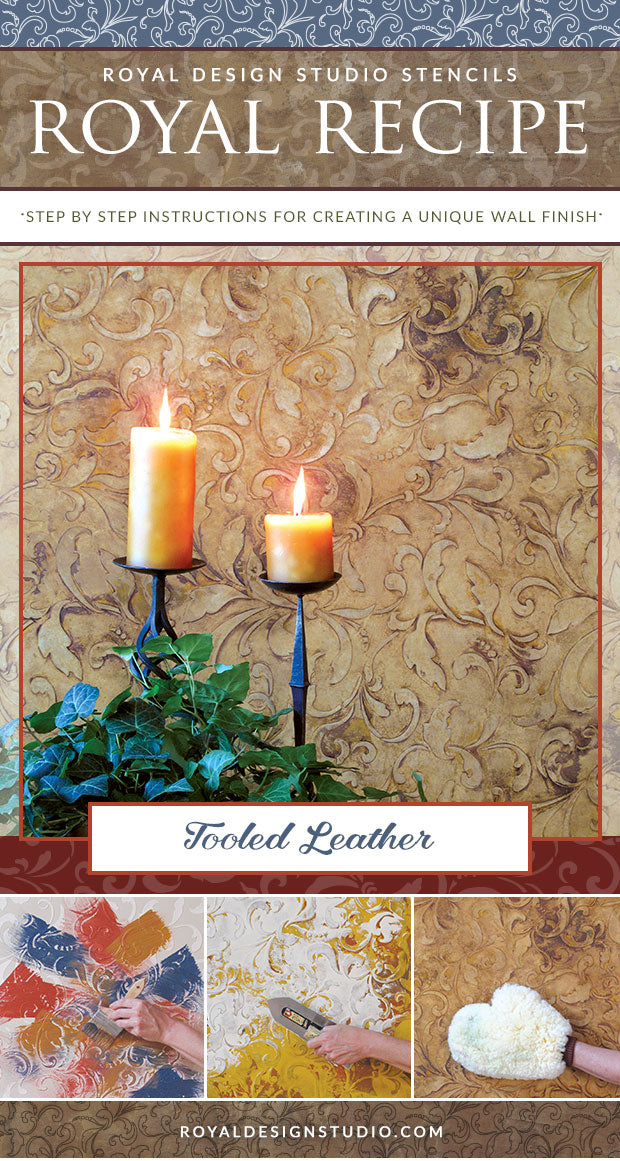
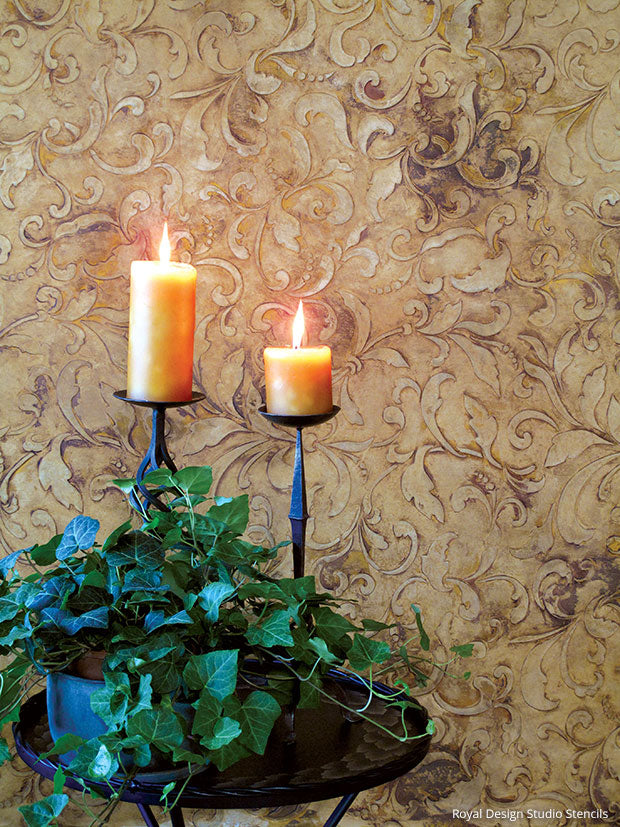
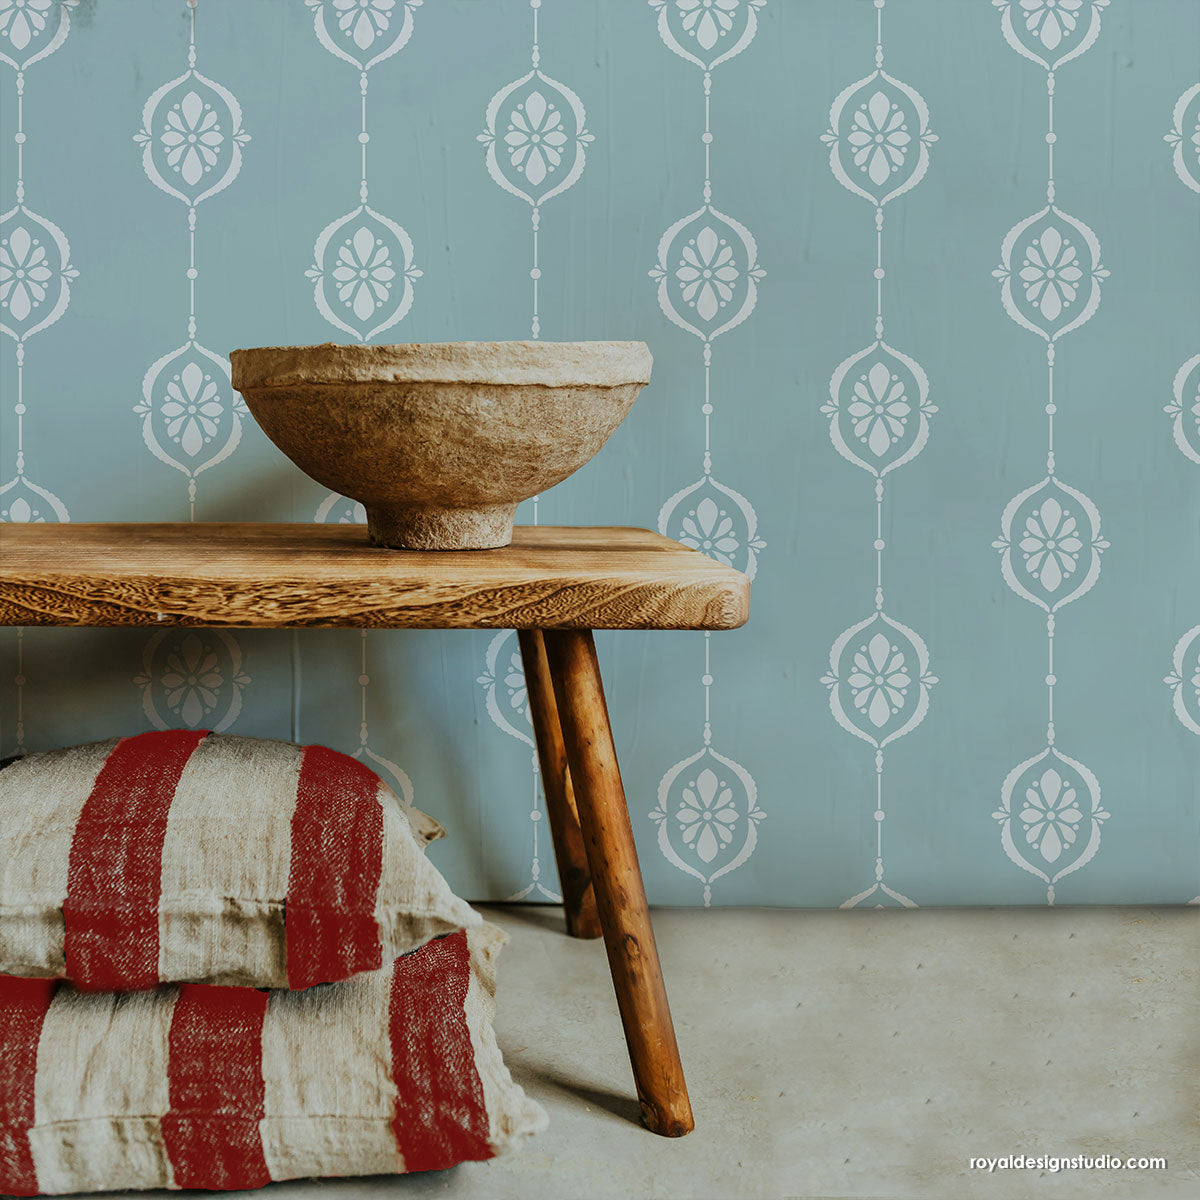
The final finish. There are many variations that are possible with this technique. You could alter the colors of the plasters to create something more uniform, darker, or even more colorful.
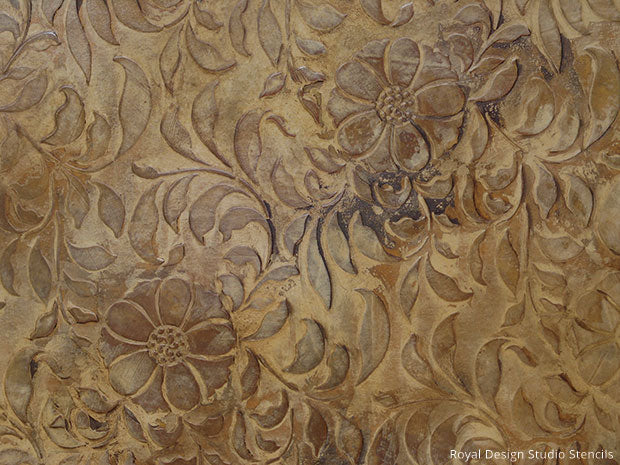
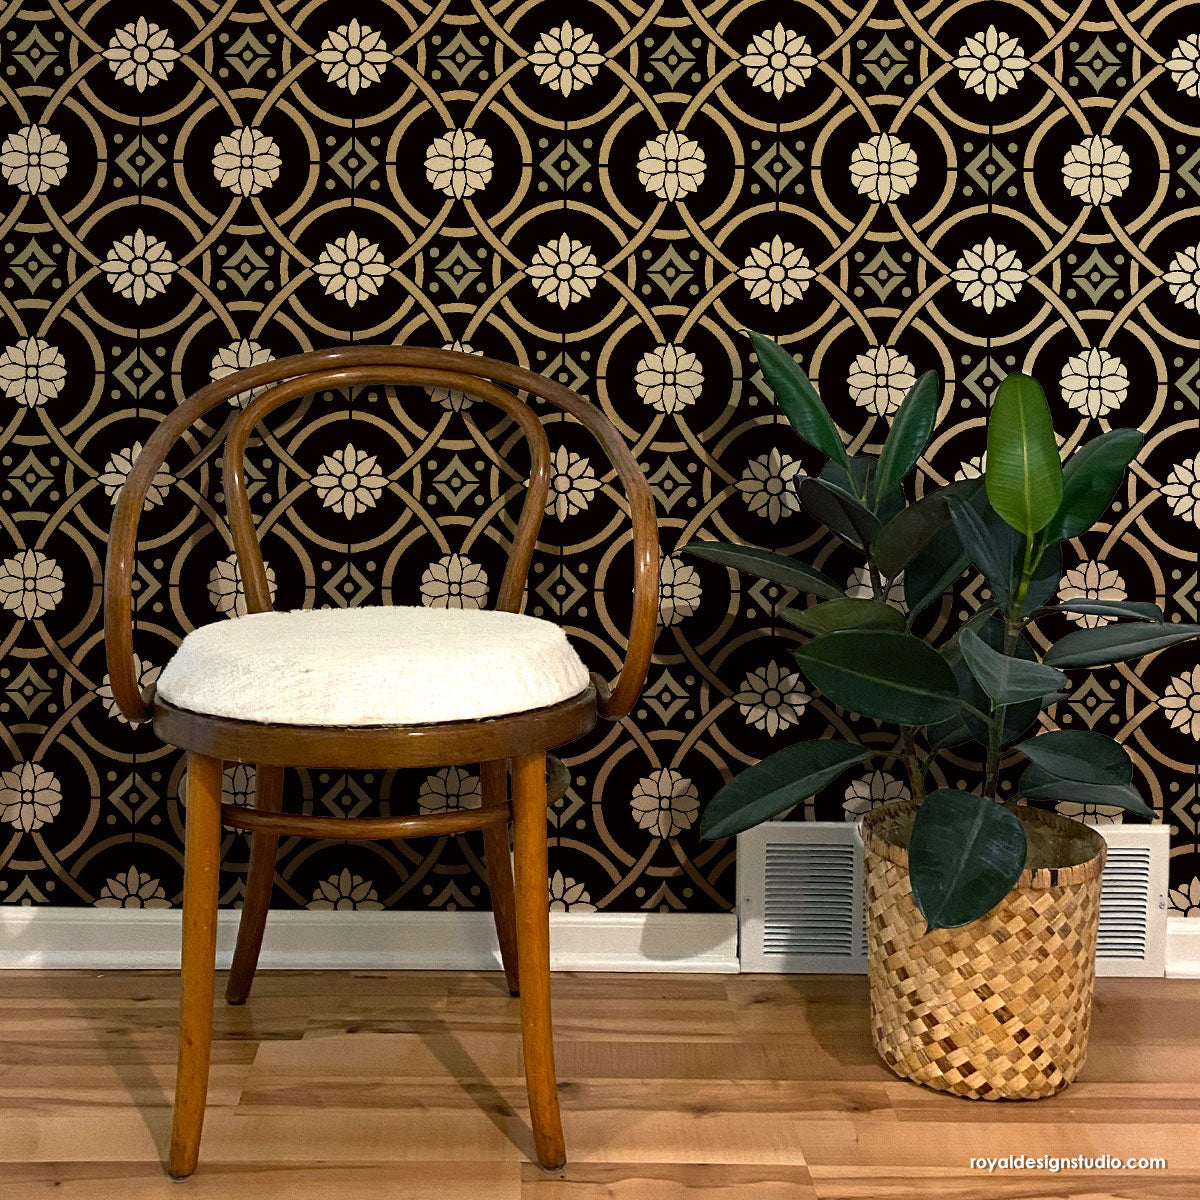
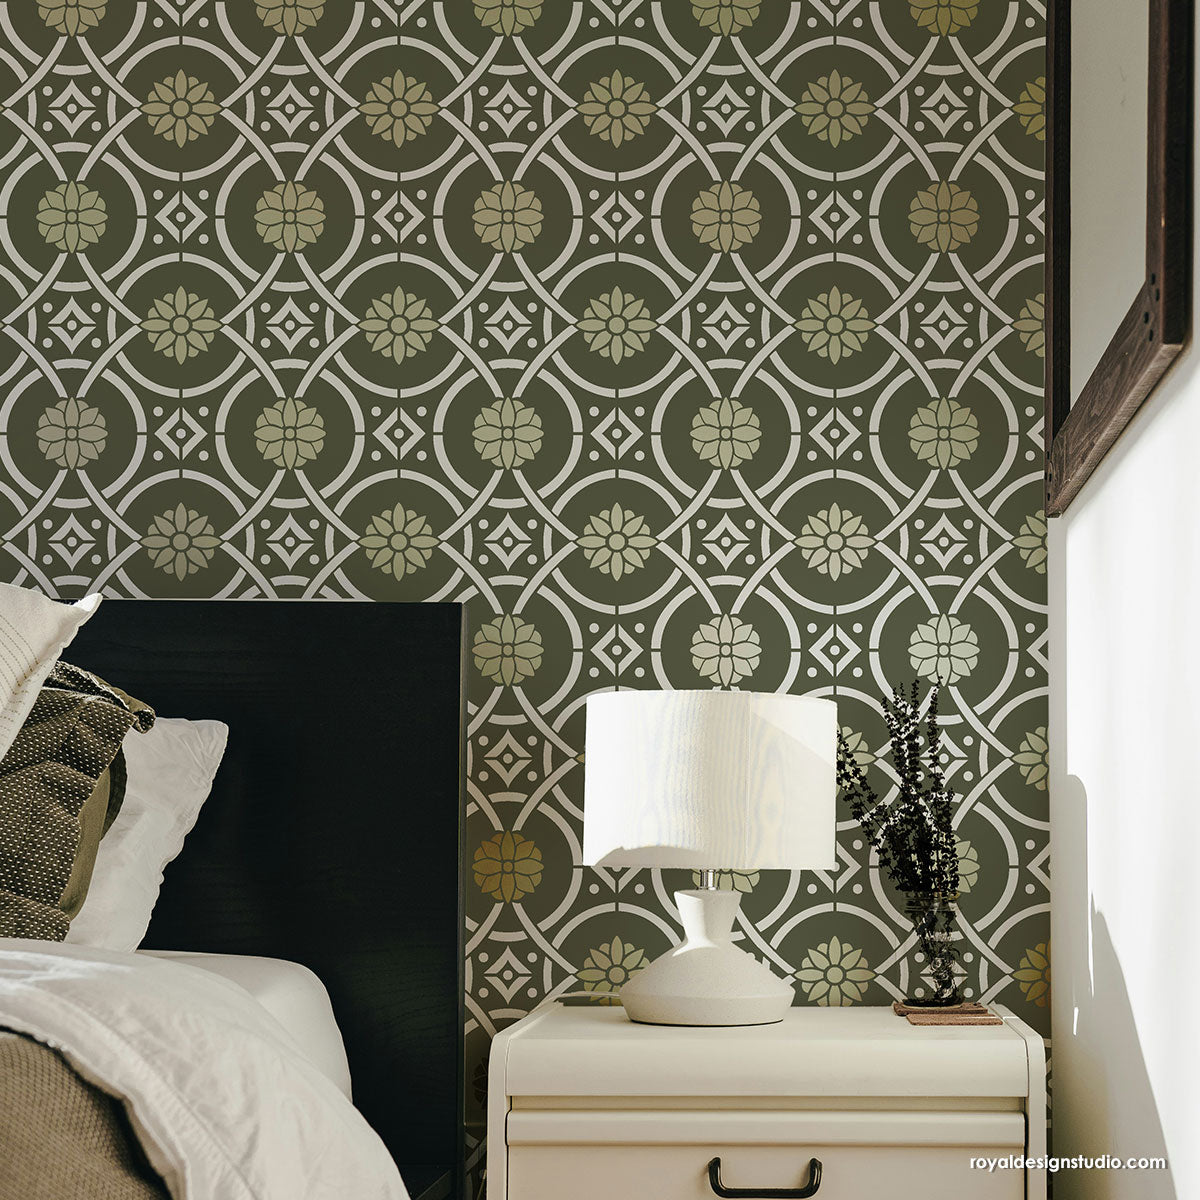
Of course you will also get a variety of different looks depending on the stencil design you choose. The sample above features our Folk Floral Allover Wall Stencil, which is a nice "tight" pattern and perfect choice for this technique.


