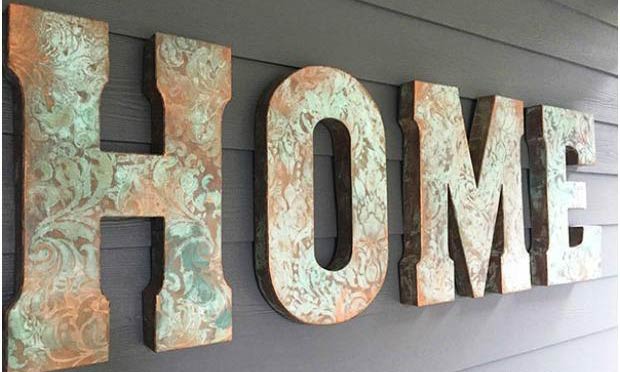
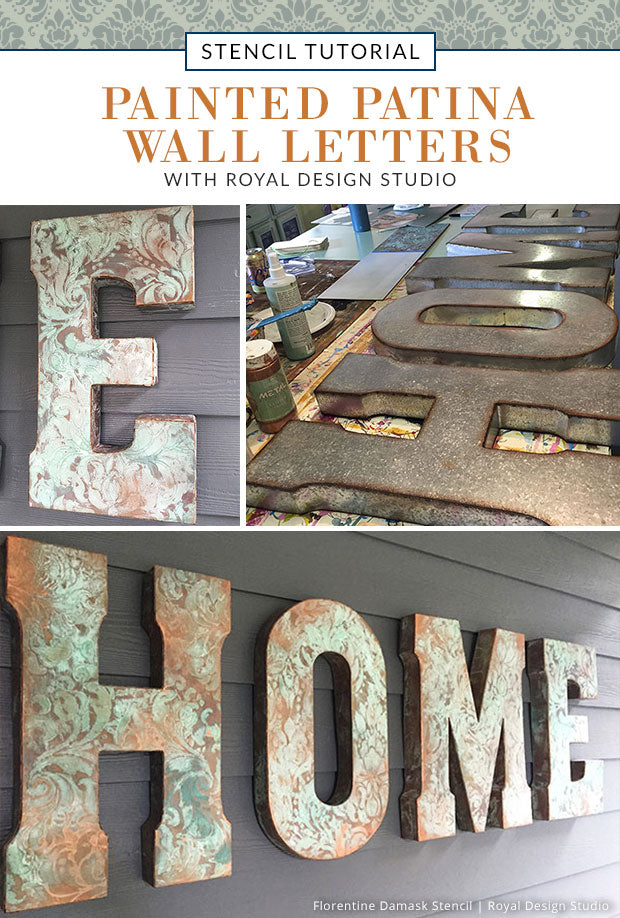
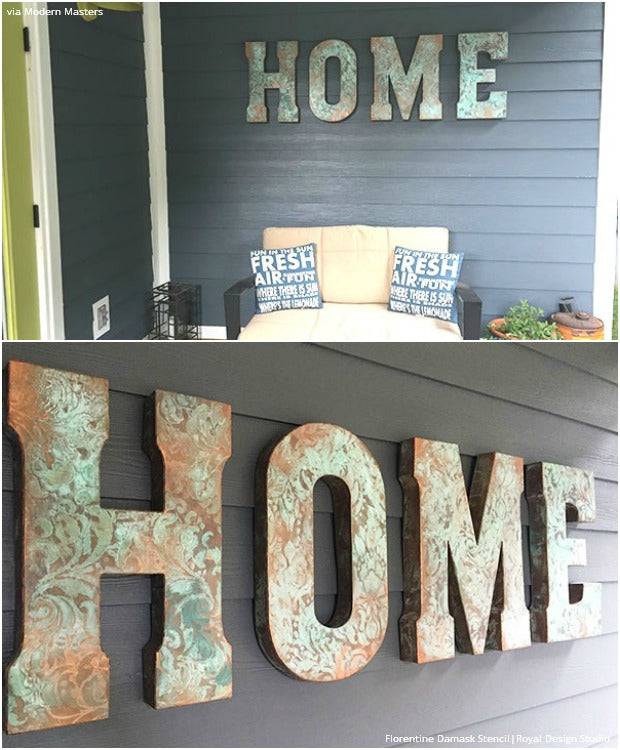
You can literally show that your house is indeed your home with this outdoor HOME wall art stencil project! We are huge fans of Anthropologies’ monogram wall décor, but not their price tag. There’s a more affordable way to get the same look with stencils and Modern Masters patina products. This project is a sure fire way to save you money and gives you DIY bragging rights! Ali Kay of Positive Space loves this idea and decided to take on this project for her own home. Let’s see how she did it so you can make your space a little more “home”-y with wall letters…
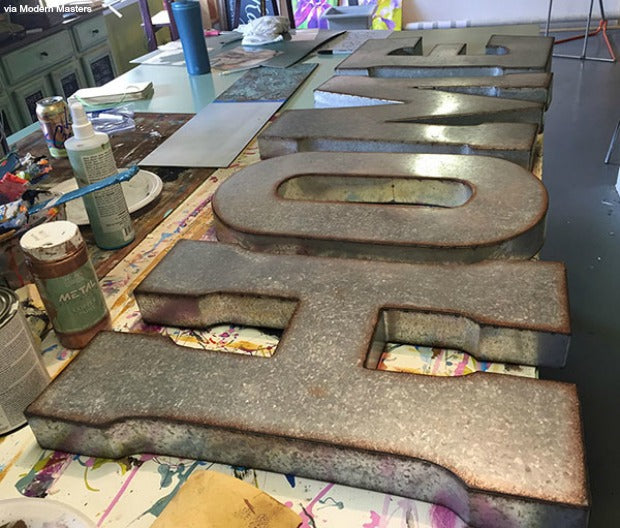
Step 1: You can find large (or small!) wall letters at any home improvement retailer, home design store, hobby store, vintage shop, smaller retail design stores and flea markets to name a few. You can use any letters to spell out anything you’d like. You can spell out “love”, your family’s last name, or your friend’s initials that has a birthday coming up! This patina process can be done on surfaces such as wood, metal, plastic, paper, and more – just be sure to prime them properly for their individual surfaces. It’s the many monogram wall décor and design possibilities that make decorating so personal and unique!
Step 2: Time to prime! Begin with priming each letter with Modern Masters Metal Effects Primer. Let dry.
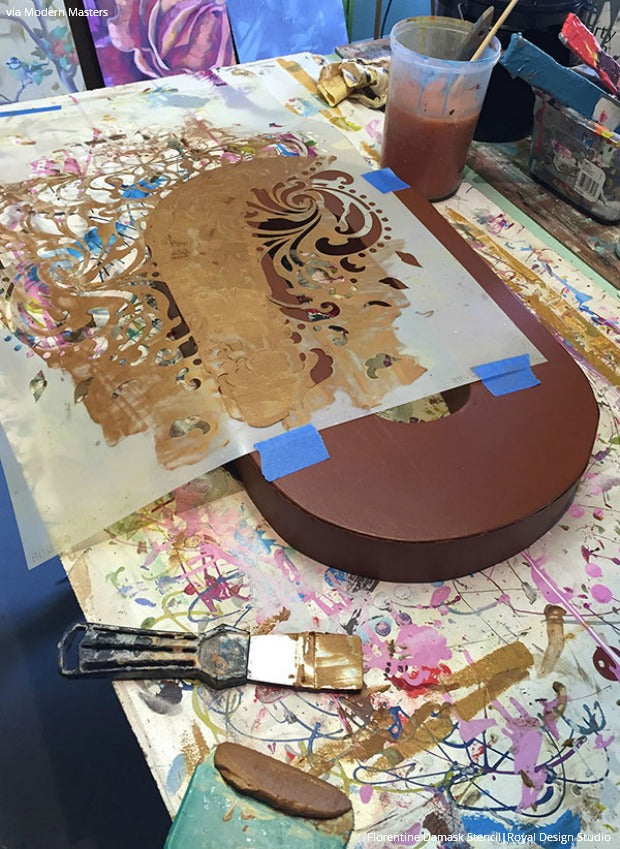
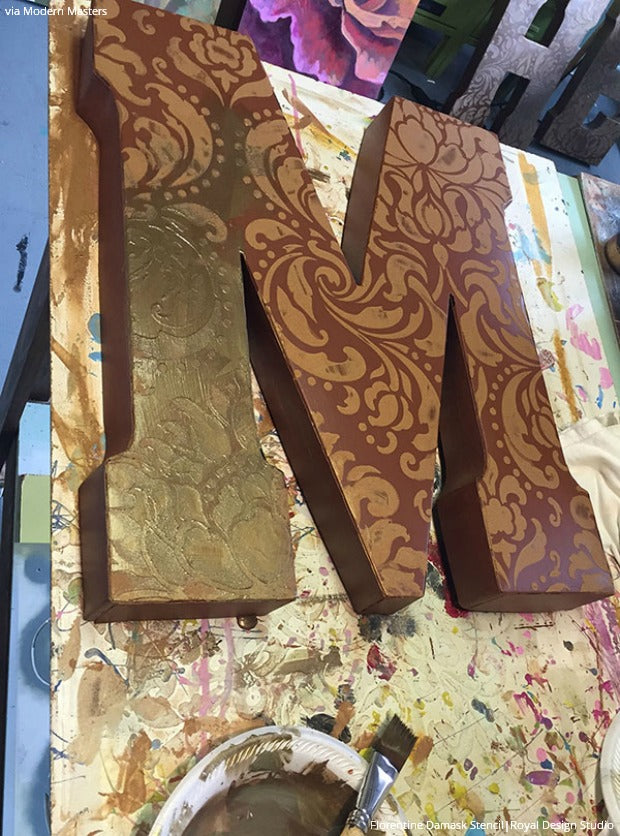
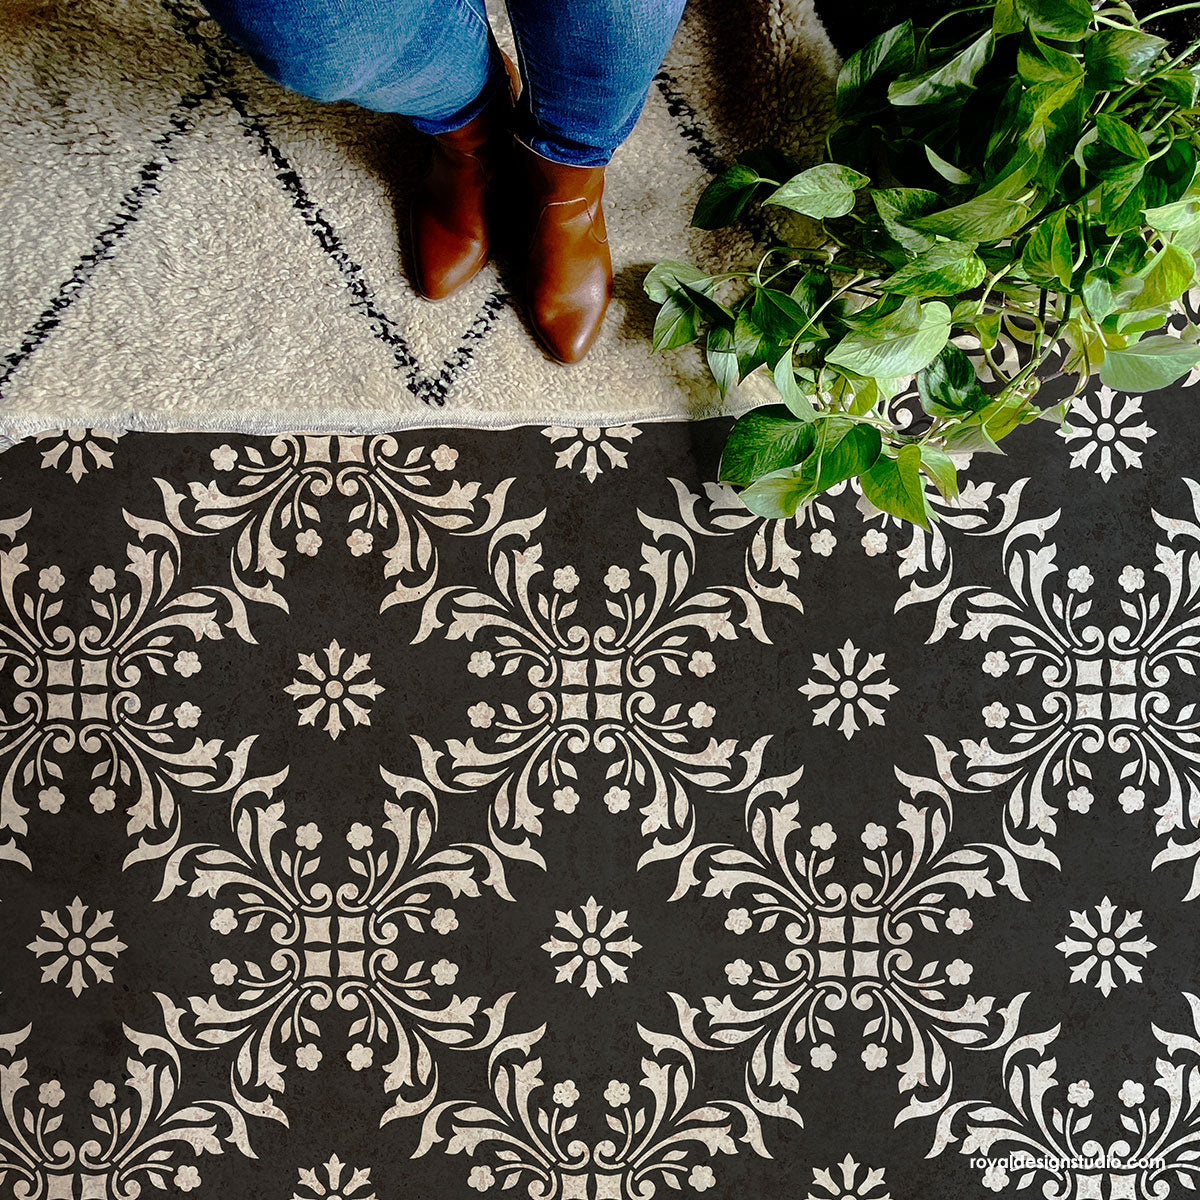
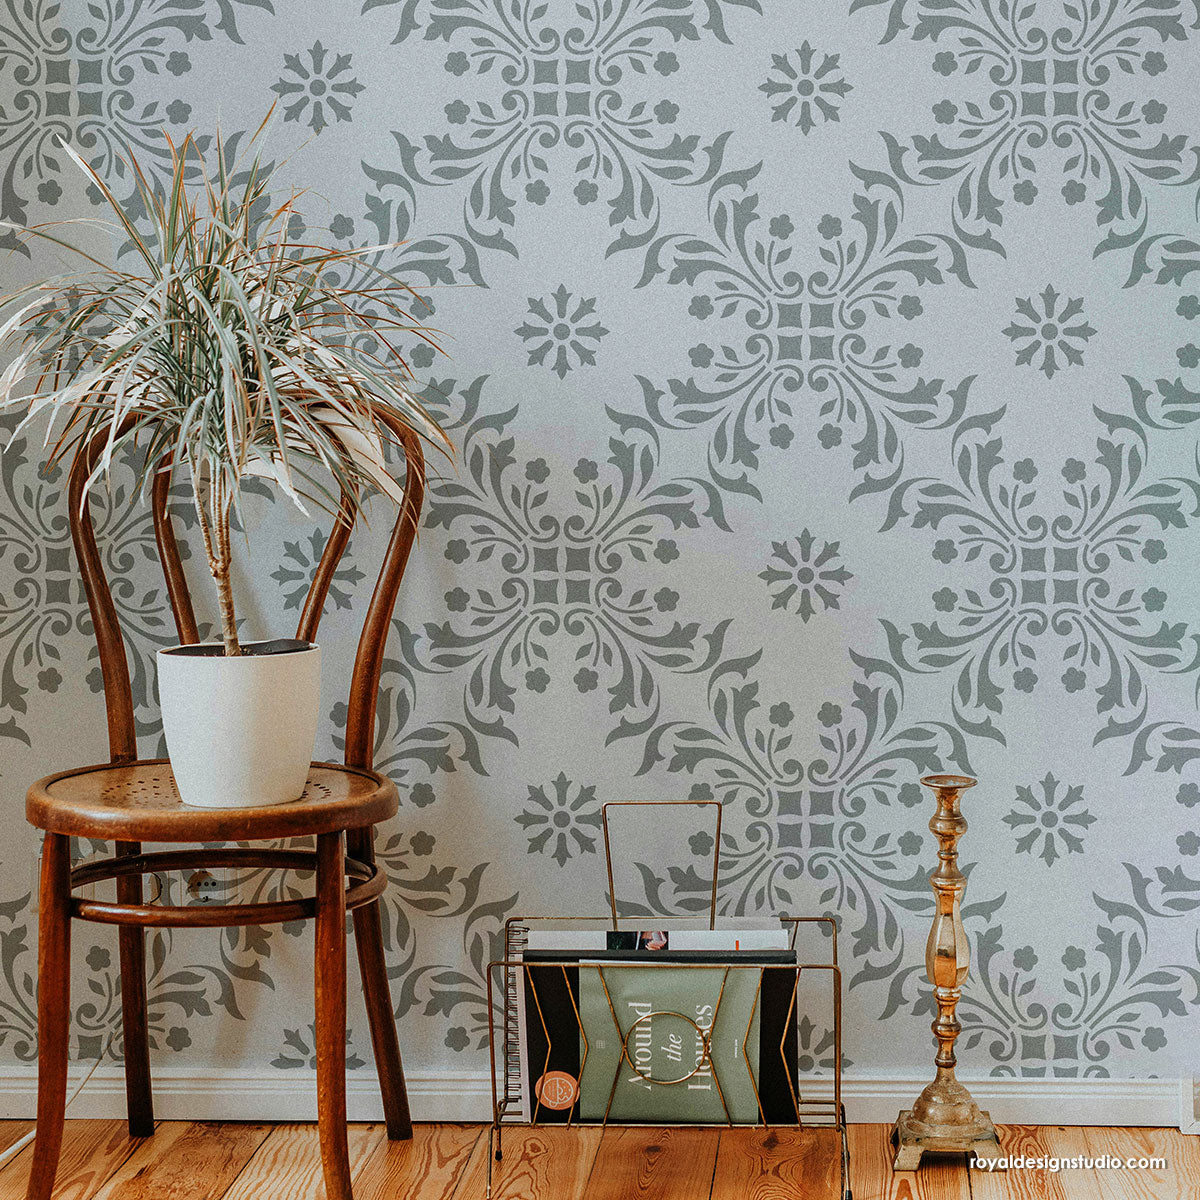
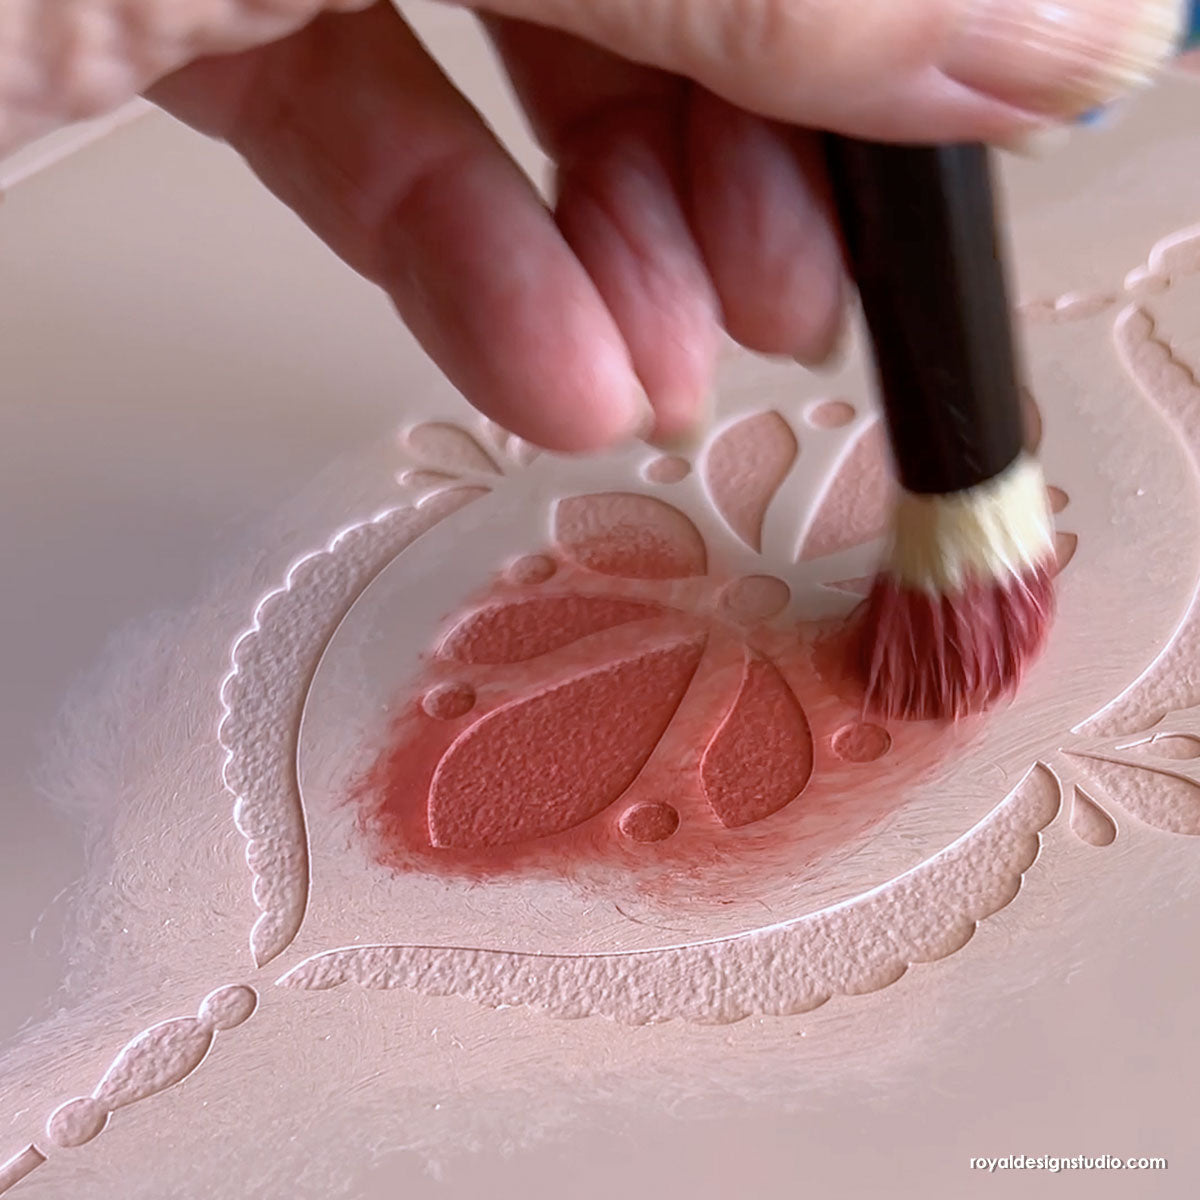
Step 3: Pick out your favorite stencil, whether your home style is modern, Moroccan, or traditional, we’ve got the pattern for your “home” and home! We even have small scale Mini Craft Stencils if you’re doing this project with smaller letters. Ali used our Florentine Damask Wall Stencil for her project. When stenciling, use a trowel and Modern Masters Metallic Plaster to create a beautiful raised pattern effect. Now these letters really POP!
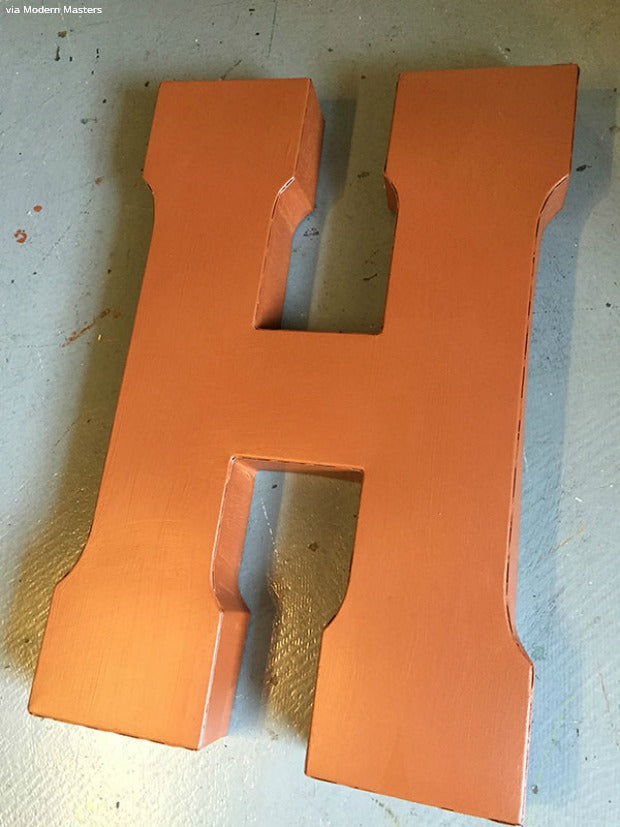
Step 4: For your first basecoat of color, use Modern Masters Metallic Paint, then use Copper Reactive Metallic Paint in certain areas that you want the faux patina process to include.
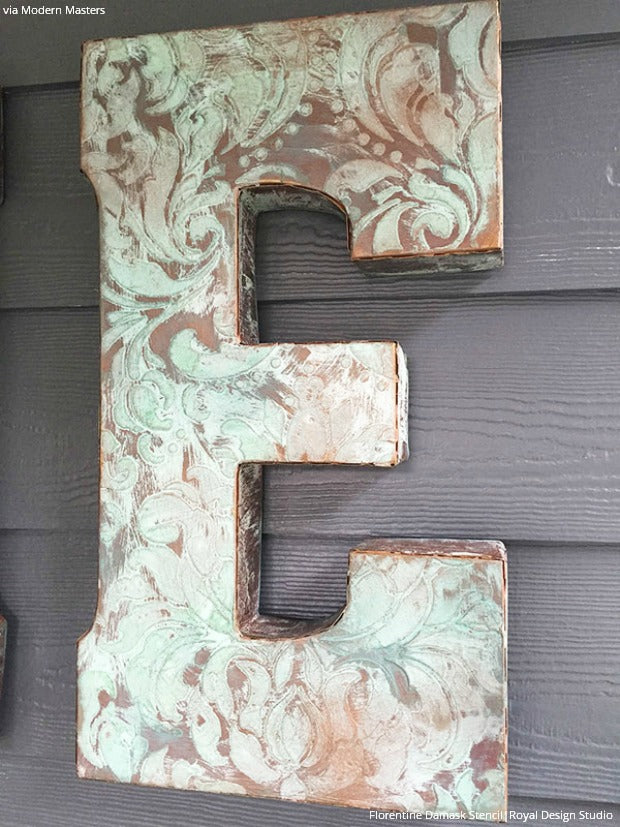
Step 5: White the Copper Reactive Metallic Paint is still wet, spray the Green Patina Aging Solution randomly onto the surface, letting the other layers peek through. Let sit for the next few hours. You will be able to see the patina activate – a fast forward of the process that would take mother nature weeks of time!
Step 6: Seal the patina letters with 2 coats of Permacoat Extreme to protect them and stop any further patina from occurring over time.
Hang these wall letters up with the help of a level, stand back, and relish your new “home” décor! What do you think? Let us know in the comments if you want to try this DIY project, and how you are adding your own creative flair to it.
If you felt inspired from this post to create your own one of a kind wall art with stencils, then you’ll also love these stencil ideas:


