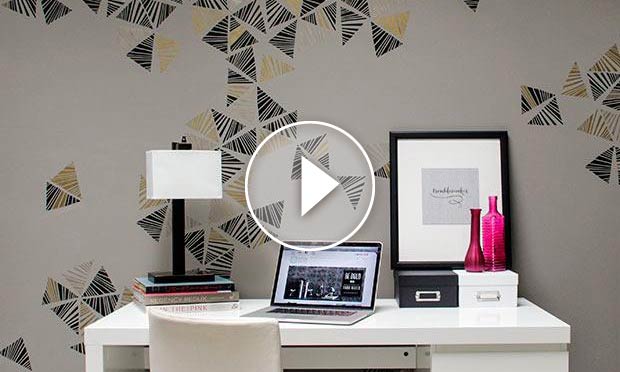
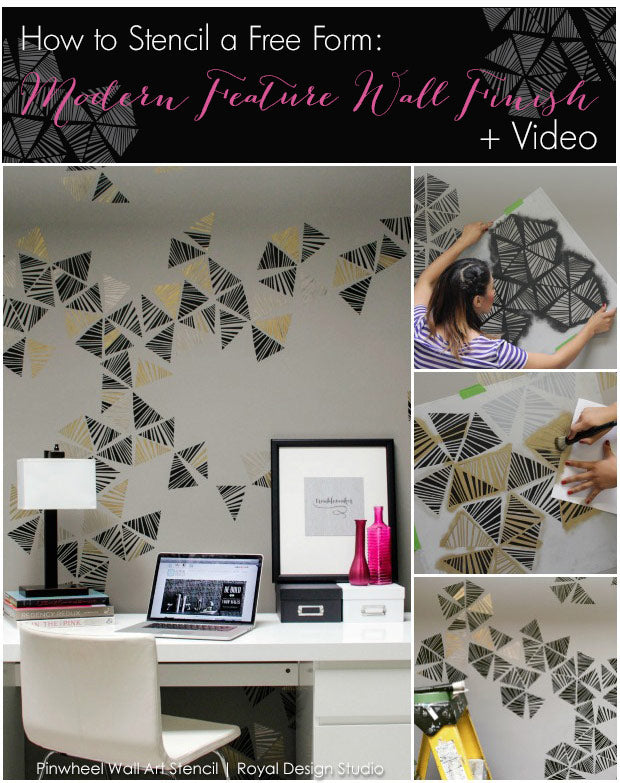
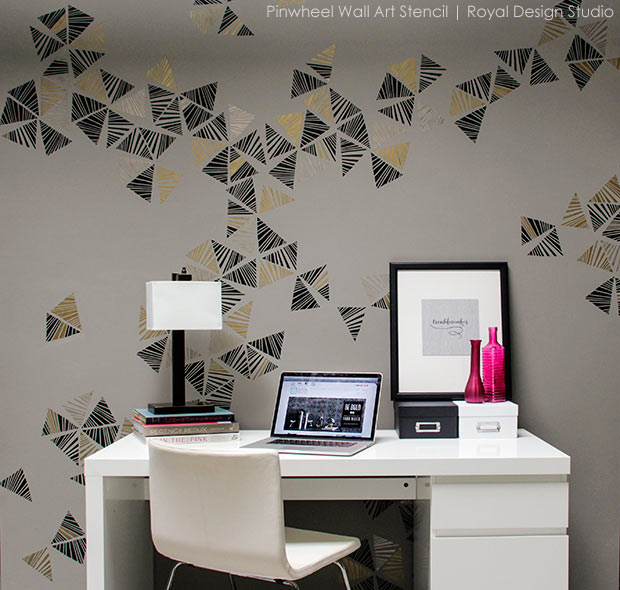
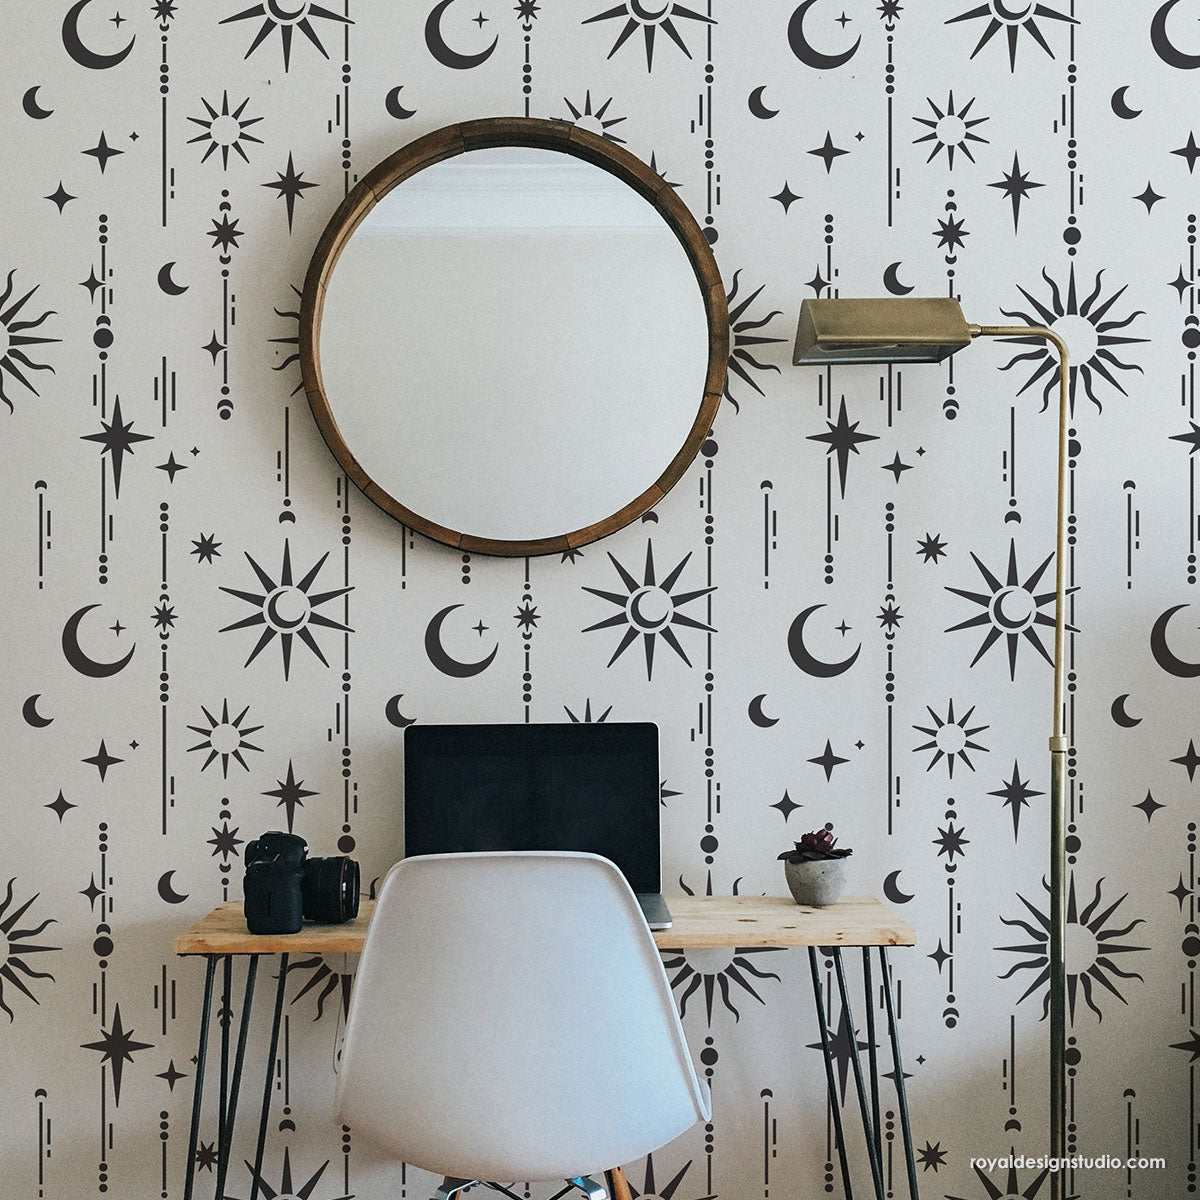
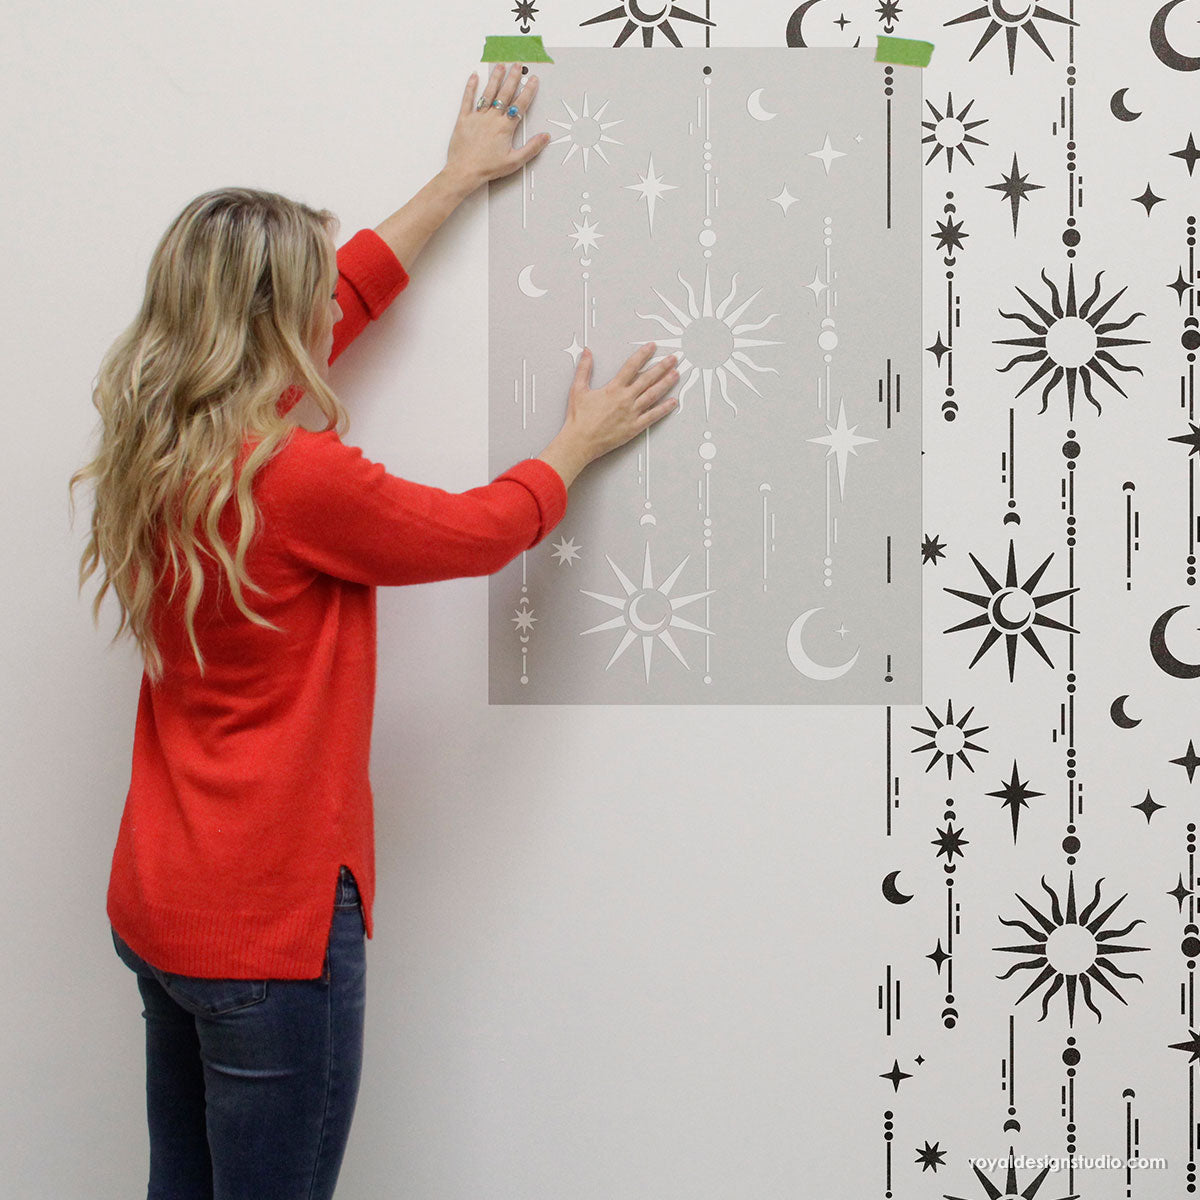
See how to stencil a very chic and modern stenciled feature wall with the Pinwheel Wall Art Stencil from our new Christine Joy Designer Stencil Collection.
This unique pattern puts the power of design in your hands as you flip and twirl the stencil to create a fabulously original focal point wall in an office, entry, bedroom, or ??? Be sure to check out the video below...
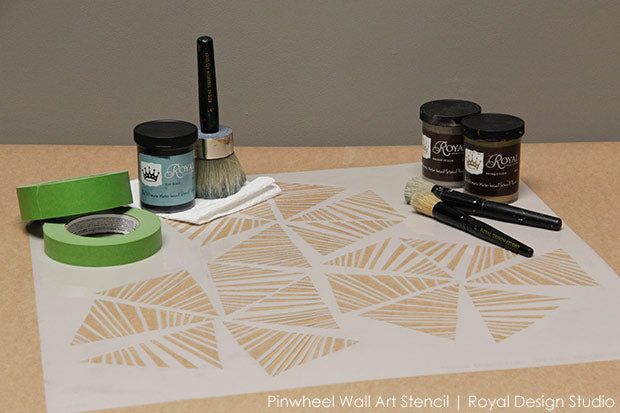
Stencil Supplies:
Buy the Tutorial Stencil Kit along with your favorite stencil and you're all set to recreate this look!
Or, buy stencil supplies separately here:
- Large Pinwheel Wall Art Stencil
- Royal Stencil Creme Paints: Flat Black, Smoked Oyster, and Antique Gold
- Stencil Brushes: 2-1” Stencil Brushes, 3” Super Large Stencil Brush
- Painters Tape
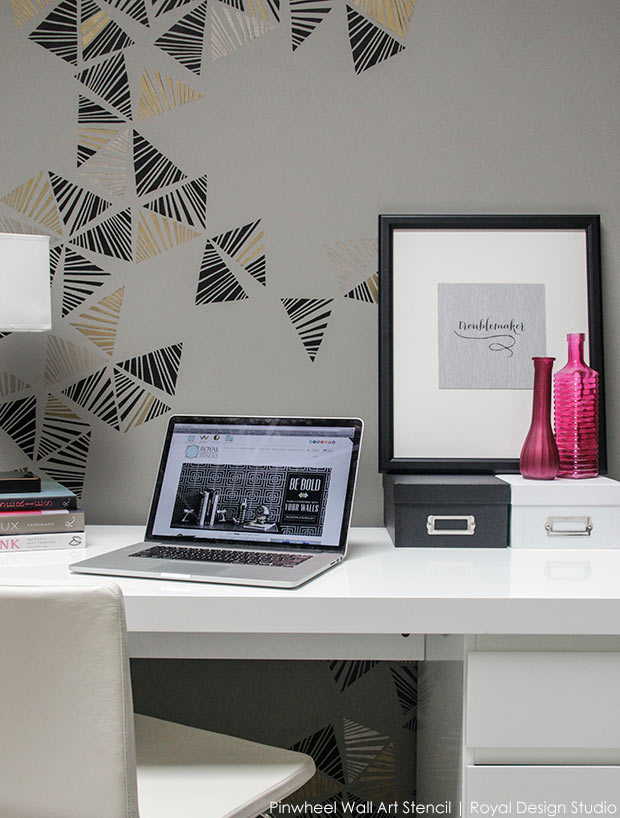
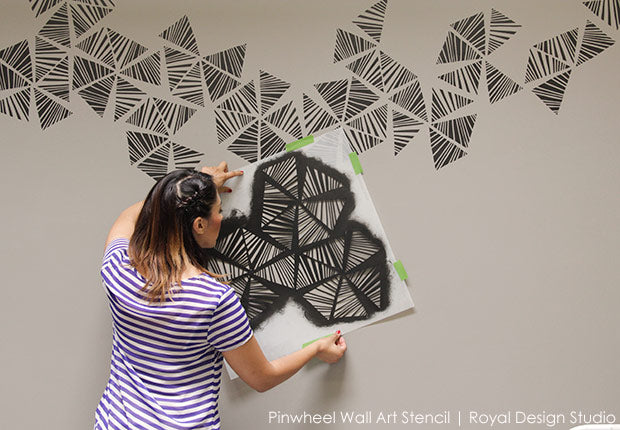
The Pinwheel Wall Art Stencil is designed to be repeated in a free form manner, so it’s perfect for stenciling a dramatic feature wall. The stencil contains 3 triangle-shaped elements that can be loosely repeated to create an allover pattern, or you can spread them out and connect them randomly to create something completely unique and creative. This stencil how-to shows you one idea for how to use this fun Wall Art Stencil-and we think it’s a good one!
Check out this quick how to stencil video for an overview and read on for all the details.
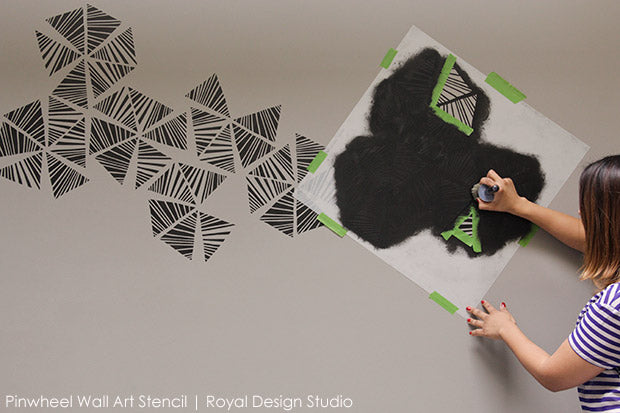
Begin at the top of the wall where your stencil pattern will generally be the most concentrated. Stencil the pattern first using Flat Black Royal Stencil Creme. To make this project go faster, we recommend using our 3” Super Large Stencil Brush, as it holds an incredible amount of paint-so will go farther after each brush load.
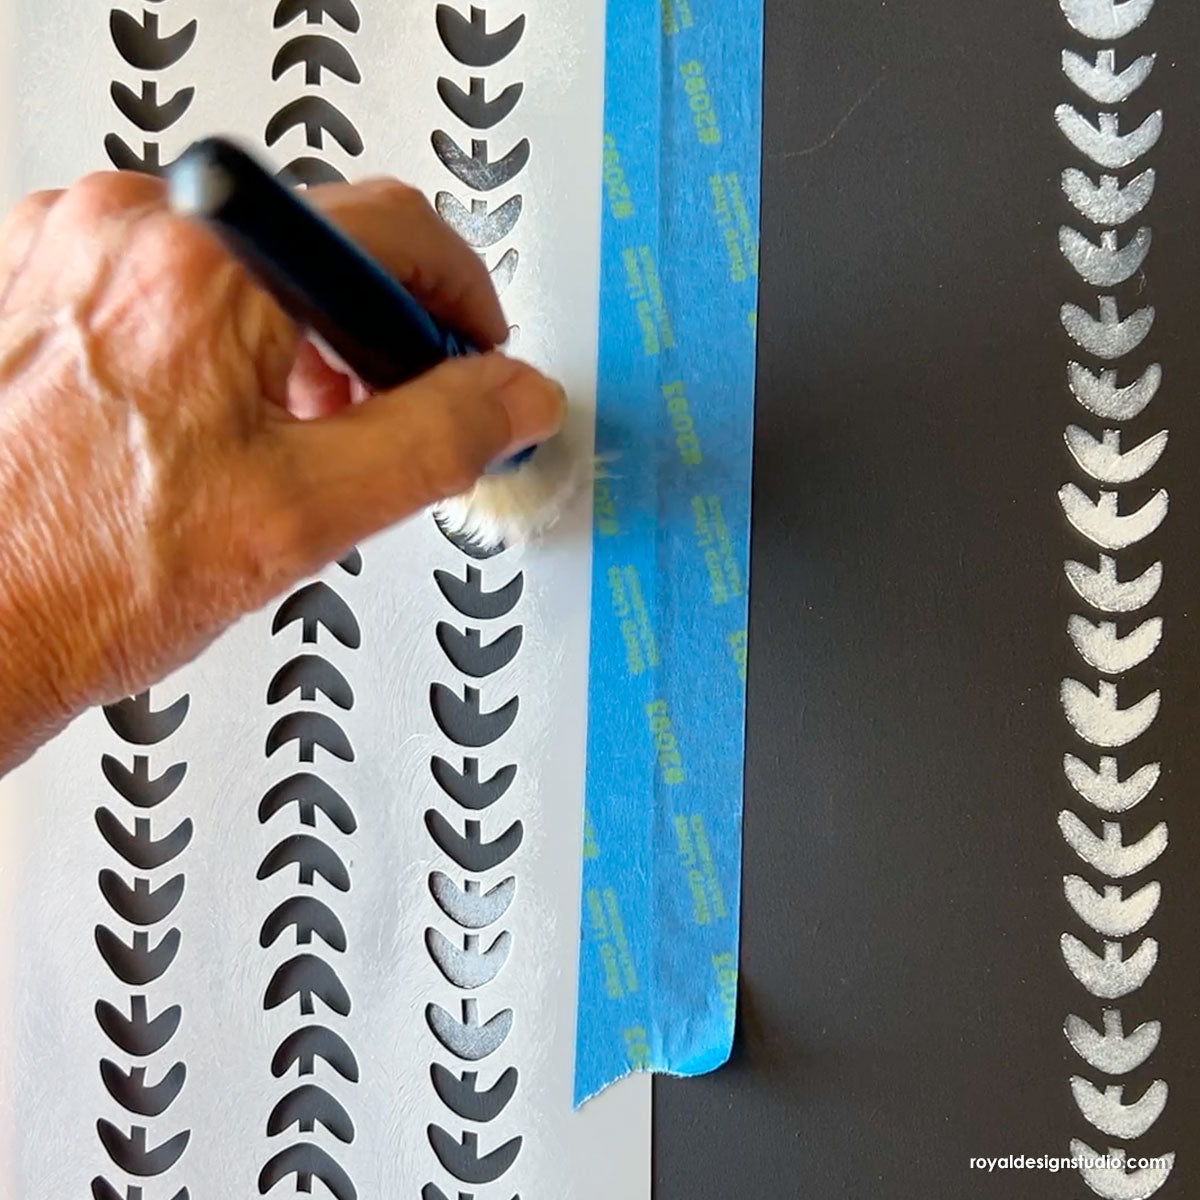
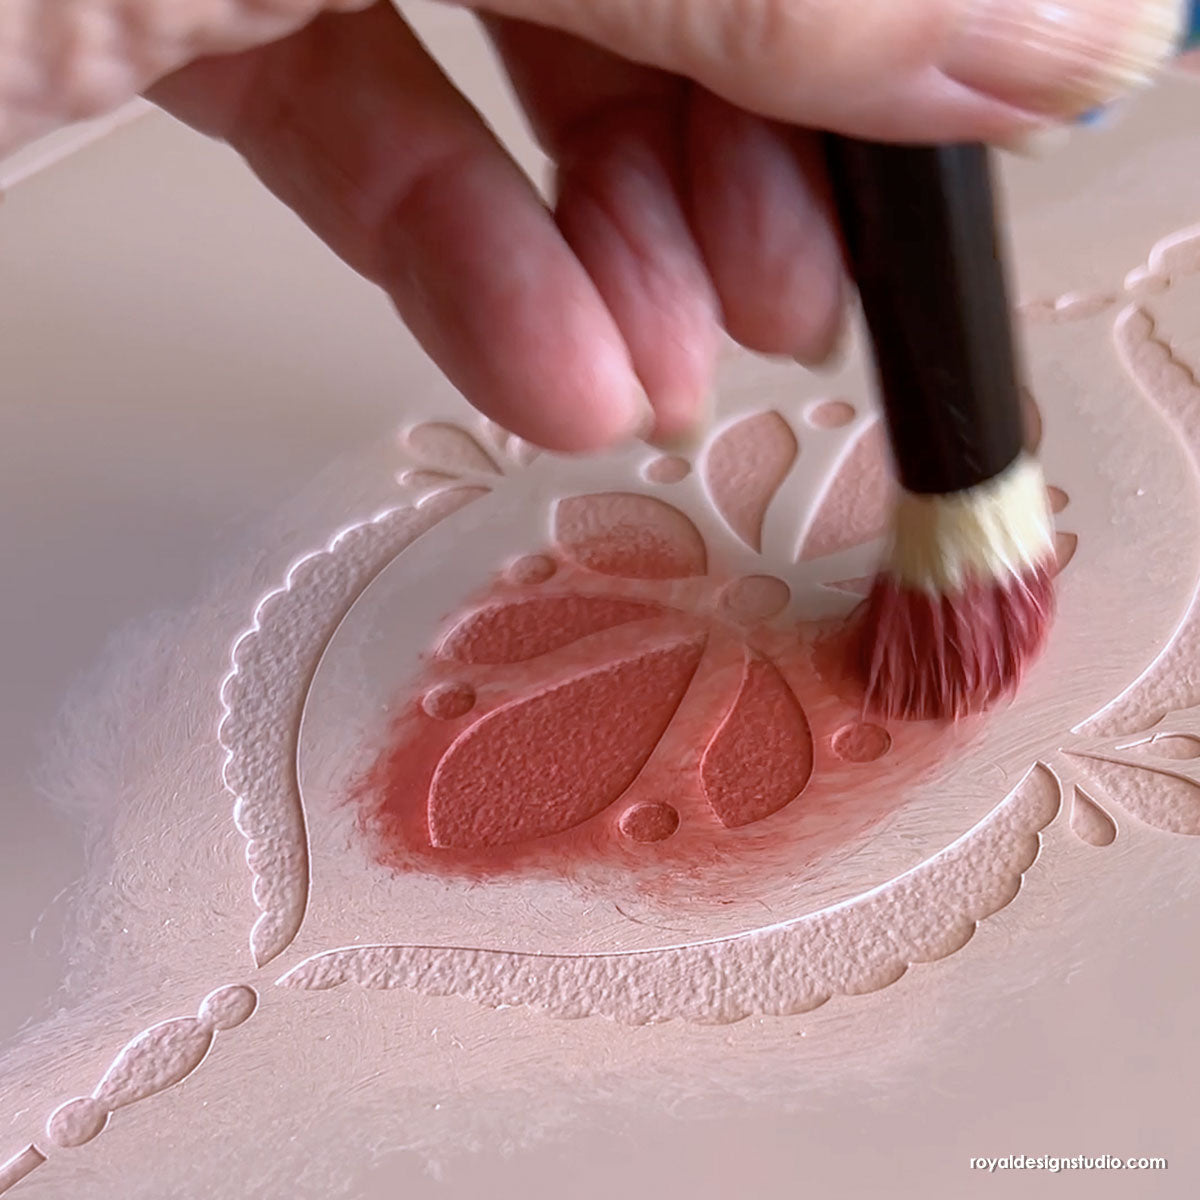
Dip just the tips of the bristles into the paint and offload the excess paint well by rubbing with a good amount of pressure onto a stack of absorbent paper towels. Stencil using light, even pressure and circular motion with the brush.
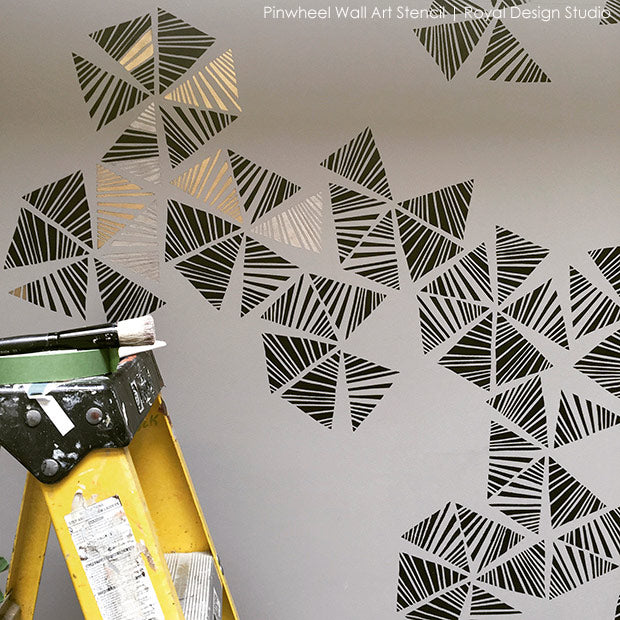
To create variety in the pattern, rotate the stencil each time you move it. Don’t worry about even spacing between the repeats. The fun and beauty of this pattern is that it is meant to be loose and “different”.
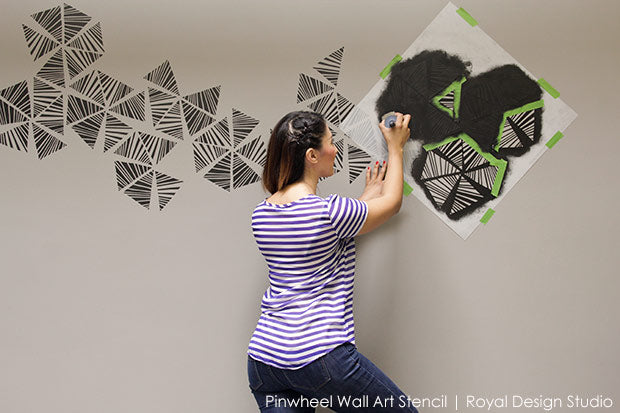
To create even more variety, and a broken-up look in your design, randomly tape off some of the triangle elements of the stencil pattern. Start by taping off one or two triangles from the design in the 2nd and 3rd repeat of the stencil.
Continue to tape off more elements as you move away from where you started so that the pattern appears to break up at it moves across and down the wall. This is what our stenciled feature wall looked like when it was almost completed.
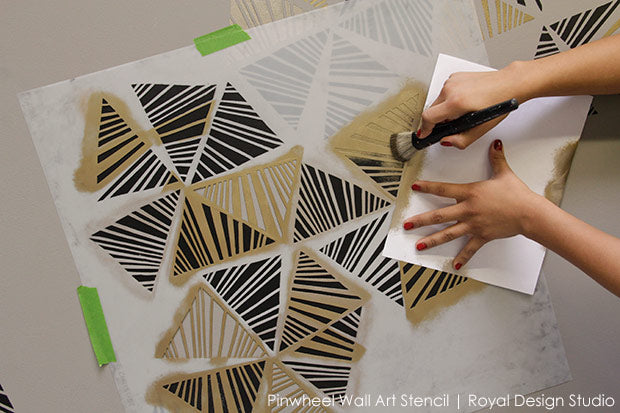
Now it’s time to add some shine with Royal Stencil Creme paints! Clean your stencil and place it back on top of the first repeat. Make sure the pattern on your wall and the stencil are perfectly aligned.
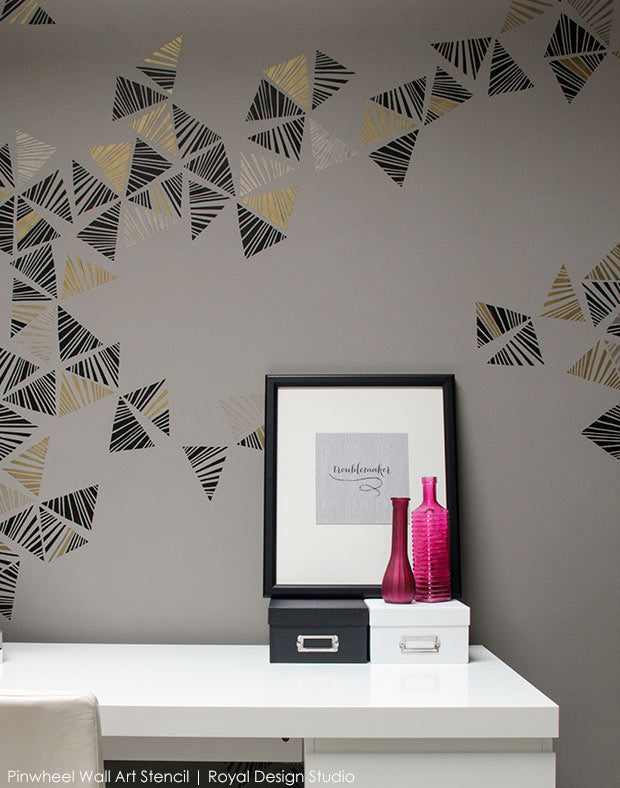
Load a 1” Stencil Brush with Antique Gold Royal Stencil Creme. Off load the excess paint (as always!) on paper towels and randomly stencil a few elements on the design. You can re-stencil a complete triangle or just a few stripes here and there. Mix it up!
Pro Stencil Tip! Rather than taking the time to apply tape, simply use a piece of paper held in place to mask off and protect the elements you don’t want to stencil with the metallic colors.
Repeat this step in other areas of the stencil design with Smoked Oyster Royal Stencil Creme.
Are you ready to cut loose with a fun and original stencil project like this on a feature wall near you?? Go ahead, we dare you to be a "Troublemaker"* ;)
*Troublemaker Fabric Wall Decal from Wallternatives™


