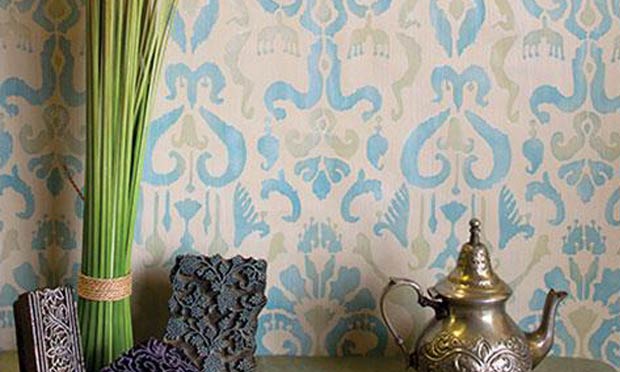
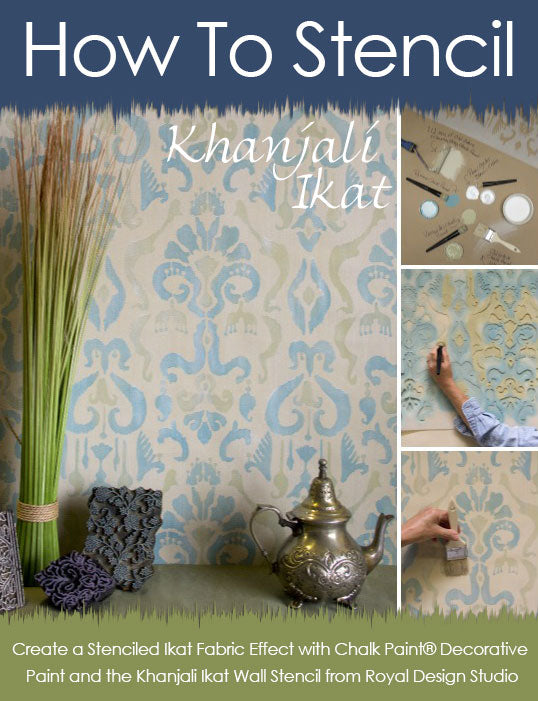
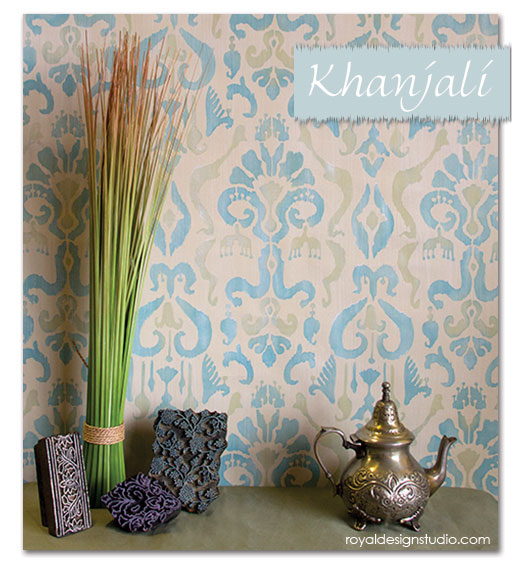
Do you want to learn a super fast and easy stencil technique to create a realistic looking Ikat fabric effect on a wall or piece of furniture. Well then, read on my friends! Ikat fabrics (pronounced EE-kat) have been all the trend rage for some time now, elevating this iconic weave to "classic, here to stay" design status.
Ikat is hardly new though-it is one of the oldest forms of textile decoration that involves resist-dying the threads prior to weaving,and this technique is used in many variations and styles throughout the world. Modern day Ikat fabrics are primarily printed to simulate the classic look of woven Ikat, which produces the distinctive look of an uneven (even jagged) edge with a somewhat blurred effect. Our new Khanjali Ikat stencil is designed with it's own vertical movement and blurred edge effect built in-but this easy stencil technique will add even more of that special Ikat fabric vibe to the look. Let's get started!
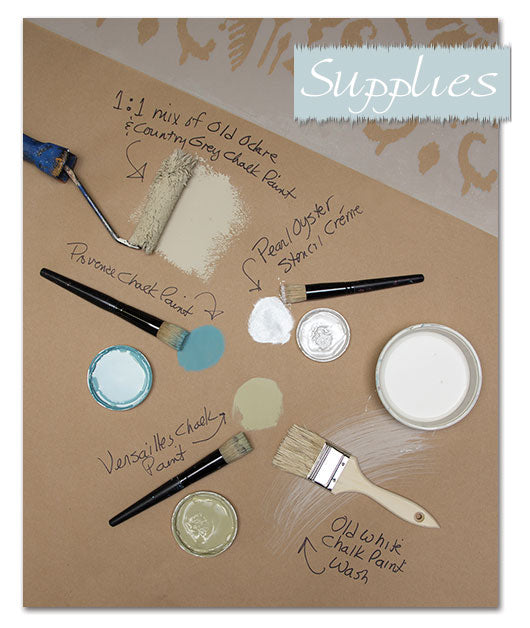
Stencil Supplies you will need:
- Khanjali Ikat Wall Stencil from Royal Design Studio
- Royal Stencil Creme Paint: Pearl Oyster
- Chalk Paint® Decorative Paint Colors: Country Gray, Old Ochre, Provence, Versailles, Old White
- 3-1" Stencil Brushes
- Nylon Paint Roller, Roller Handle, Paint Tray
- 2" or 3" Double Chip Brush
- Contractor's Paper, Paper Towels, Painter's Tape
Painting your background color:
We used a 1:1 mix of Country Gray and Old Ochre Chalk Paint® for our background and rolled it on in two layers. You can substitute any good quality latex paint in a similar tone-but definitely choose a matte finish that will match the sheen of the Chalk Paint® stencil colors.
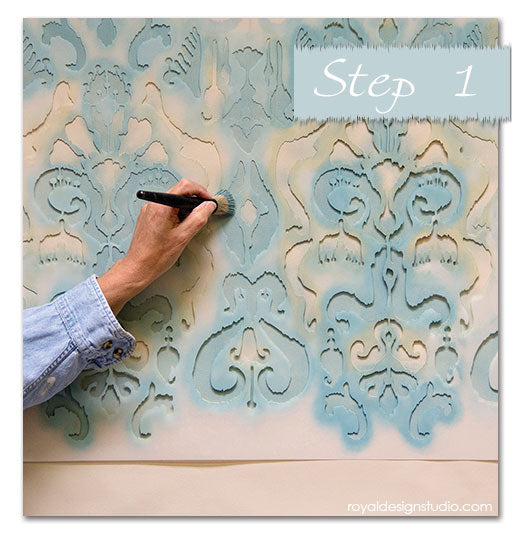
Step 1: The Khanjali Ikat Stencil looks great stenciled simply in one color, but we invite you to take it up a notch (and get a more realistic looking Ikat pattern) by stenciling in two or more colors. We used Provence Chalk Paint and Versailles Chalk Paint, which compliment each other in a very soft, understated way. The easiest way to incorporate two colors in a single layer stencil is to use appropriately size stencil brushes that allow you to isolate the colors in different areas of the pattern. Chalk Paint® works great for stenciling as it covers well, dries quickly and has a nice matte finish. Simply load the tips of your stencil brush into the paint, offload in a circular motion on paper towels, and swirl through the stencil. For this Ikat stencil finish, it is actually desirable that your stenciling is not completely "even" (even easier!) and that some of the Provence blue color creeps into the areas that will be later filled in with Versailles green. In fact, we purposely put some blue in the green areas and vice versa for a more natural, unified look!
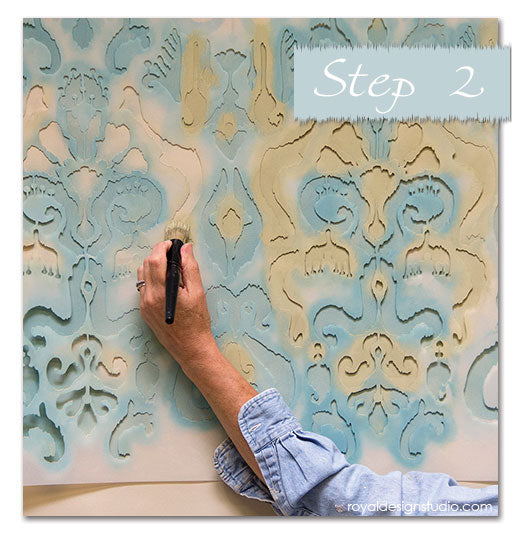
Step 2: Use a new, dry stencil brush to stencil the Versailles color in the remaining open areas of the design. You can follow the same color distribution plan that we did or experiment with your own. You could even introduce another color in some of the smaller design elements for additional contrast.
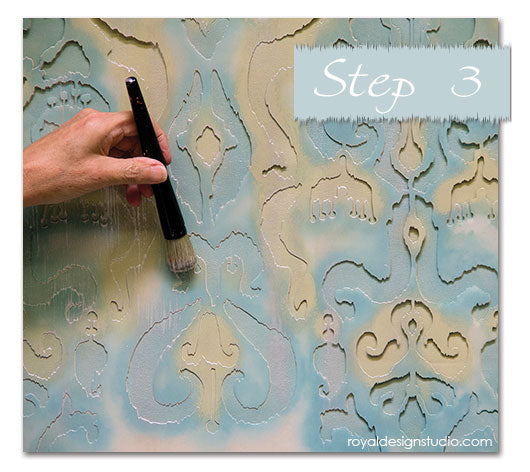
Step 3: This is an optional step that will introduce a little shimmer here and there in your stenciled finish, and also will start to accentuate the vertical movement that is inherent in Ikat patterns. Dip the tips of a new, dry stencil brush into the Pearl Oyster Stencil Creme and offload slightly on paper towels. Then, holding the brush an angle as show, swipe the brush vertically up and down over the stencil pattern here and there to create subtle vertical lines. It is very important to use a very light pressure on the brush and to do this very sporadically. As always, it's a good idea to practice first! If you end up with too much coverage from this, simply go back over areas with the Chalk Paint colors you stenciled first.
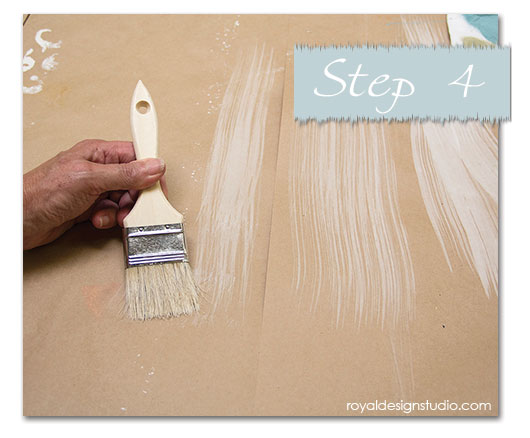
Step 4: Create a paint wash by mixing Old White Chalk Paint® with water at about a 1:1 ratio and mix well. Dip the tips of your chip brush into the wash and remove excess paint by squeezing lightly with a rag or paper towels. Then additionally drag the brush (held at a low angle) across the contractor's paper to remove even more paint and get the fine stria effect that you will want on your wall.
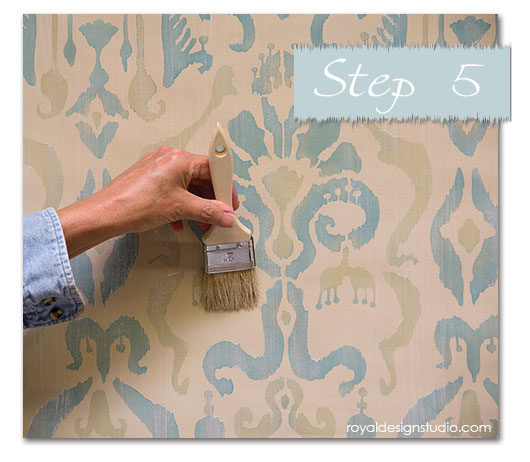
Step 5: Using a very light pressure, drag the chip brush at a low angle straight up and down over your entire wall finish. Concentrate on a small area at a time and aim for a random, organic look. This stria layer will follow the fine lines you created with the Pearl Oyster Stencil Creme. Because your a painting this overall it will also add to the IIkat fabric effect and serve to soften the entire finish-knocking back the Provence and Versailles colors slightly and unifying the overall look.
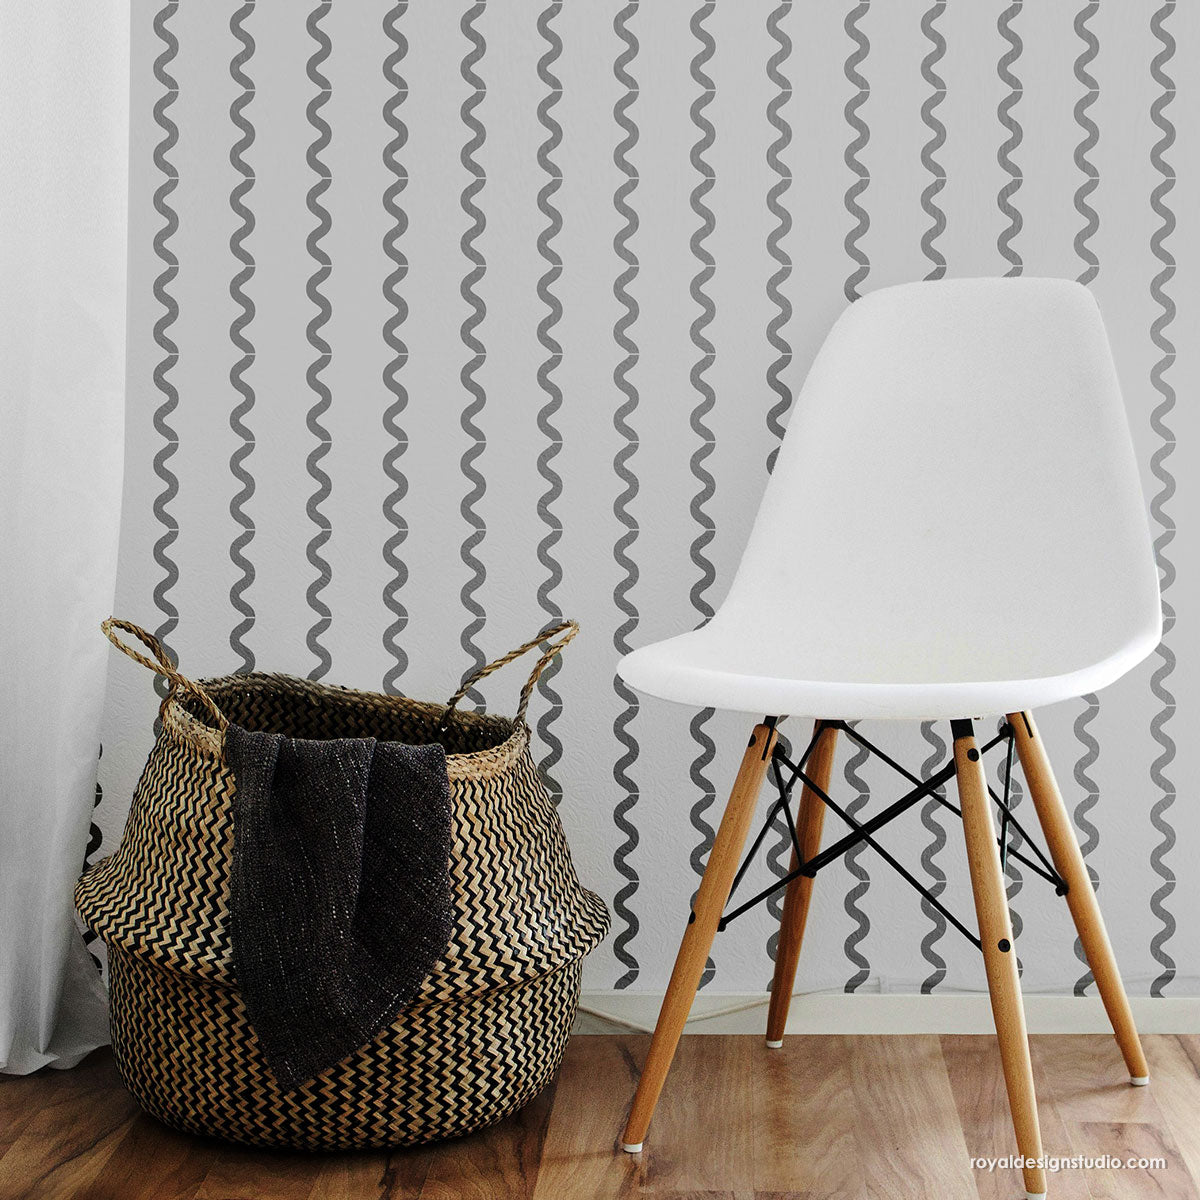
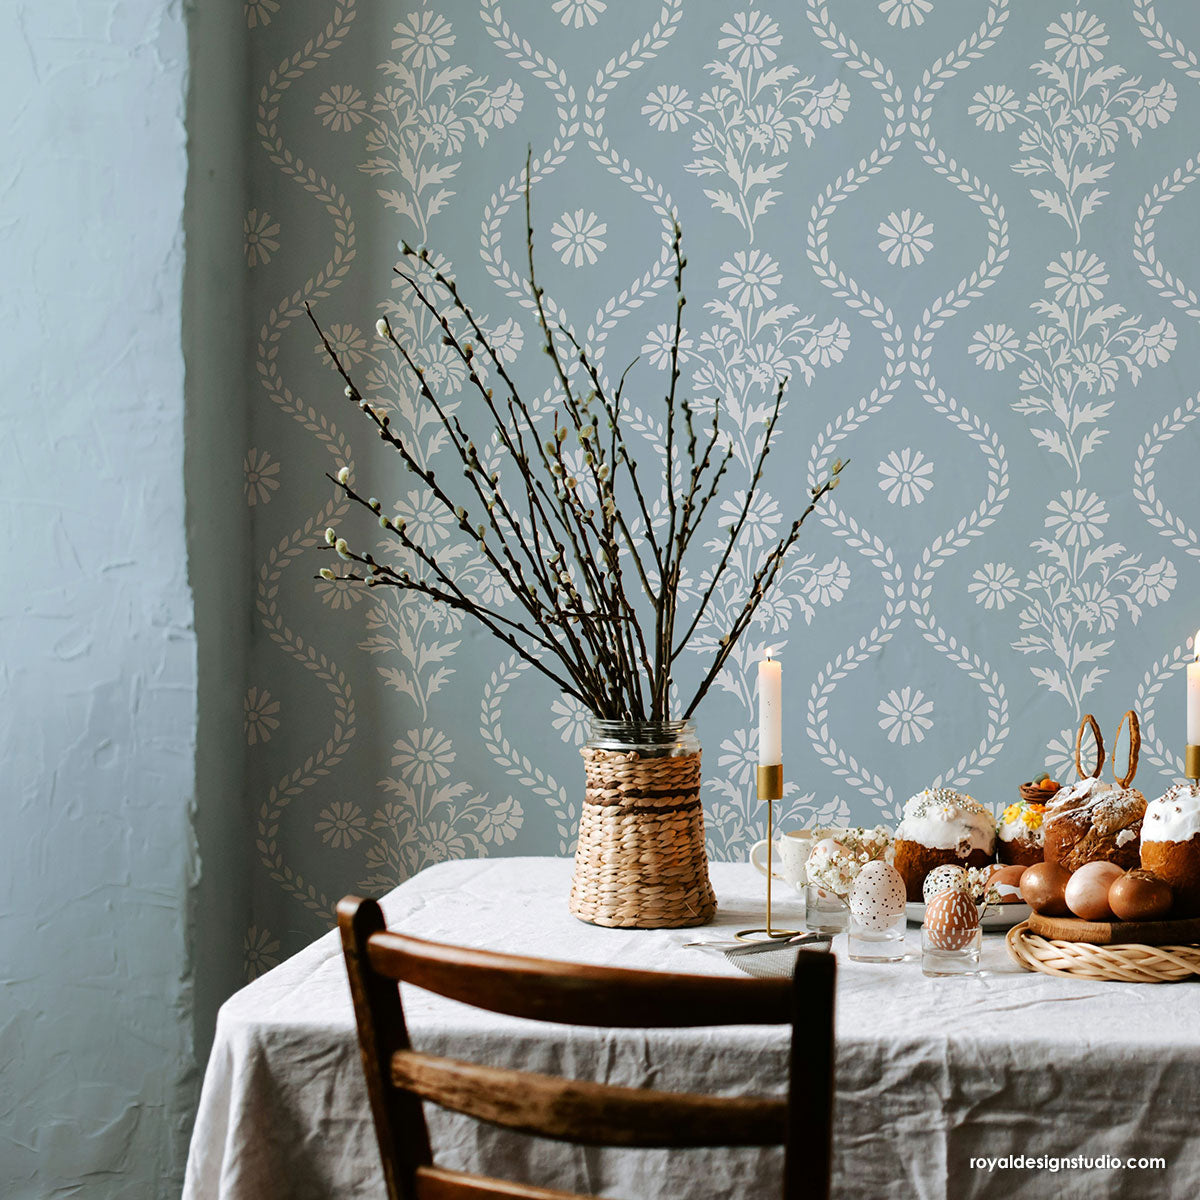
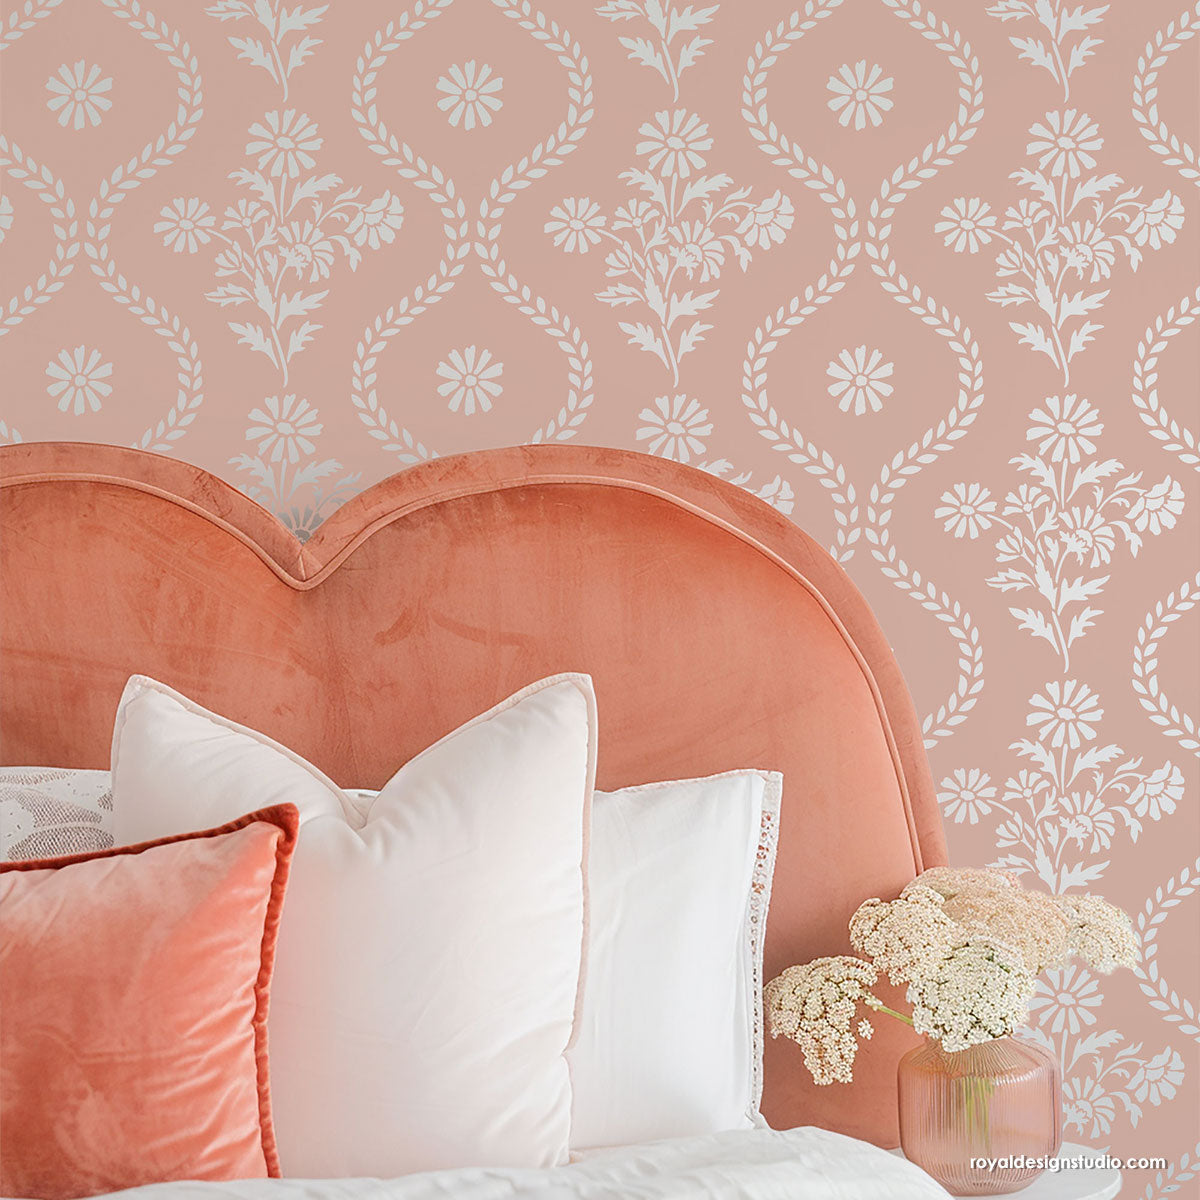
Completed Khanjali Ikat stencil wall finish. We hope you enjoyed this stencil tutorial and your creative gears are-a-grinding! Of course there are many ways to mix it up a little: Change the stencil colors, stencil light colors over a dark background, leave out the stria, etc. etc. Besides wall stenciling, we also offer a smaller scale version of the Khanjali stencil that is perfect for fabric and furniture stenciling projects, or for even stenciling smaller wall areas such as niches, powder room ceilings, below a chairrail or in molding framed panels. Don't forget the possibilities of stenciled rugs and floors!!
AND, if you can stand it, here's another great idea for stenciling a multi-color Ikat look with a stencil roller!
Happy Creating!


