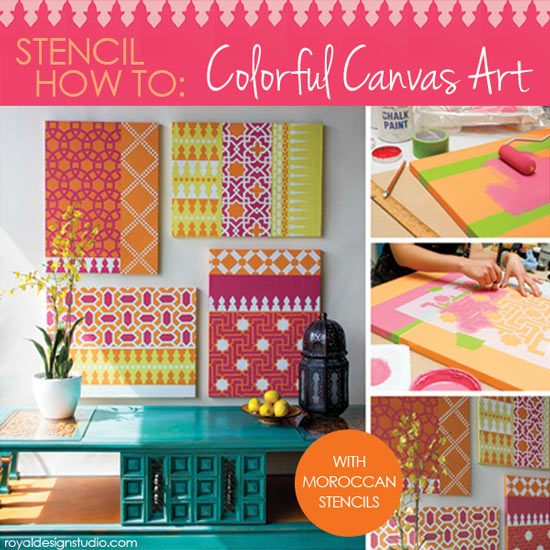
What a fun, Fun, FUN stencil project how-to we have to share with you! Create your own custom stenciled canvas art collection by following our step-by-step tutorial below. Learn how to combine a limited color palette, bright color blocking, and super easy stenciling techniques to create your own colorful canvas beauties.
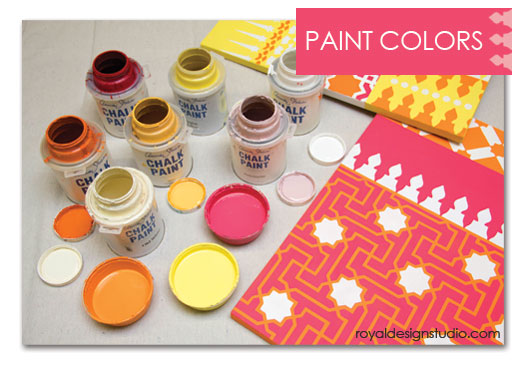
Chalk Paint® Decorative Paint Colors: Pure White, English Yellow, Old White, Antoinette, Emperor’s Silk, Barcelona Orange, Arles
We used a fresh 4-color palette for our stenciled canvases. Of course, you can use any of the lovely colors of Chalk Paint® right out of the jar, but it's super fun to get creative with some simple color mixing. We encourage you to experiment on you own to come up with gorgeous hues....OR simply follow our easy paint color recipes below. Hint: translate the ratios to whatever unit of measure you are using to mix enough paint for the size of your project, i.e. 1C Antoinette to 2/3C Emperor's Silk.
Colorful Custom Chalk Paint® Color Combinations:
Bright Pink: 1x Antoinette Chalk Paint + 2/3x Emperor’s Silk Chalk Paint
Lemon Yellow: 1x English Yellow Chalk Paint + 1/3x Old White Chalk Paint
Orange Sherbet: 1x Barcelona Orange Chalk Paint + 1/4x Arles Chalk Paint + 1/4x Pure White Chalk Paint
Additional Stencil Project Supplies:
Assorted Sizes of Royal Design Studio Stencil Brushes
Foam Paint Roller, Roller Handle, Paint Tray
Contractor's Paper, Paper Towels, Painter's Tape
4-18”x24” Gallery Wrapped Canvases (available at your local arts or crafts store)
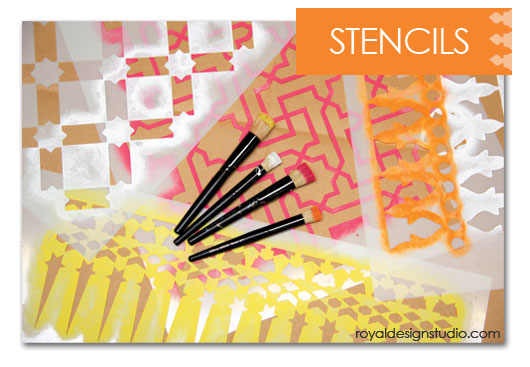
We chose 8 different stencils from our Moroccan Stencil Collectionfor this project-looking for patterns that had a similar theme, yet offered some variety in shapes and scales. We also chose some allover patterns and some border patterns for more variety. You can do a similar project with stencils that you might have on hand, or with less patterns-but we recommend using at least 5 different designs.
Royal Design Studio Moroccan Stencils:
- Small Atlas Allover Stencil
- Small Moroccan Meknes Circles
- Small Tangier Lattice Stencil
- Small Moroccan Key Stencil
- Minaret Border Moroccan Stencil
- Tray Border Moroccan Stencils
- Squared Diamonds Moroccan Stencil
- Star Diamonds Moroccan Furniture Stencil
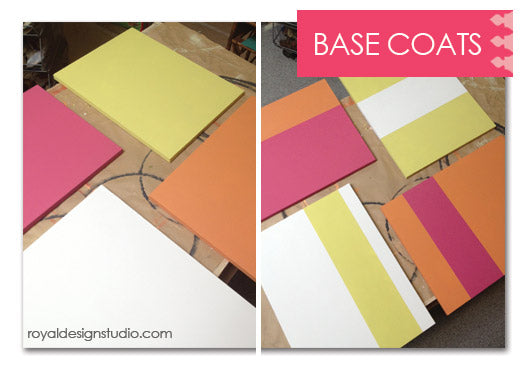
Basecoating and Color Blocking:
When color blocking canvases (which look absolutely fab even without stencils BTW) aim for a little variety in the width and placement of your stripes in relation to how the canvases will be placed on your wall. Follow our color and layout examples shown above or brainstorm your own!!
Step 1:
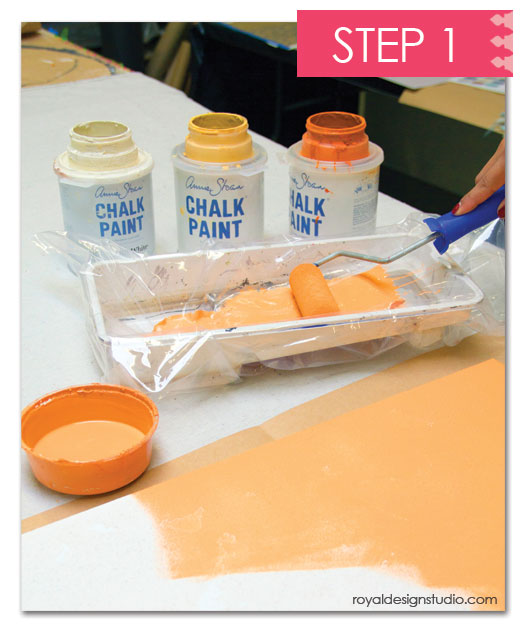
Use a short-nap paint roller to roll two coats of each of the custom Chalk Paint® colors and Pure White Chalk Paint on the canvases and allow them to dry.
Step 2:
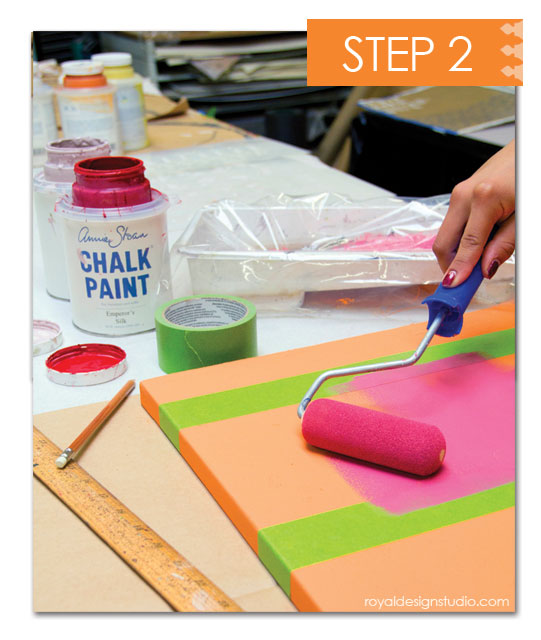
Use tape to mask off stripes of varying widths and shapes. Burnish the tape well and roll a contrasting paint color within the taped-off area. Allow this to dry.
Step 3:
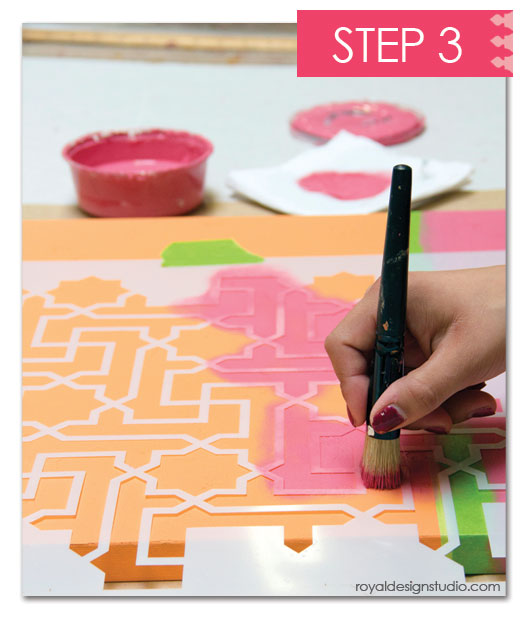
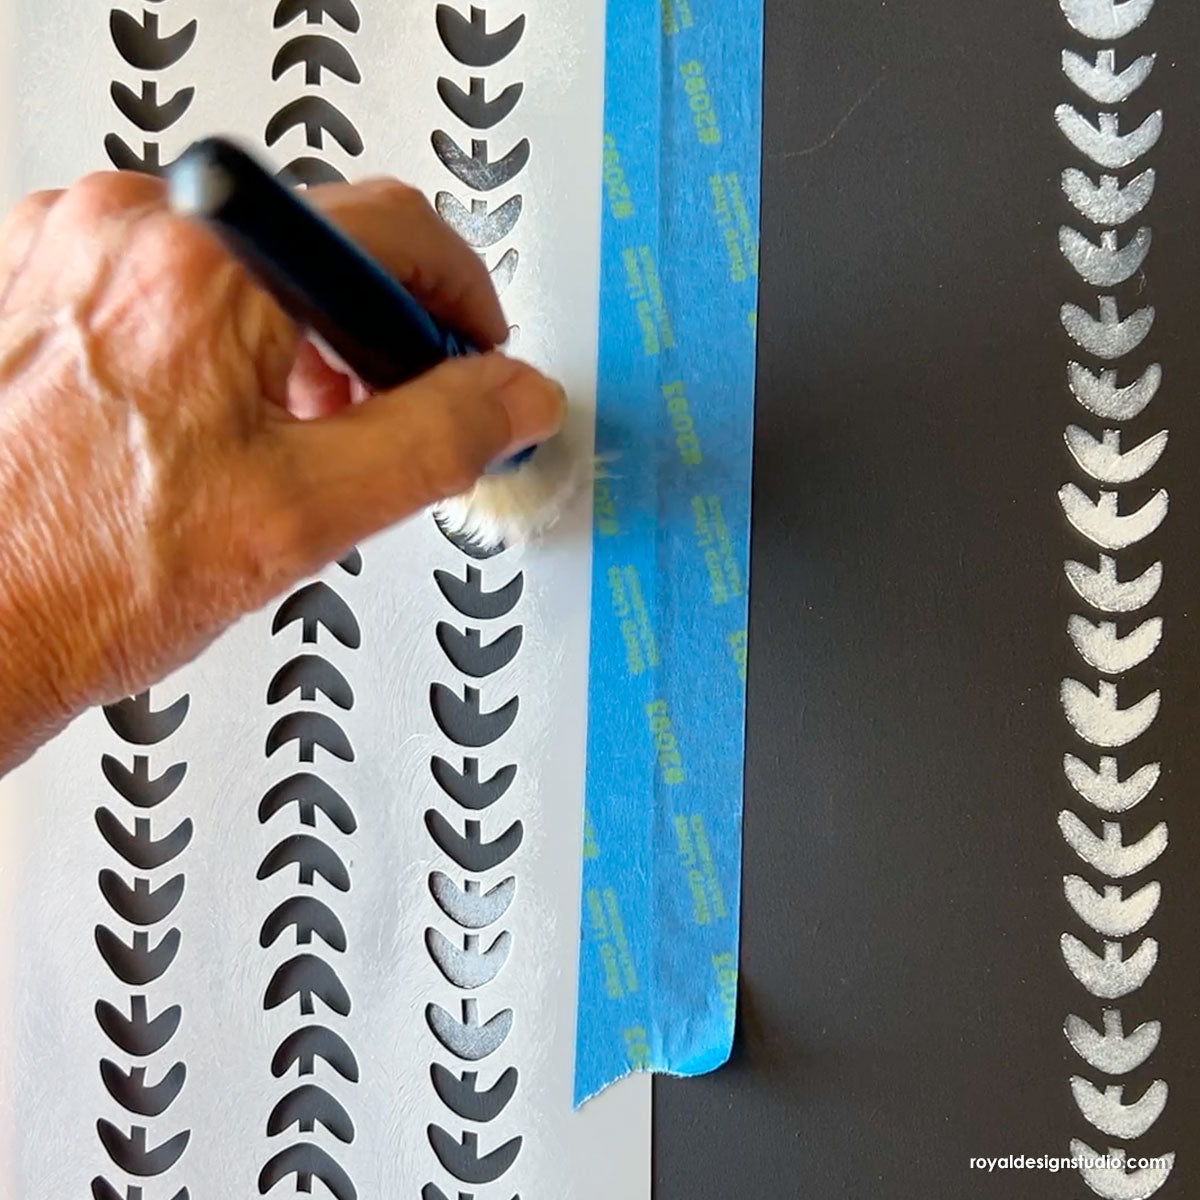
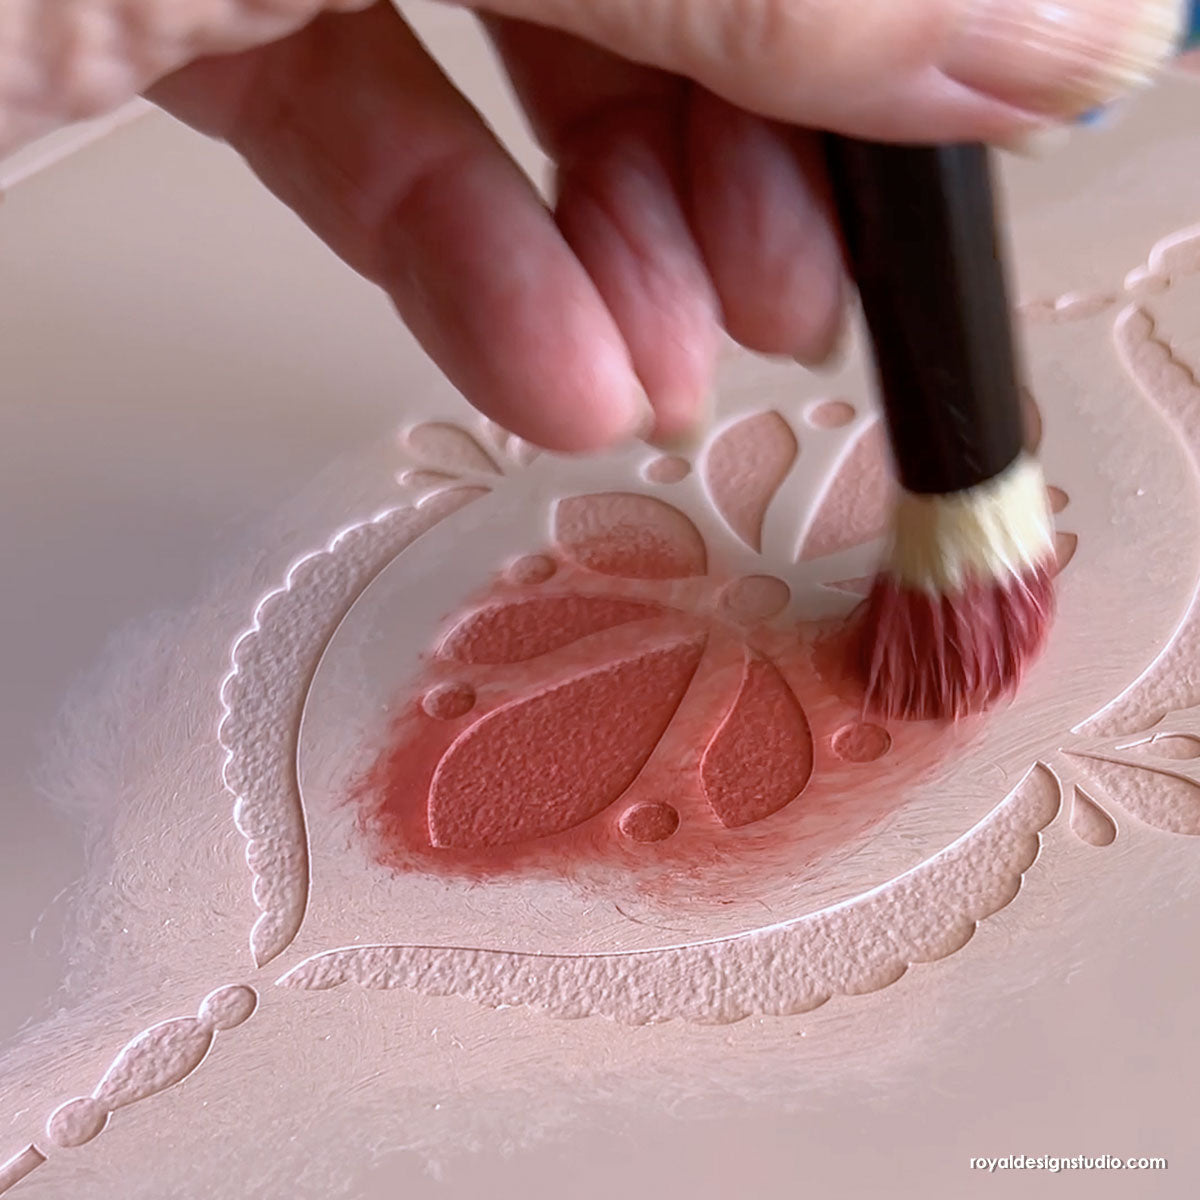
Use the painter's tape again to mask off each section as you work. The stenciling here is all done with the same colors of Chalk Paint® that are used for the base coats. Because of the small project size and small size of the stencil openings it is best to simply use stencil brushes for the stenciling. The Chalk Paint® will cover VERY well and dry quickly. Dip just the tip of the stencil brush straight into the paint and offload any excess paint well on good quality paper towels by rubbing the brush hard in a circular motion. Use that same circular motion and a light pressure to then apply the paint within the stencil openings.
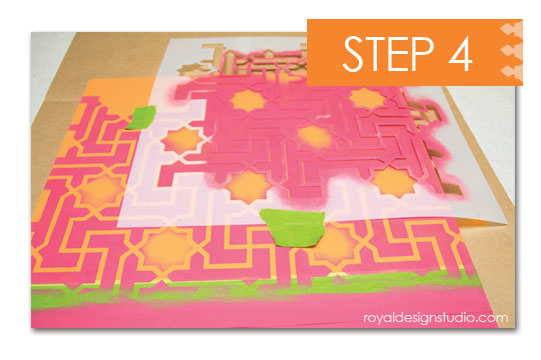
Step 4:
For some patterns you may want to introduce two colors, as we did with the Moroccan Key stencil above. Note that we've not cared that a bit of the pink color has crept into the stencil openings. That is because the Pure White Chalk Paint® used in the next step will cover it nicely and it will help us with placement!
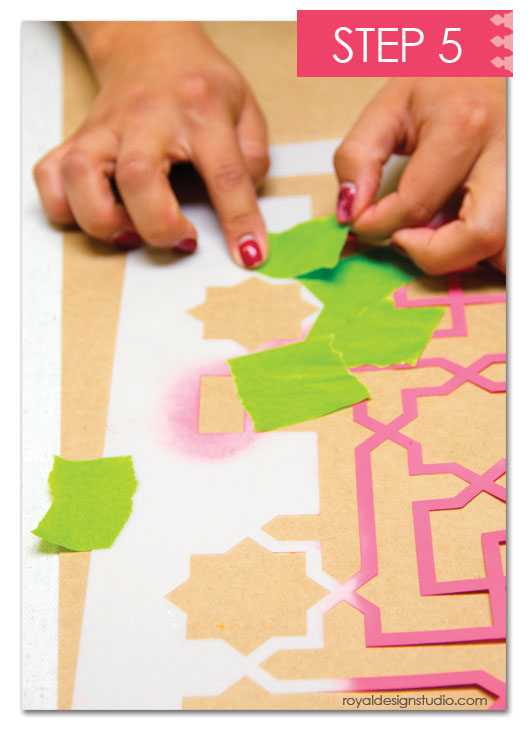
Step 5:
You can simply use a smaller Stencil Brush to isolate a color within a certain design element, but sometimes it's just as easy to use tape to isolate the element cleanly. That is what we did here for the star diamond shape.
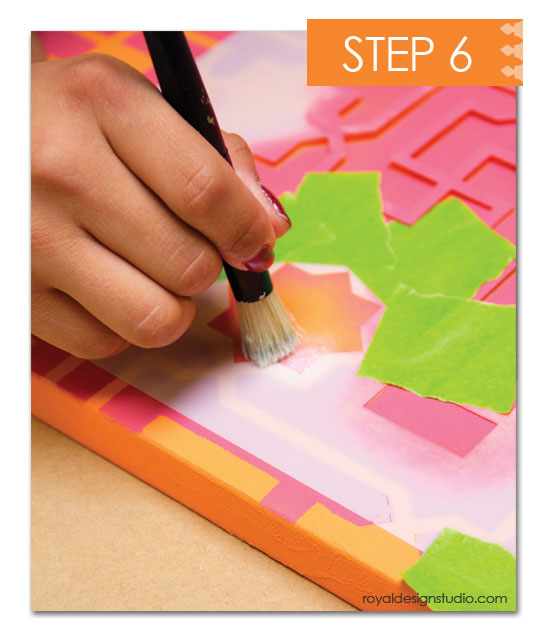
Step 6:
Then we simply moved that single element around and lined it up over the edges of each star shape that was previously "outlined" with pink paint.
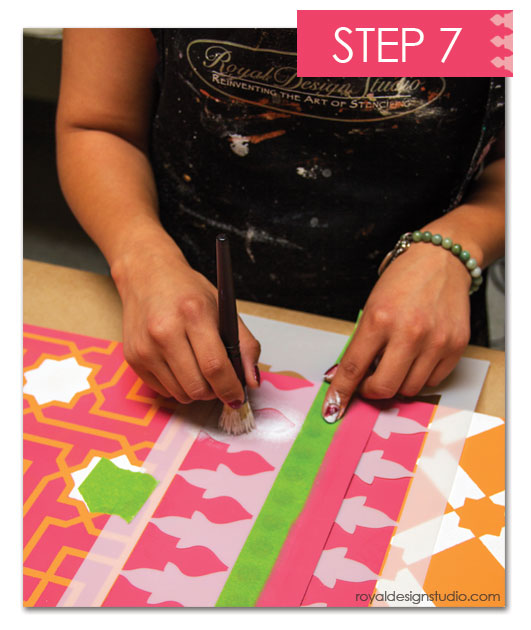
Step 7:
Most of the stencil patterns are done in one color, however, making this a super fast and fun little stencil project. One thing that we did to tie all of the canvases together a bit more was to use one of the patterns, the Minaret Border stencil, in a little different way on each of the canvases. In the image above we are simply stenciling one half of the design in white to create a simple detail coming off the allover Moroccan stencil pattern to the left.
TA DA:
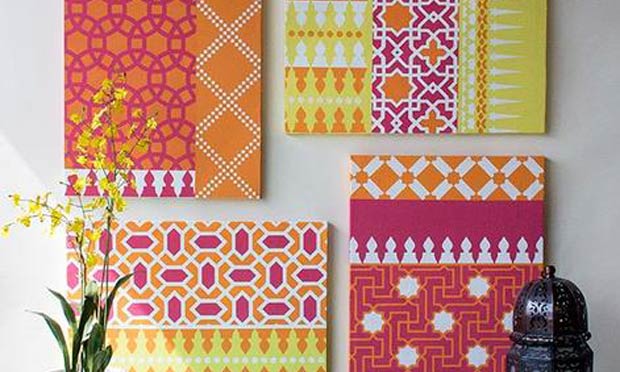
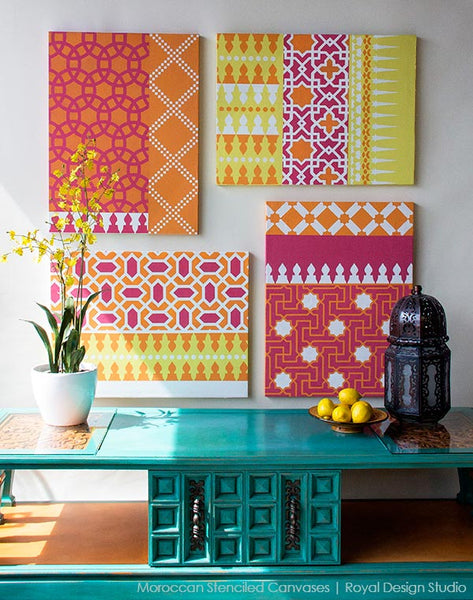
Here is our final stenciled canvas layout on the wall. We opted to arrange the canvases in a pinwheel fashion but they could be placed side by side, or all hung stacked in the same direction, of course. If stenciling canvas isn't your cup of tea, imagine how GREAT this type of treatment would look on a fun furniture piece or a funky floorcloth.
Bright colors don't quite suit you? Substitute a more neutral and sedate color palette of beige and taupe and you have a COMPLETELY different look! That's the beauty of decorating with stencils! YOU get to make all the design choices to fit your taste and palette.
Happy Stenciling!


